Managing Account Access and Permissions in the Client Area
You can manage who has access to your WHC account and what they can do from the Client Area. Whether you’re working with a web developer, accountant, or business partner, you can securely share access using Users and Contacts, and manage permissions for each.
The Account Owner is the person who created the WHC account and has full access. Only the owner can invite new users, assign permissions, and revoke access.
Note: Users and Contacts are not the same. Users can log in and take actions based on the permissions you assign, while Contacts can only receive specific communications.
Managing User Permissions
Note: If you haven’t added the user yet, follow the steps in this article.
New Client Area
- Log in to your Client Area
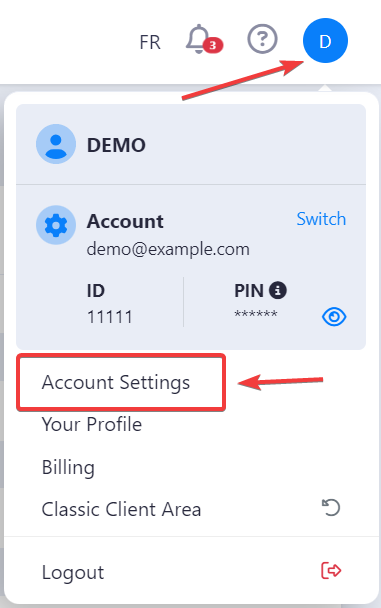
- Click your profile image, then select Account Settings
- In the Users section, find the user and click the Edit icon

- Optional: Click the Delete icon to revoke access
- Select the desired permissions
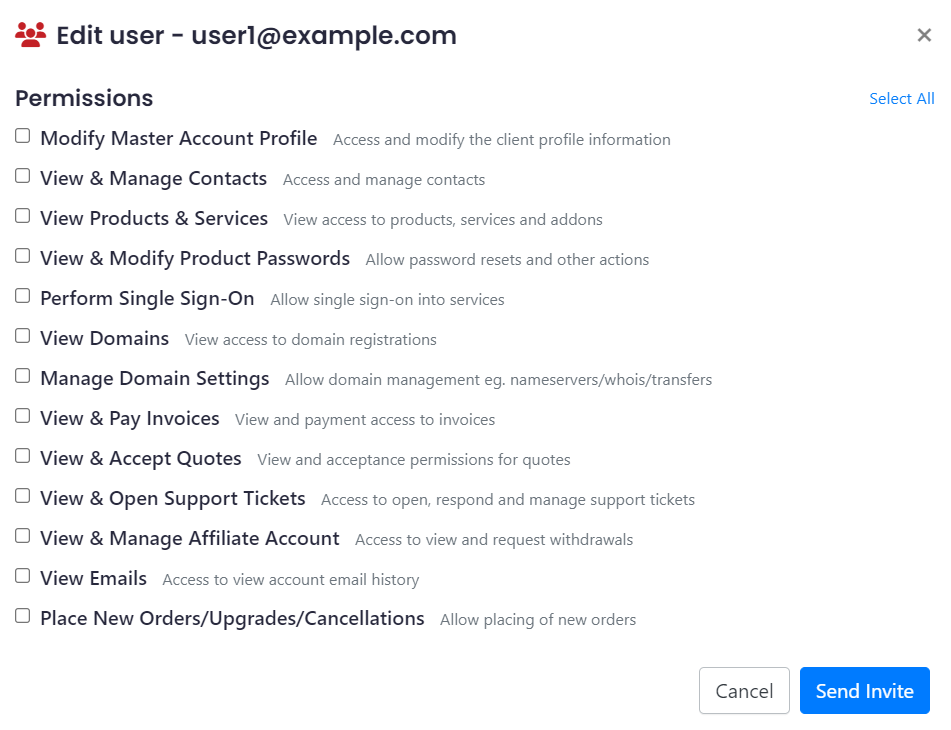
- Click Send Invite to save the changes
Classic Client Area
Note: You can switch to the new Client Area for a better experience. See how.
- Log in to the Client Area
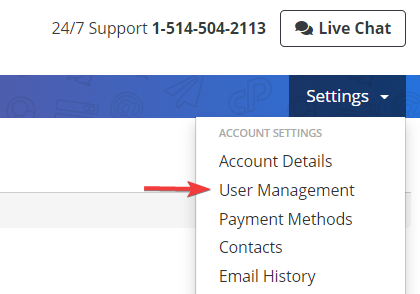
- Go to My Settings > User Management
- Find the user in the list
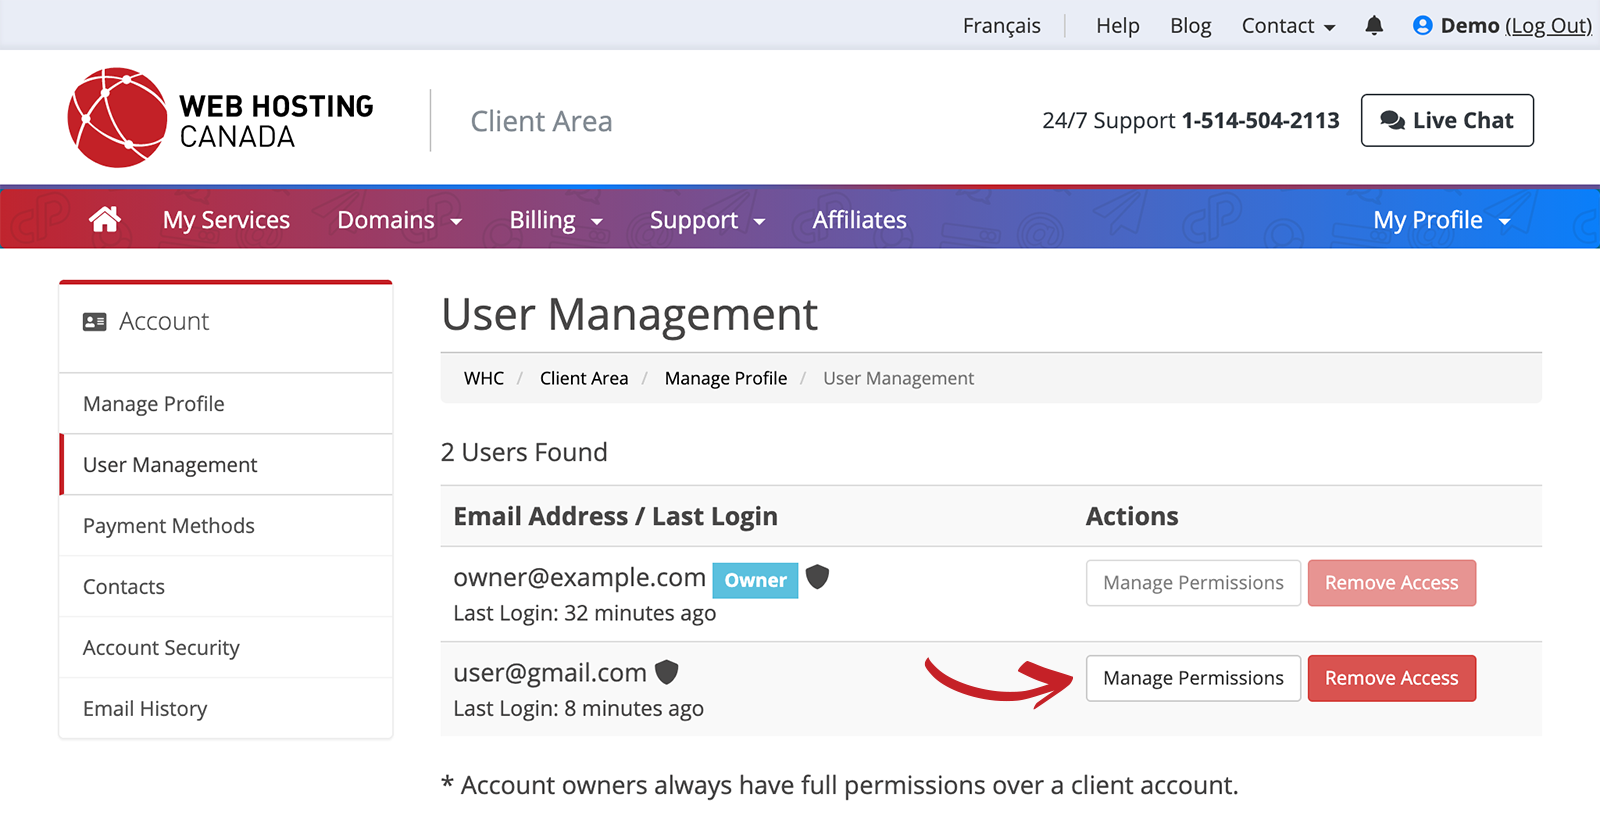
- Optional: Click Remove Access to revoke access
- Click Manage Permissions
- Select or deselect permissions
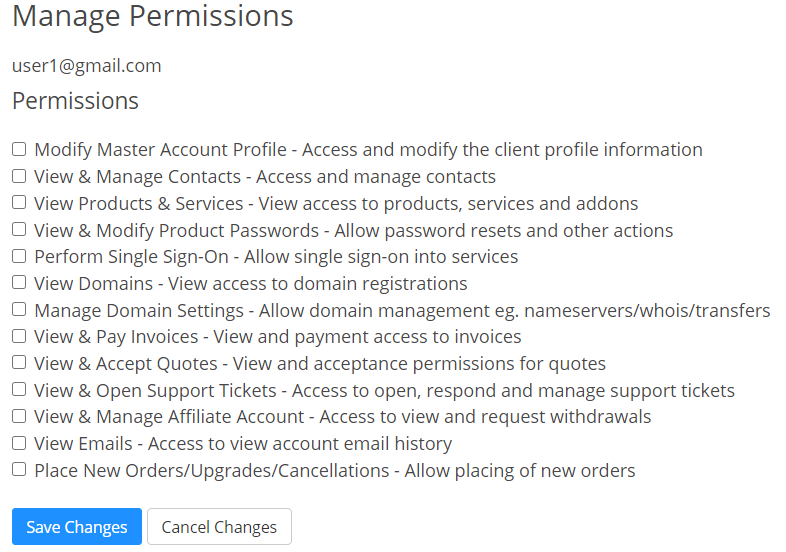
- Click Save Changes
Managing Contact Permissions
Note: If you haven’t added the contact yet, follow the steps in this article.
New Client Area
- Log in to your Client Area
- Click your profile image, then select Account Settings
- Go to the Contacts section and click the Edit icon next to the contact
- Edit the contact’s information and choose their Email Preferences, such as:
- General Emails: All account-related emails
- Invoice Emails: Invoices, reminders, overdue notices
- Support Emails: Copies of support ticket messages
- Product Emails: Welcome, suspension & other notices
- Domain Emails: Registration & renewal notices
- Click Save Contact
Classic Client Area
Note: You can switch to the new Client Area for a better experience. See how.
- Log in to your Client Area
- Click My Settings > Account Details
- Select Contacts from the left-hand menu
- Click Edit next to the contact
- Check or uncheck the email types you want them to receive
- Click Save Changes
Switching Between Multiple Accounts
If a User has access to more than one WHC account, they can switch between them directly from the dashboard.
- Click your profile image in the top-right corner of the Client Area
- Select Switch Account
- Click the account you want to manage
The selected account's dashboard will load, and you’ll be managing that account from that point on.
