What is the difference between contacts and users?
In this article, we’ll review the difference between contacts and users in your Client Area.
Contacts are used only for communication.
Users can log in and can have different permissions.
Users can log in and can have different permissions.
How to view your contact information
- Log in to your Client Area
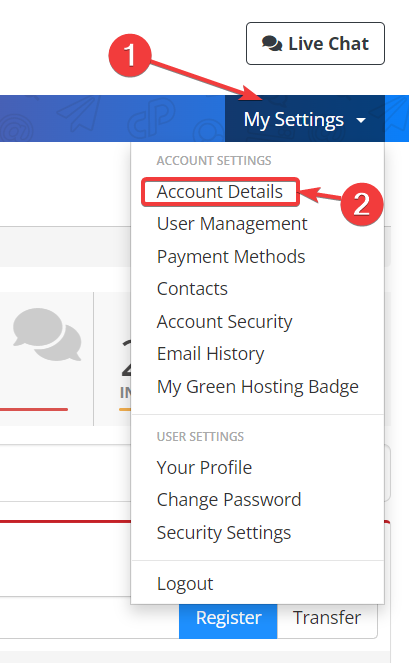
- Click on My Settings, then Account Details
- Your account details will be displayed:
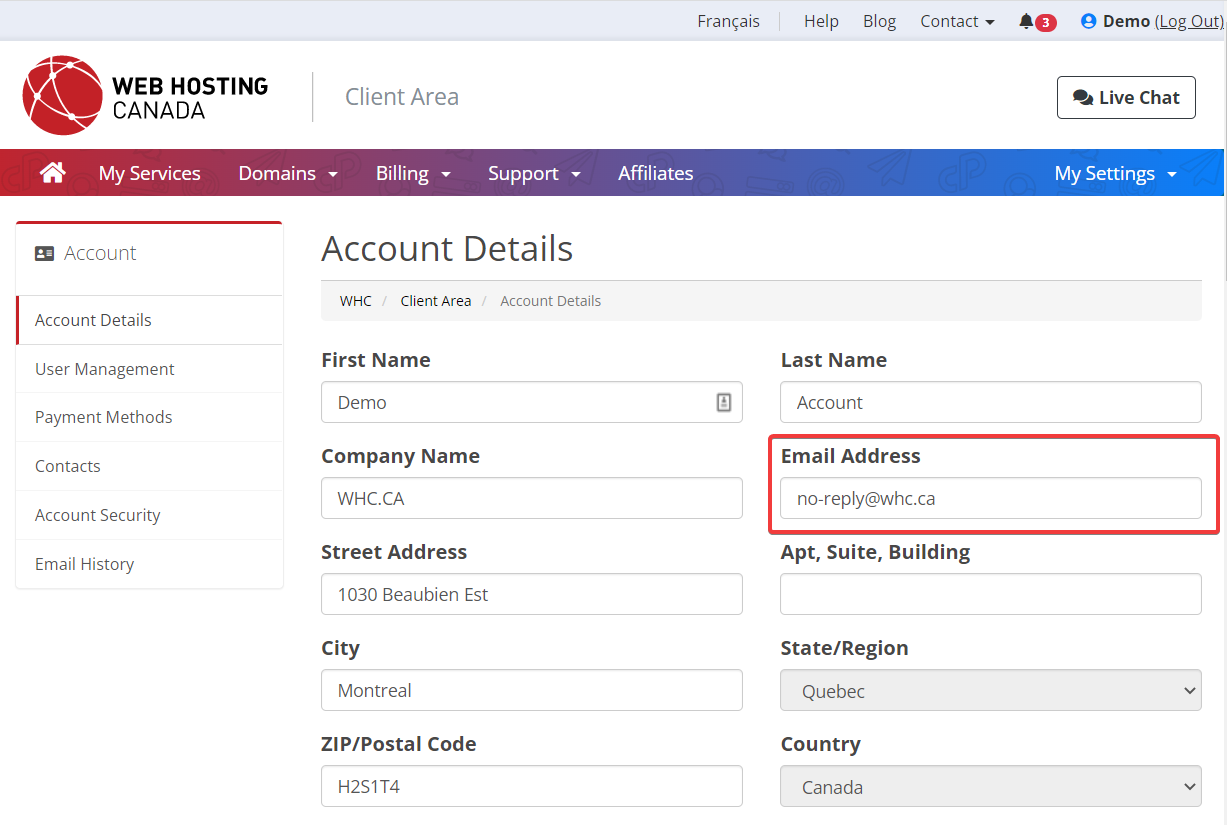
This is the main contact information associated with your account. Changing this email address will not change your log-in email address. It will only change the email address for your communications with WHC.
How to add a new contact
If you would like to add a contact to receive specific emails:
- Log in to your Client Area
- Click on My Settings, then Account Details
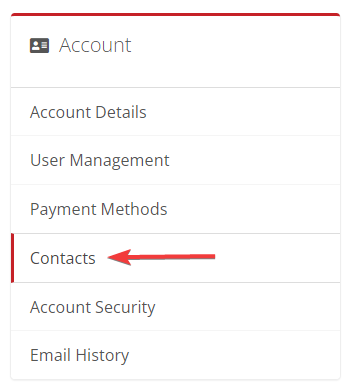
- Click on Contacts (from the left menu)
- Choose Add New Contact and enter the contact information, including your desired email preferences for that specific contact.

- Click Save Changes
How to view your User information
- Log in to your Client Area
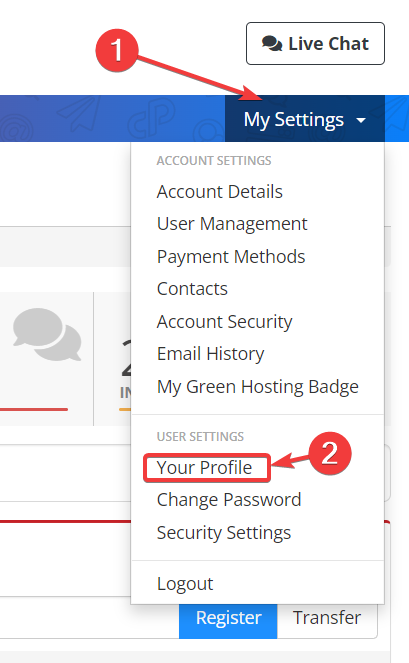
- Click on My Settings, then Your Profile
- Your profile information will be displayed:
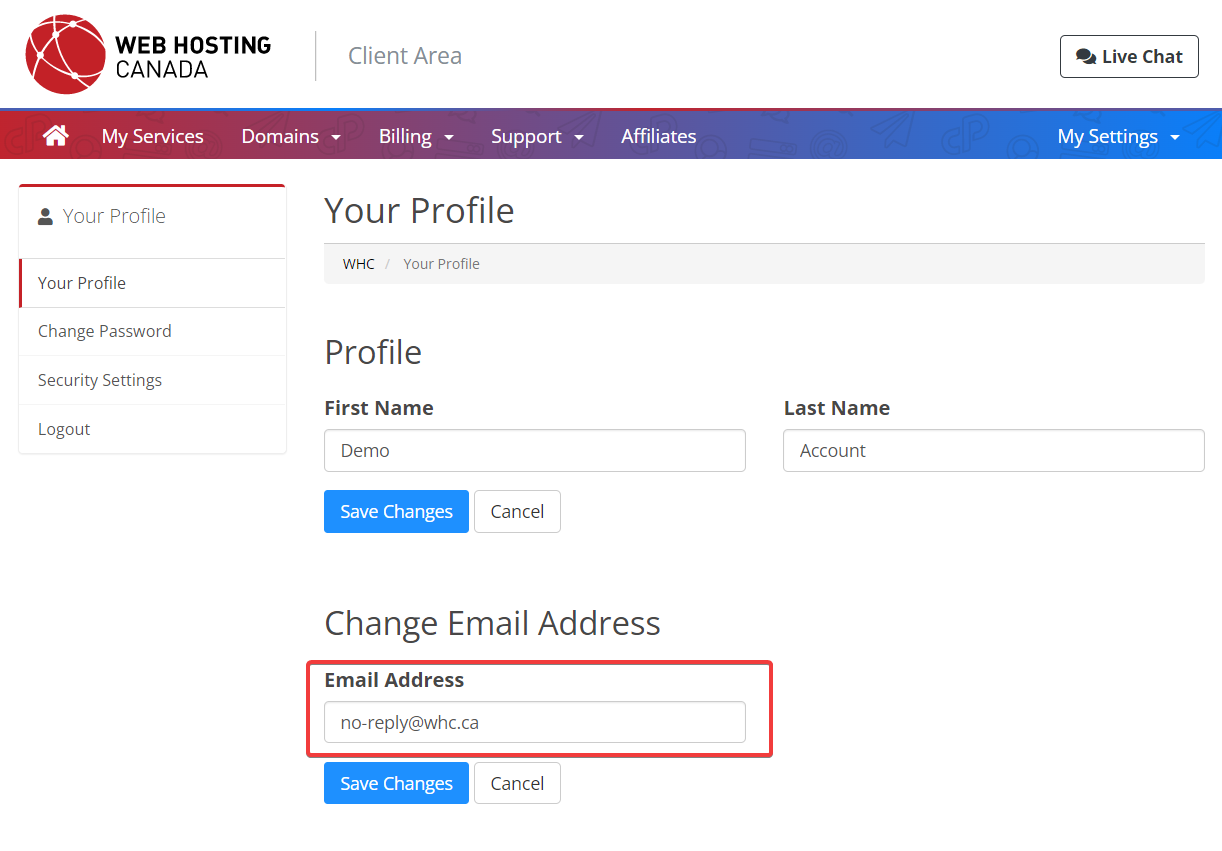
This is the main user (also called the Owner) associated with your account. Changing this email address only changes the log-in email and will not change the email address used for communication with WHC.
How to add a new user
- Log in to your Client Area
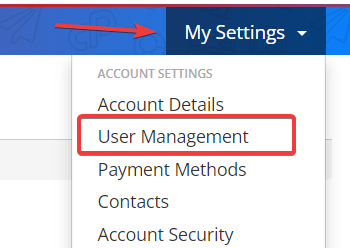
- Click on My Settings, then User Management
- Scroll down to Invite New User:
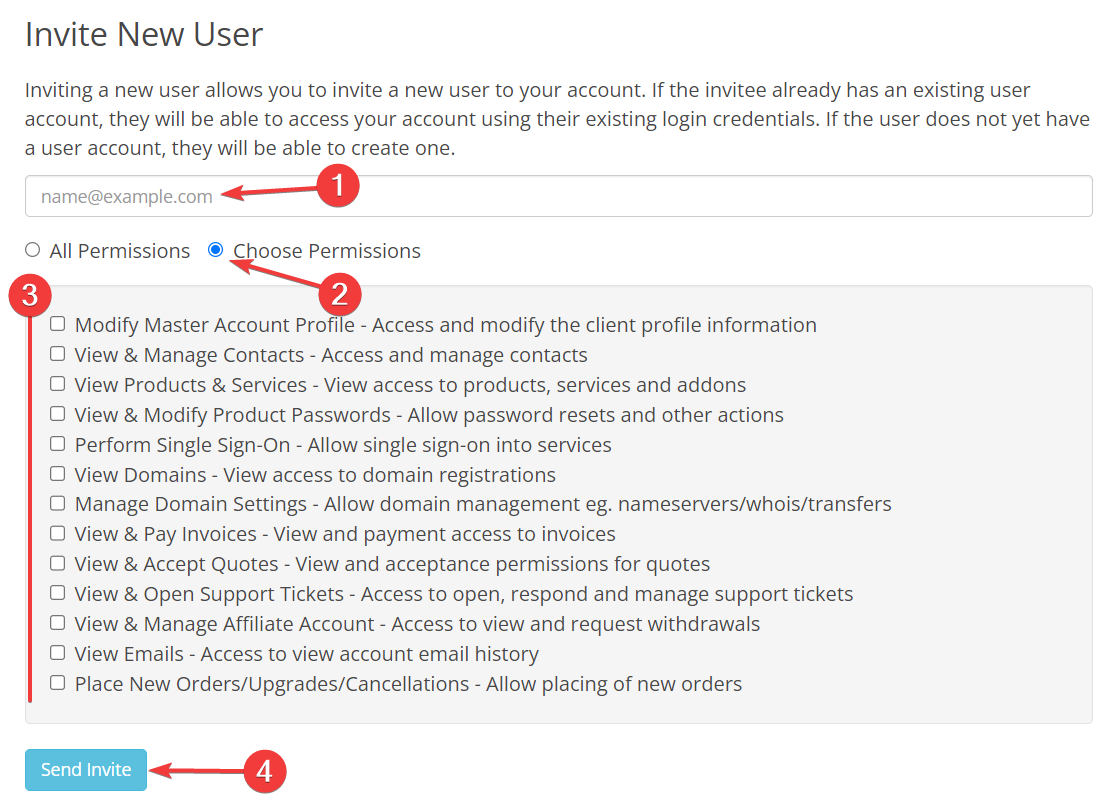
- Enter the new user’s email
- Select Choose Permissions (or All Permissions) as required
- Choose the desired permissions
- Click Send Invite
