How to Add a Contact to Your WHC Account
You may want to add a contact to your WHC account so they can receive specific communications or contact support on your behalf, without being able to log in to your account. This is useful if you work with an accountant, assistant, or someone who needs visibility on invoices or domain renewals.
Note: Contacts are not the same as users. Contacts cannot log in to your WHC account or manage services. To learn more about the differences, see this article.
How to Add a Contact (New Client Area)
- Log in to your Client Area.
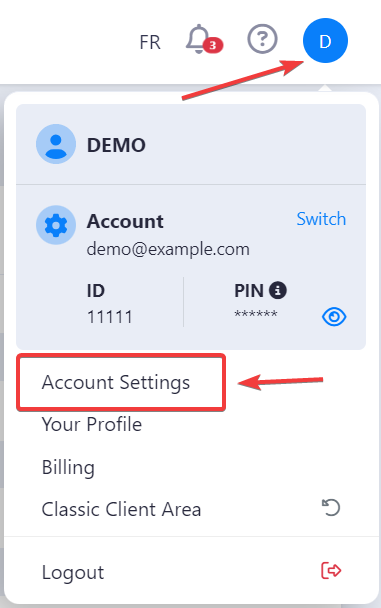
- Click your profile image at the top right, then select Account Settings.
- Go to the Contacts section, then click Add Contact.
- Fill in the contact's information:
- First and last name
- Email (mandatory)
- Company name, address, phone number (optional)
- Under Email Preferences, check the types of emails the contact should receive:
- General Emails – all account-related emails
- Invoice Emails – invoices, reminders, overdue notices
- Support Emails – copy of support ticket communication
- Product Emails – lifecycle notices like suspensions
- Domain Emails – confirmations and renewal notices
- Click Save Contact to complete the process.
How to Add a Contact (Classic Client Area)
- Log in to your Client Area.
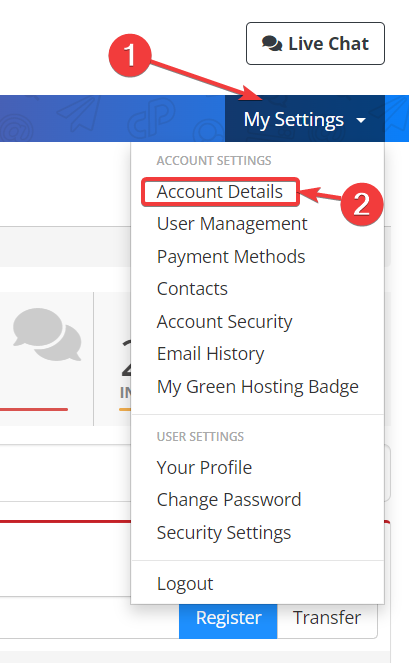
- Click on My Settings, then Account Details
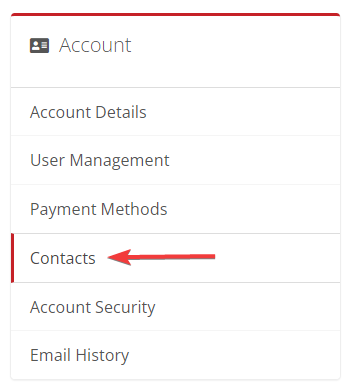
- Click on Contacts in the left menu
- Click Add New Contact and enter the contact information, including email preferences

- Click Save Changes.
