How to Add a User to Your WHC Account
You may want to give someone else access to your WHC account without sharing your login. This is useful if you work with a developer, a digital agency, an assistant, or anyone who needs to help manage your hosting or services without having full access to your account. You can do this securely by adding them as a user with specific permissions.
Note: Users are different from contacts. Users can log in and take action based on their permissions, while contacts can only receive communications. To learn more, see this article.
Note: Be careful with permissions. For example, avoid giving billing access to a developer—only grant the access that’s needed for their role.
How to Add a User (New Client Area)
- Log in to your Client Area
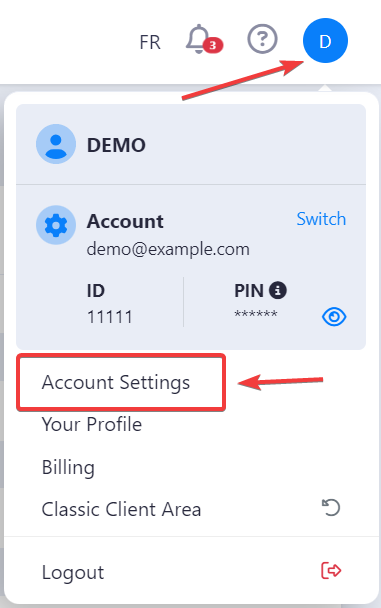
- Click your profile image at the top right, then select Account Settings
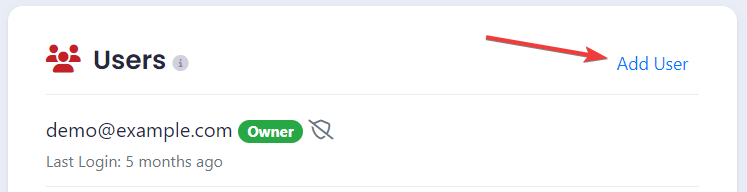
- In the Users section, click Add User
- Enter the user's email address
- Select either Select All to grant full permissions, or manually choose from the list
- Click Send Invite
The invited user will receive an email. If they already have a WHC login, they can access your account from their existing dashboard. If not, they'll be prompted to create one.
How to Add a User (Classic Client Area)
Note: You can switch to the new Client Area for a more modern experience. Learn how here.
- Log in to the Client Area
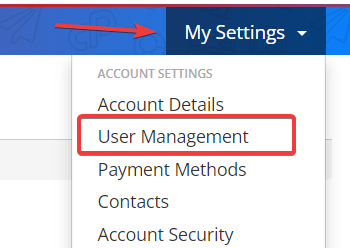
- Click on My Settings
- Click on User Management
- Scroll to the Invite New User section
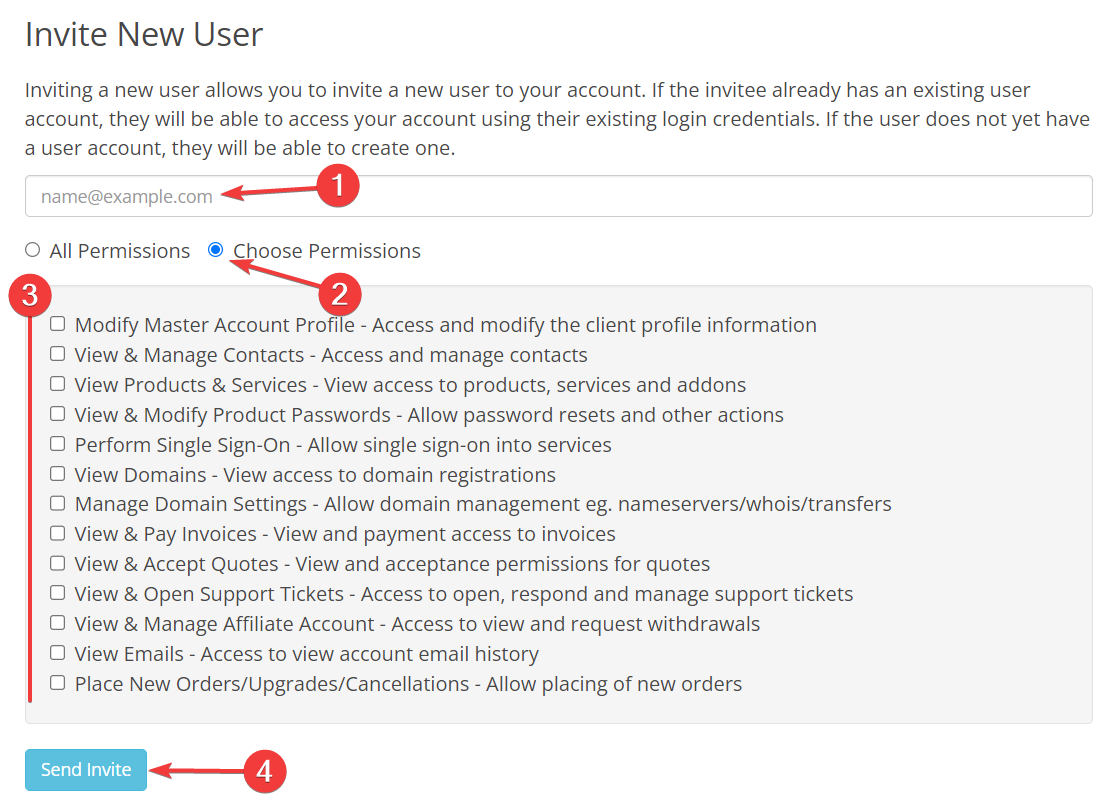
- Enter the user's email address
- Select Choose Permissions (or All Permissions)
- Pick the appropriate permissions
- Click Send Invite
The user will receive an invitation email. If they already have a WHC account, they can access yours with their login. Otherwise, they'll be asked to create an account first.
