How to merge contents from my Lifeboat to my original account
This article applies if you have been using a LifeBoat account, your original account has been recovered (see How to restore a courtesy backup), and you are ready to merge your contents back to your original account.
Key terms
- Original account: this is the primary hosting service that has been impacted by the Incident on servers Bishop(2), Clark(2), or Drummond(2) and that we either have already restored or are attempting to restore from our courtesy backups. You can access your original account from your Client Area.
- LifeBoat account: this is the new temporary account we have provided to impacted clients to allow for continued business operations. You can access your LifeBoat account from your Client Area.
See the guide What should I do after the incident? for more information.
Before you begin: Ensure your website is functioning correctly on your original account, see inspect your original account. If any data corruption issues are present, they will need to be handled prior to starting any merge operations.
You may carry out the migration yourself if desired. However, if you are unsure or require support, please don’t hesitate to contact us.
The following procedures show how to merge your emails, files, and database/s.
How to merge your emails
You can use the IMAPsync tool to migrate email contents from your LifeBoat to your original account. To do this, follow these steps:
- Open the following URL to access the ImapSync tool: https://imapsync.whc.ca
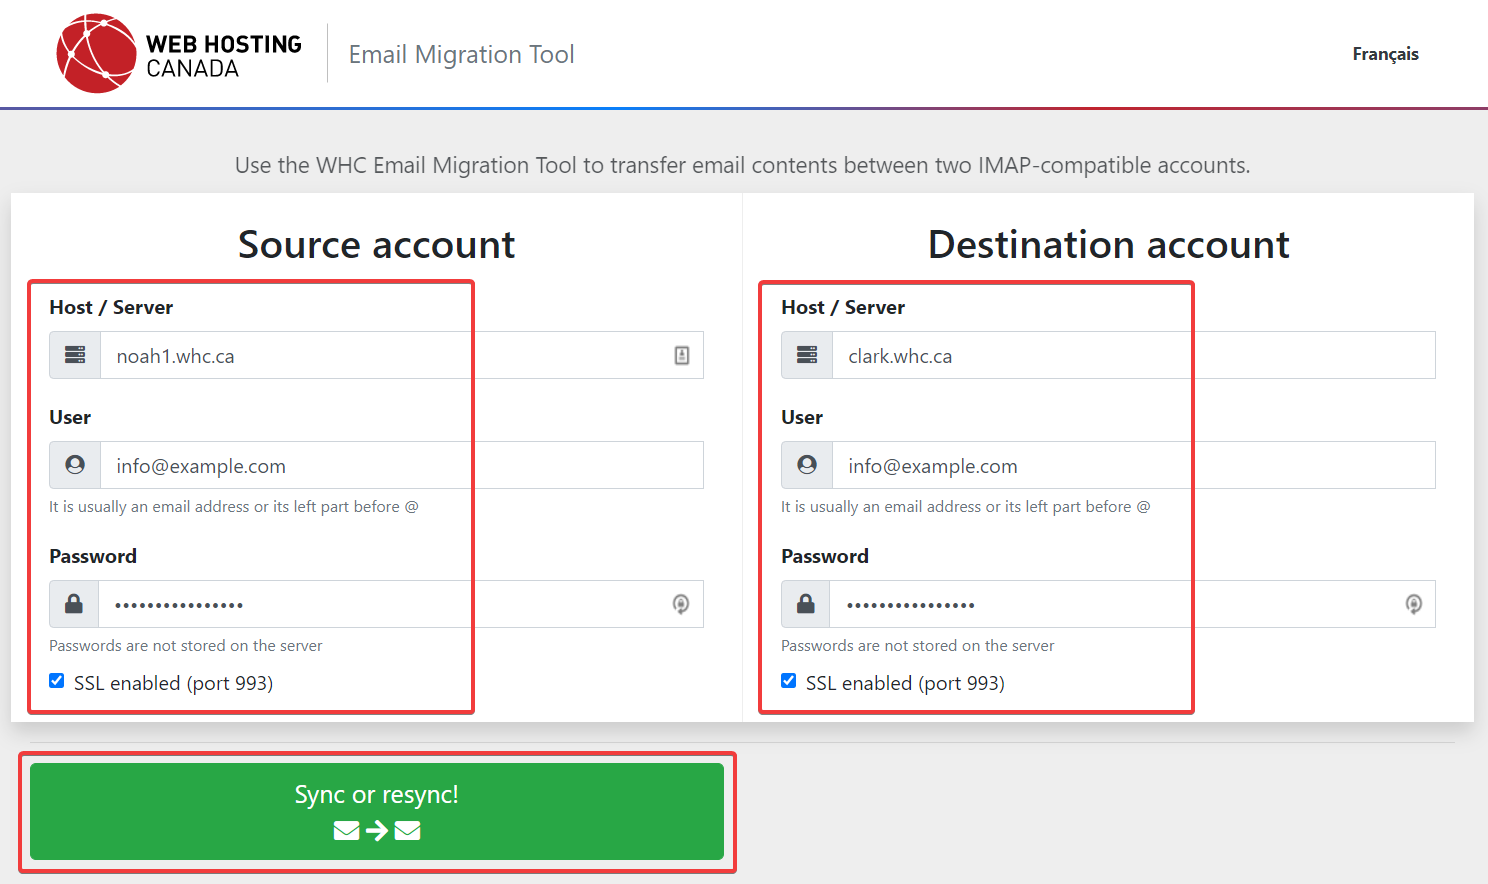
- Enter your Source account information:
- Host/Server: noah1.whc.ca or noah2.whc.ca (where to find this information)
- User: Your source email username
- Password: Your source email password
- Check the SSL enabled box
- Enter your Destination account information:
- Host/Server: The hostname of your original server (where to find this information)
- User: Your destination email username
- Password: Your destination email password
- Check the SSL enabled box
- Click on Sync or resync
- You can watch the progress by scrolling down to the Console Output, when it completes your email will now be synchronized between your accounts
Please reach out to our support team if you encounter any issues.
For more information, see How to synchronize emails between two separate servers using the IMAPsync tool.
How to merge your files
Follow these steps to merge any file changes made on your LifeBoat account, into your original account.
To copy files from your LifeBoat account:
- Log in to your Client Area
- Click on My Services
- Click on Web Hosting - Lifeboat
- Click Go to cPanel
- Select File Manager under Popular Tools
- Copy any file changes that you’ve made to your LifeBoat site (see How to use File Manager)
To upload files to your original account:
- Log in to your Client Area
- Click on My Services
- Click on your original Web Hosting account (e.g. Web Hosting - WEB PRO)
- Click Go to cPanel
- Select File Manager under Popular Tools
- Upload the files you had copied in the previous step (see How to use File Manager), ensure that you are mirroring all file changes between accounts
- Inspect your website to ensure it is working as expected
Require assistance?
No problem! Please let us know which files, databases, or emails (and the corresponding date range) that you would like merged from your LifeBoat to your original account. Then reach out to support with this information and we will be able to assist you.How to import changes from your databases
Database merges are highly complex and depend on the specific software you’re using.
If you stored important new changes into your database-powered app on your LifeBoat, we recommend you manually export changes made since the original account’s backup date.
This process will vary depending on the app you’re using, but most apps generally provide a secure admin area to export data. We recommend you export any important changed data from your LifeBoat account, then import it back into your original account.
For WordPress, you can consider using the Export/Import tool to bring over changes made since the version available on your original account.
Require assistance?
No problem! Please let us know which files, databases, or emails (and the corresponding date range) that you would like merged from your LifeBoat to your original account. Then reach out to support with this information and we will be able to assist you.What to do once the merge is complete
Please be aware that merge operations can often be a lengthy process, and the time required will largely depend on the complexity of the merge.
Once the merge is complete, you should perform a final inspection of your website to ensure that everything is functioning to your satisfaction. When your original account is confirmed working, you may point your domain back to your original account.
You may now close your LifeBoat account, as follows:
- Log in to your Client Area
- In the menu, click on My Services, then select your LifeBoat account
- In the left menu, click on Request Cancellation
