How to use the Domain Management tools
Each domain registered with WHC can be managed using the Domain Management tools available in your Client Area. These tools include Domain Forwarding, Email Forwarding and Advanced DNS Management. In this article, we’ll review each in detail.
If you’re actively using the Domain Manager and would like to make changes to your domains from your Client Area, you will need to update your domain’s nameservers for these changes to take effect.
For your reference, the nameservers for the Standard DNS service are:
parking1.whc.ca
parking2.whc.ca
For domains registered with us, you can easily update the nameservers directly from your Client Area by using the Name server wizard. If your domain is not registered with WHC, you can contact our support team.
Using Domain Forwarding
Use the Domain Forwarding tool if you want to automatically direct your domain's visitors to a different address. Make your forwarding rules as simple or complicated as you’d like by choosing either regular, shadow (sometimes referred to as iframe), or advanced rewrite rules.
- Log in to your Client Area
- Click on Domains, then select the domain to manage
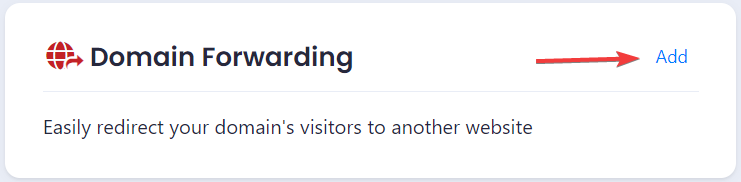
- Locate the Domain Forwarding section, then click on Add
- Enter the domain forwarding rules you wish to use:
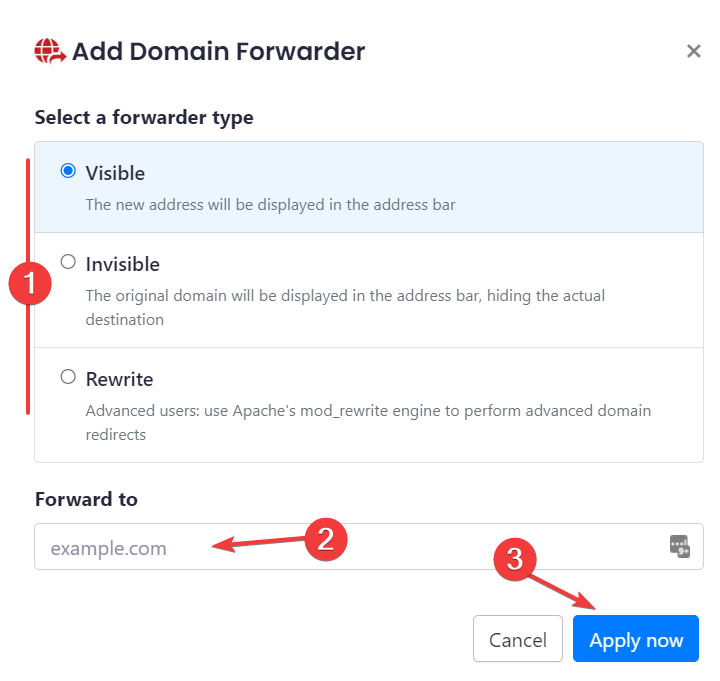
- Note: You may choose from the following options:
Visible: (most common) The new address will be displayed in the address bar
Invisible: The original domain will be displayed in the address bar, hiding the actual destination
Rewrite: Used to add advanced rewrite rules - Enter the URL you wish to send visitors to under the Forward to field.
- Click Apply now to save your changes
- Note: You may choose from the following options:
Accessing Domain Forwarding in the old Client Area
- Log in to your Client Area
- Click on Domains, then select the domain to manage
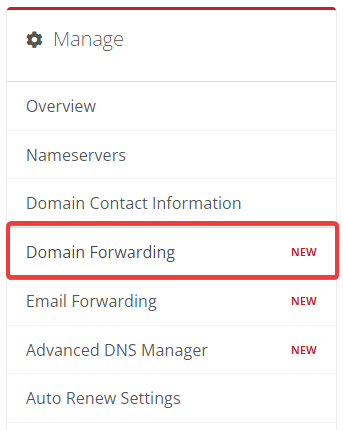
- Click Domain Forwarding from the side menu
- Enter the domain forwarding rules you wish to use:
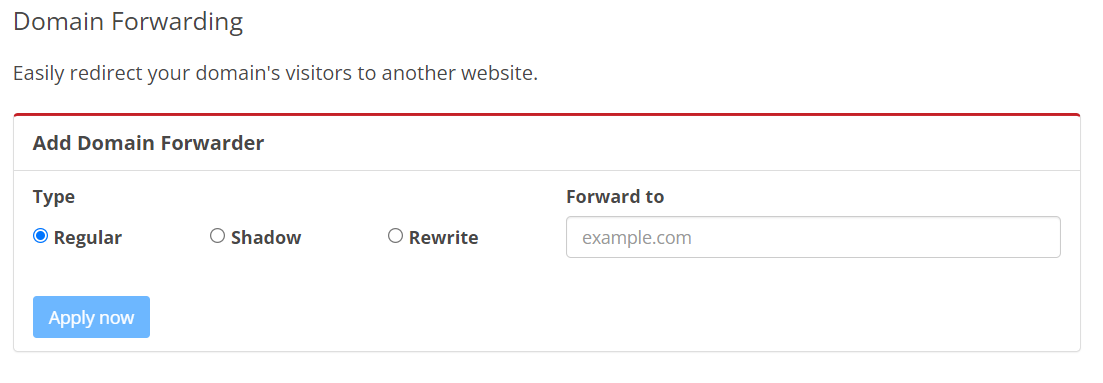
Note: You may choose from the following options:
Regular: (most common) Forward all visitors to a new domain
Shadow: Add a forwarding rule for shadow domain addresses
Rewrite: Used to add advanced rewrite rules
Enter the URL you wish to send visitors to under the Forward to field. - Click Apply now to save your changes
Using Email Forwarding
Use the Email Forwarding tool to conveniently forward emails sent to an email address on your domain to an external email address, for example, your personal Gmail or Hotmail.
- Log in to your Client Area
- Click on Domains, then select the domain to manage
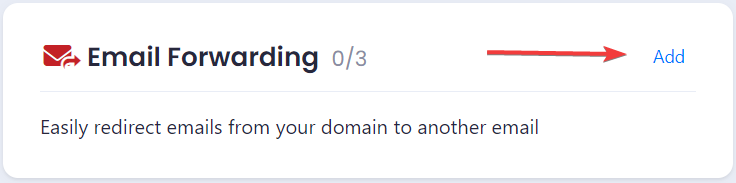
- Locate the Email Forwarding section, then click on Add
- Add your email forwarding rules as required:
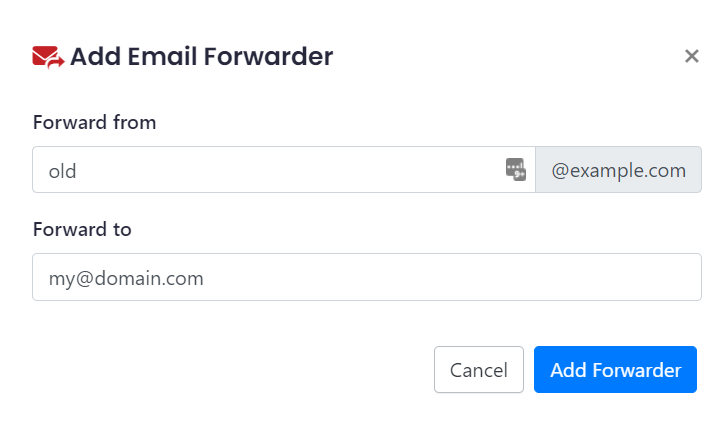
Forward from: Enter the address to forward your messages from
Forward to: Enter the destination address to receive your forwarded messages - Click Add Forwarder to save your changes
Accessing Email Forwarding in the old Client Area
- Log in to your Client Area
- Click on Domains, then select the domain to manage
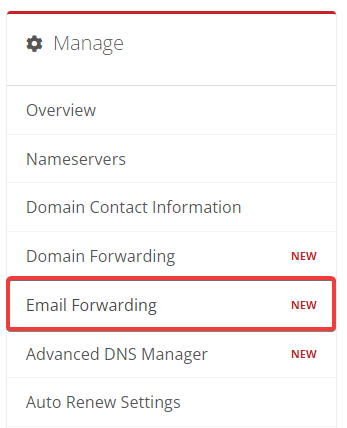
- Click Email Forwarding from the side menu
- Add your email forwarding rules as required:
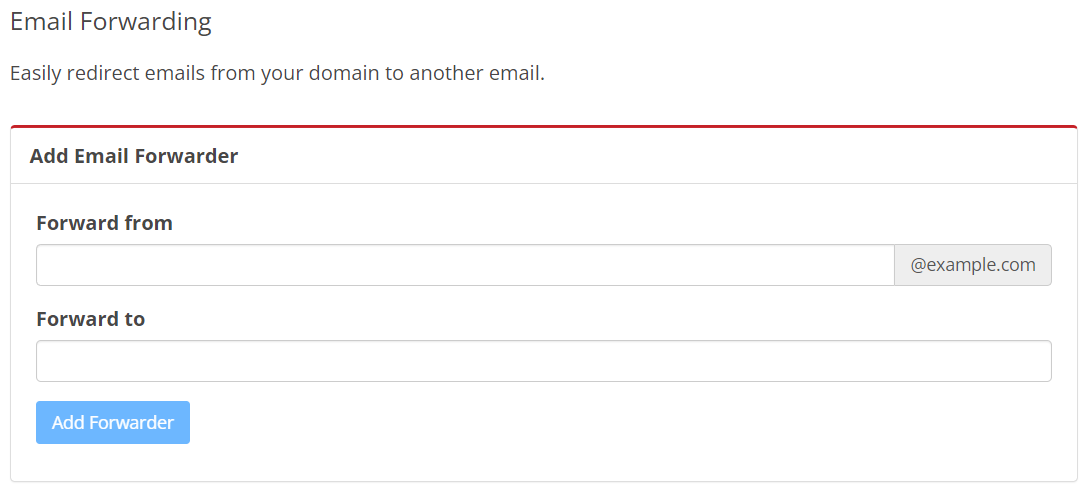
Forward from: Enter the address to forward your messages from
Forward to: Enter the destination address to receive your forwarded messages - Click Add Forwarder to save your changes
Using the Advanced DNS manager
The Advanced DNS Manager allows you to easily manage your domains’ DNS records. Use this tool when you want to add, edit or delete your records (A, CNAME, etc) all from one convenient location.
- Log in to your Client Area
- Click on Domains, then select the domain to manage
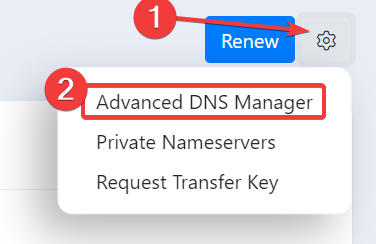
- Click on the settings 'gear' icon (in the top-right corner), then click Advanced DNS Manager
- Add your domain record rules as required:
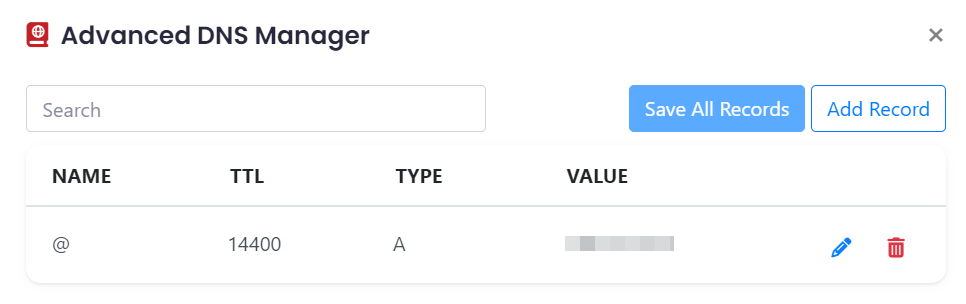
See How to update the DNS Records for my domain for detailed information on how to add records using the Advanced DNS Manager. - Click Add Record to save your changes
Note: Your changes should take effect once the new DNS records propagate, within the next 24 hours (generally in roughly 4 hours).
Accessing Advanced DNS Manager in the old Client Area
- Log in to your Client Area
- Click on Domains, then select the domain to manage
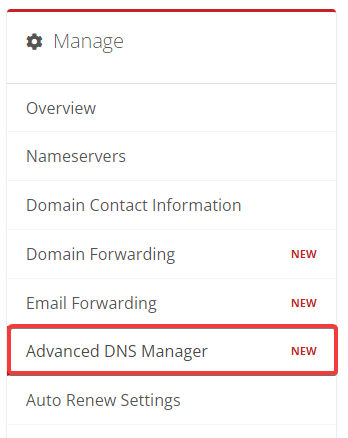
- Click Advanced DNS Manager from the side menu
- Add your domain record rules as required:
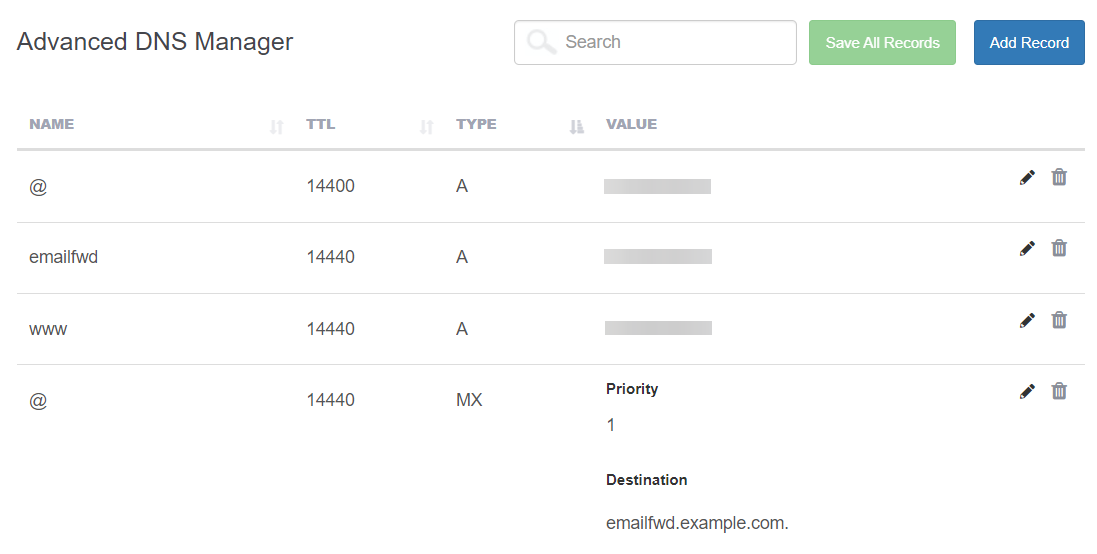
See How to update the DNS Records for my domain for detailed information on how to add records using the Advanced DNS Manager. - Click Add Record to save your changes
