Office 365 Domain Verification
If your domain is already verified, then you may continue on to Accessing Zone Editor and Office 365 DNS Changes. A verified domain will have ‘active’, ‘verified’, or ‘setup complete’, depending on the version you are using.
To verify your domain with your Office 365 account, you will need to retrieve your verification number. We will be performing verification through a TXT file.
Office 365 – Verify Domain Ownership
- Sign into your Office 365 account as the admin.
- Go to the Domains section. It can be found directly on the dashboard or in the left-hand column under Setup.
- On the Domains page, you should see the domain you wish to verify. If not, see how to add a domain here.
- Click on the domain you wish to manage. If it says Setup complete, then the account has already been verified and the DNS record changed.
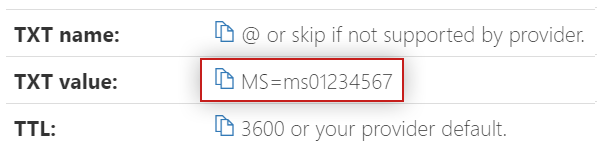
- You will be brought to a page with the MS=msXXXXXXXX verification code.
- Copy the code and paste it in a document file so you can access it later.
- Keep this page and open a new tab to login to the WHC client area.
- Find and access the zone editor. Once you are in the zone editor, continue by following the instructions below.
Adding in Your Office 365 Verification Code to DNS
To add the verification number, you will need to
- Click on Add record
- Fill in the record as follows:

- Name = yourdomain.com. (i.e. the domain you wish to have verified, with a period at the end.) e.g. If your domain was whc.ca, then you would write whc.ca.
- TTL= 3600
- Type = choose TXT
- Record = MS=msXXXXXXXX (the verification code that you copied in the steps above)
- Click Add record and wait 20 min.
- Go back Office 365, the page where you got the MS=msXXXXXXXX code, and continue the verification process by going to the bottom of the page and clicking on Verify.
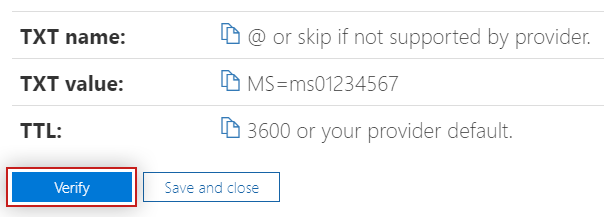
- You will be brought to a page that confirms that the verification process is complete.
