How to Synchronize cPanel Calendars in Thunderbird
CalDAV, is an Internet standard that allows access to calendars and scheduling information on a remote server. If you have calendars configured on your webmail account that you wish to synchronize with Thunderbird, follow the steps below.
How to Find Your Calendar URL
- Log in to the Client Area
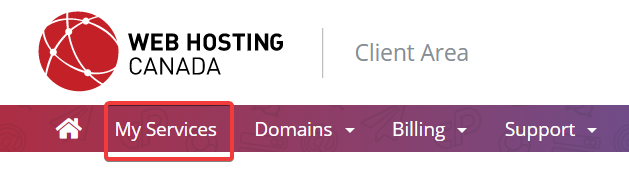
- Click My Services
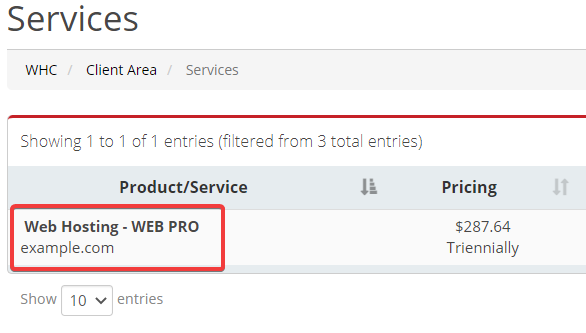
- Select your web service
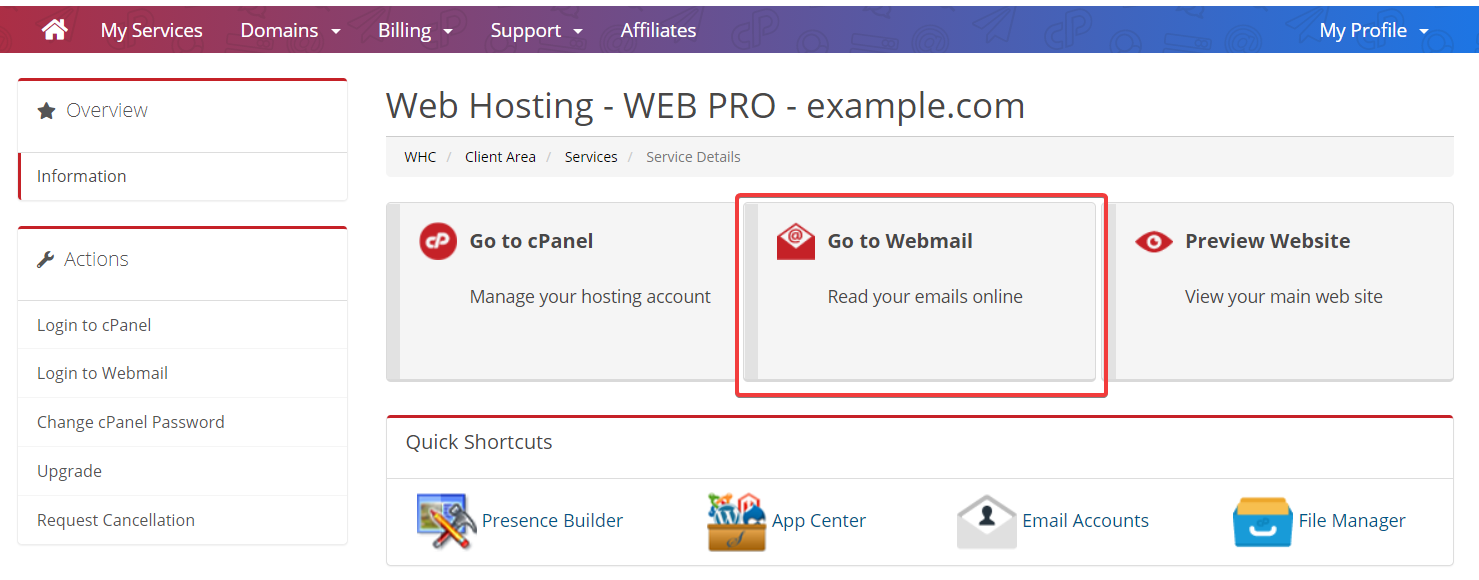
- Click Go to Webmail
- Enter your email address and password (See How to Create and Manage Email Accounts), then click Log in
- Click on Configure Calendars and Contacts Client, under Edit Your Settings

- Scroll down to the Direct URLs for Calendars and Contacts section, to find your calendar information.
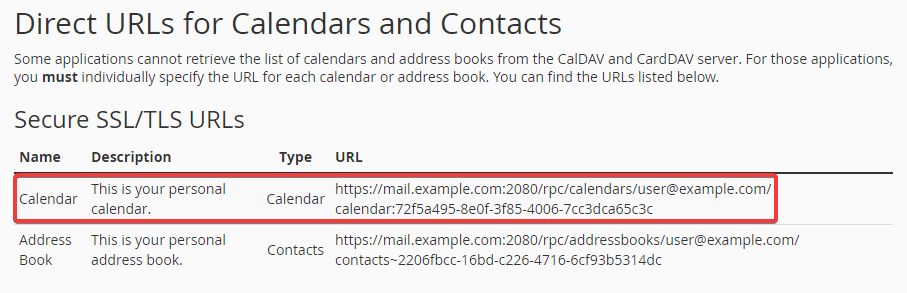
- Copy the calendar URL under Secure SSL/TLS URLs. This URL will be used in the steps below.
How to Add Your Calendar to Thunderbird
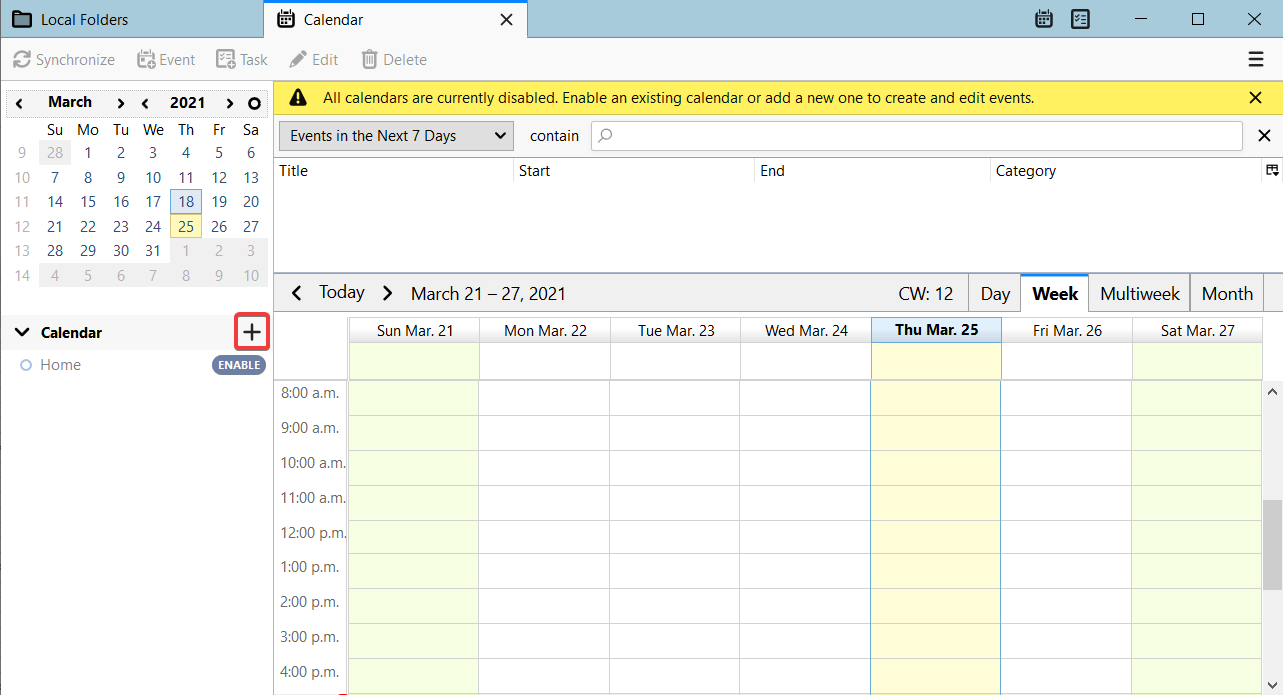
- Open Thunderbird, then click the calendar icon in the title bar

- Click the “+” icon next to Calendar
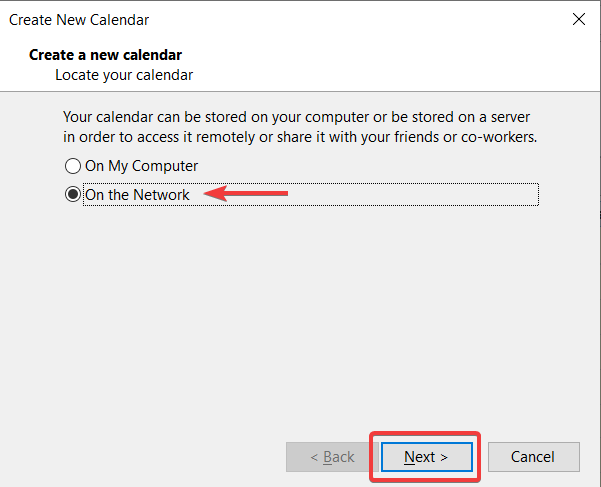
- Select On the Network, then click Next
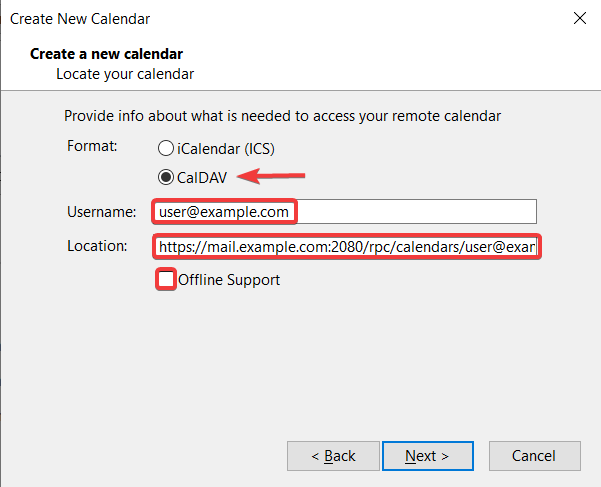
- Enter the following:
- Select CalDAV
- Username: enter your email address
- Location: paste in your calendar URL (see How to Find Your Calendar URL)
- Uncheck Offline Support
- Click Next
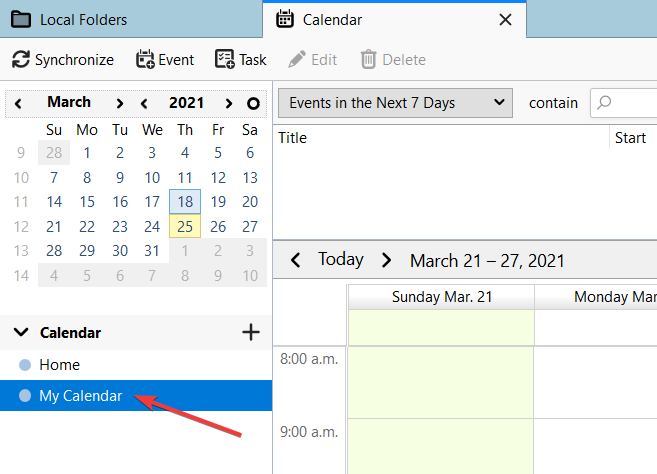
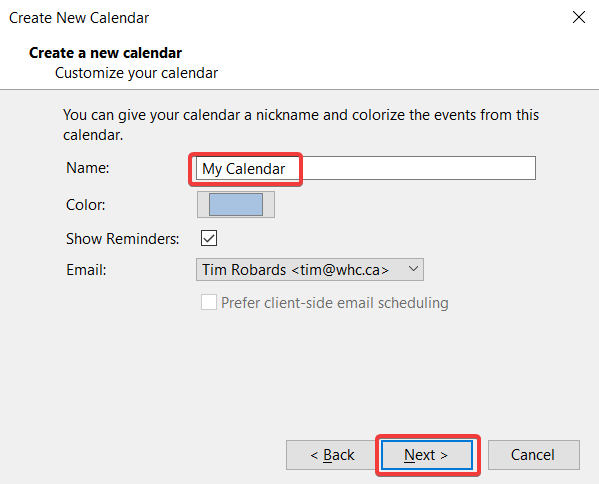
- Enter a name for the calendar (e.g. My Calendar), then click Next
- Click Finish
- You will be prompted to re-enter your email credentials, enter your email address and password, then click Next
- You’re done! Any calendar appointments set up on webmail will now sync with the Thunderbird calendar. The calendar can be accessed in the left-hand menu.