How to Install AI-Powered WordPress on Web Hosting Plans
Introduction
This article will walk you through the detailed steps required to set up and integrate the AI-Powered WordPress feature. Whether you are starting with a new WordPress installation or adding AI to an existing site, we've got you covered. Follow the instructions below to enhance your WordPress experience with our cutting-edge AI tools.
Tip
Before getting started, make sure to check out this article on How To Get Started With AI-Powered WordPress.How to install it
For new WordPress installations
- Log in to cPanel.
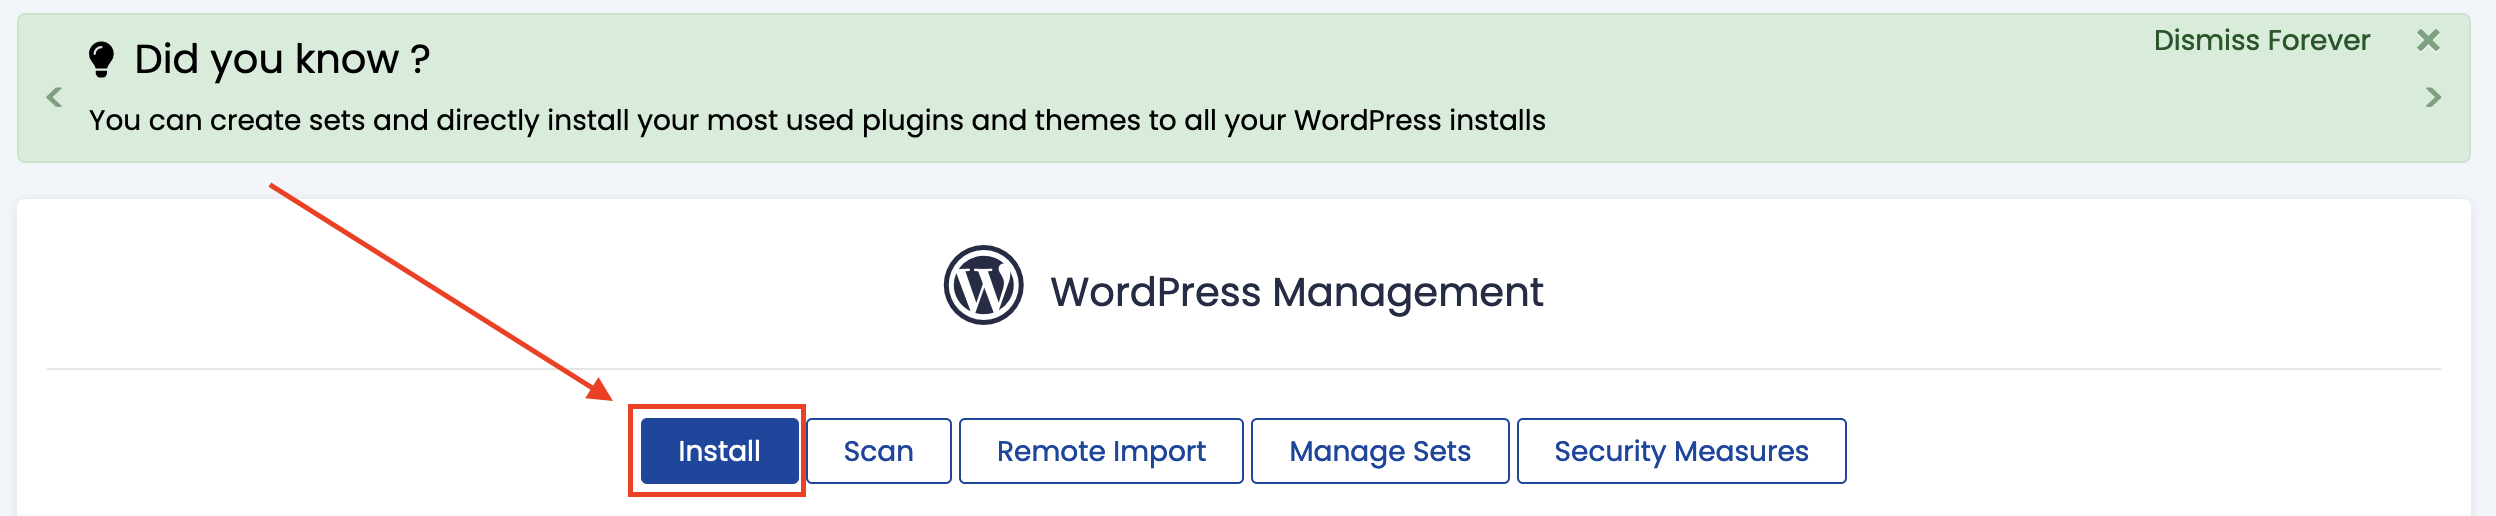
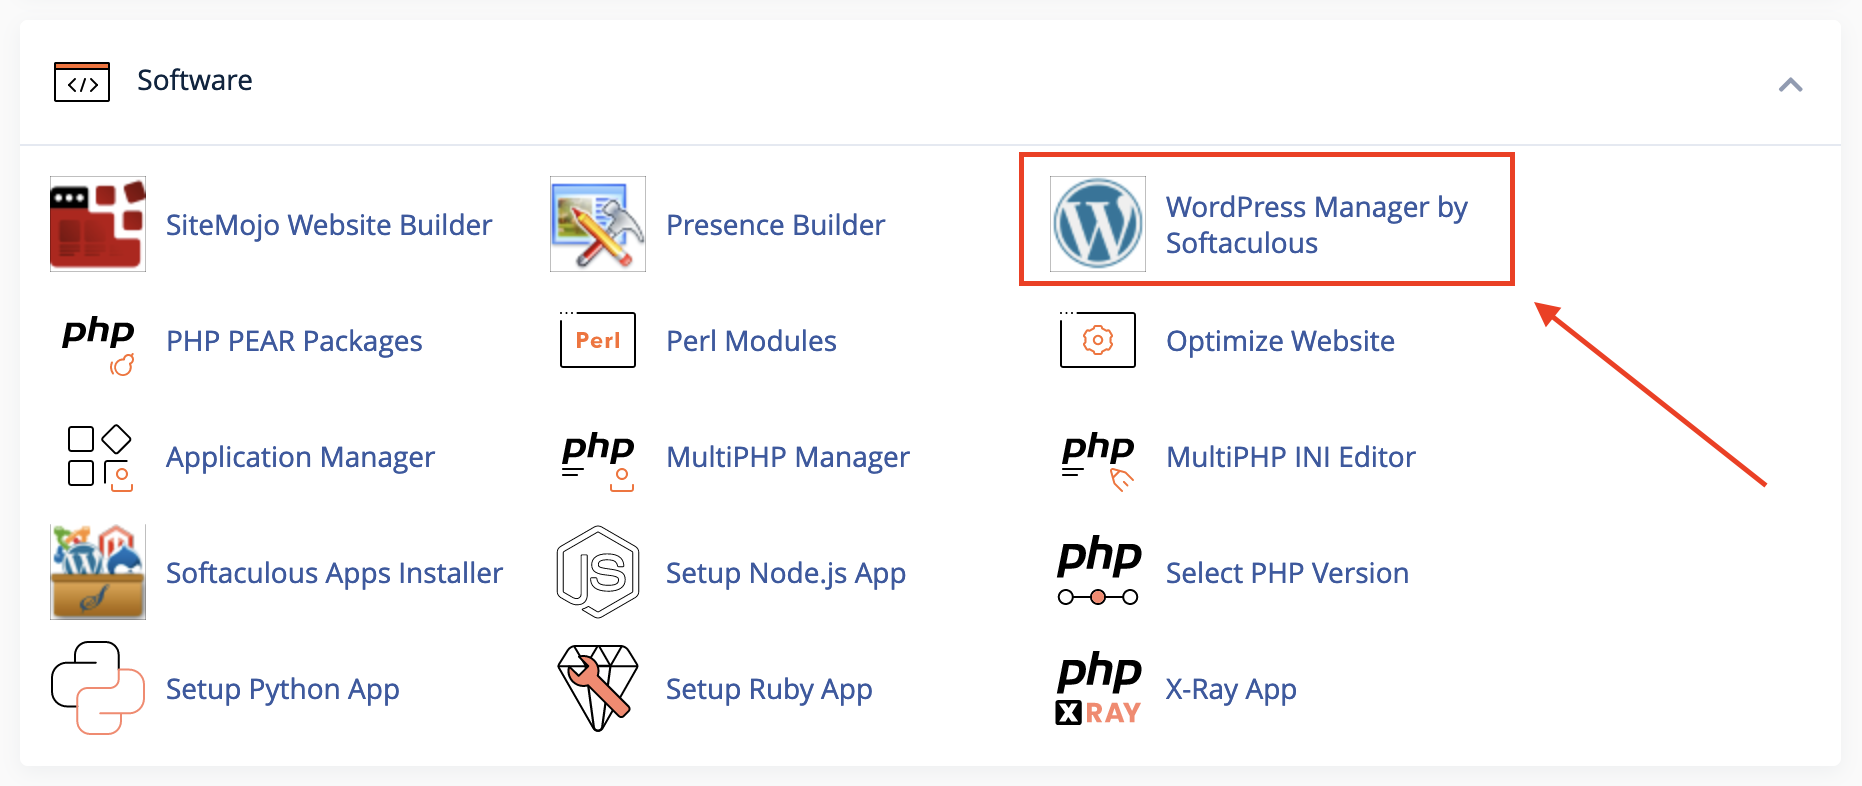
- Click on WordPress Manager by Softaculous from the Software section.

- Click on Install.
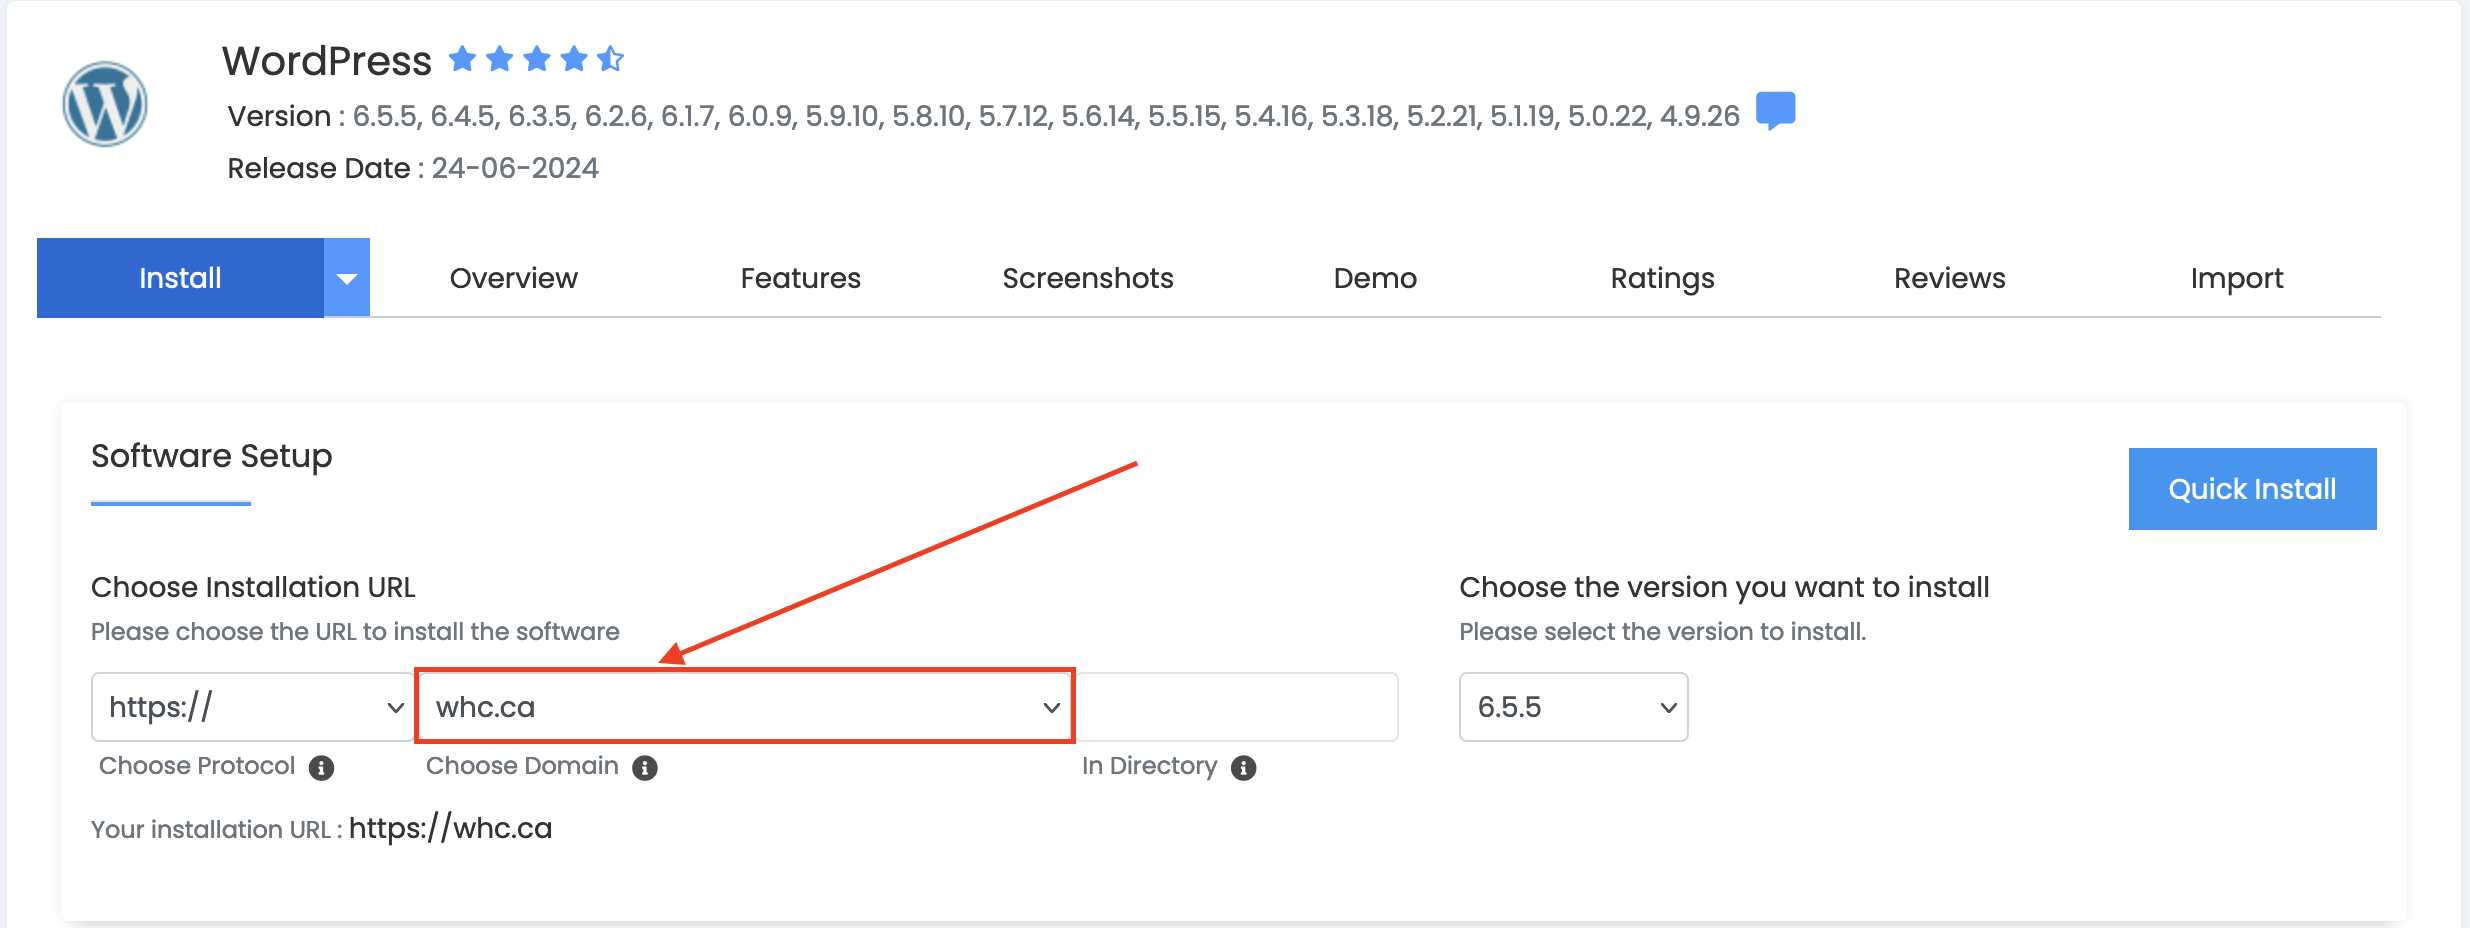
- Choose the domain from the dropdown menu where you want to install WordPress.
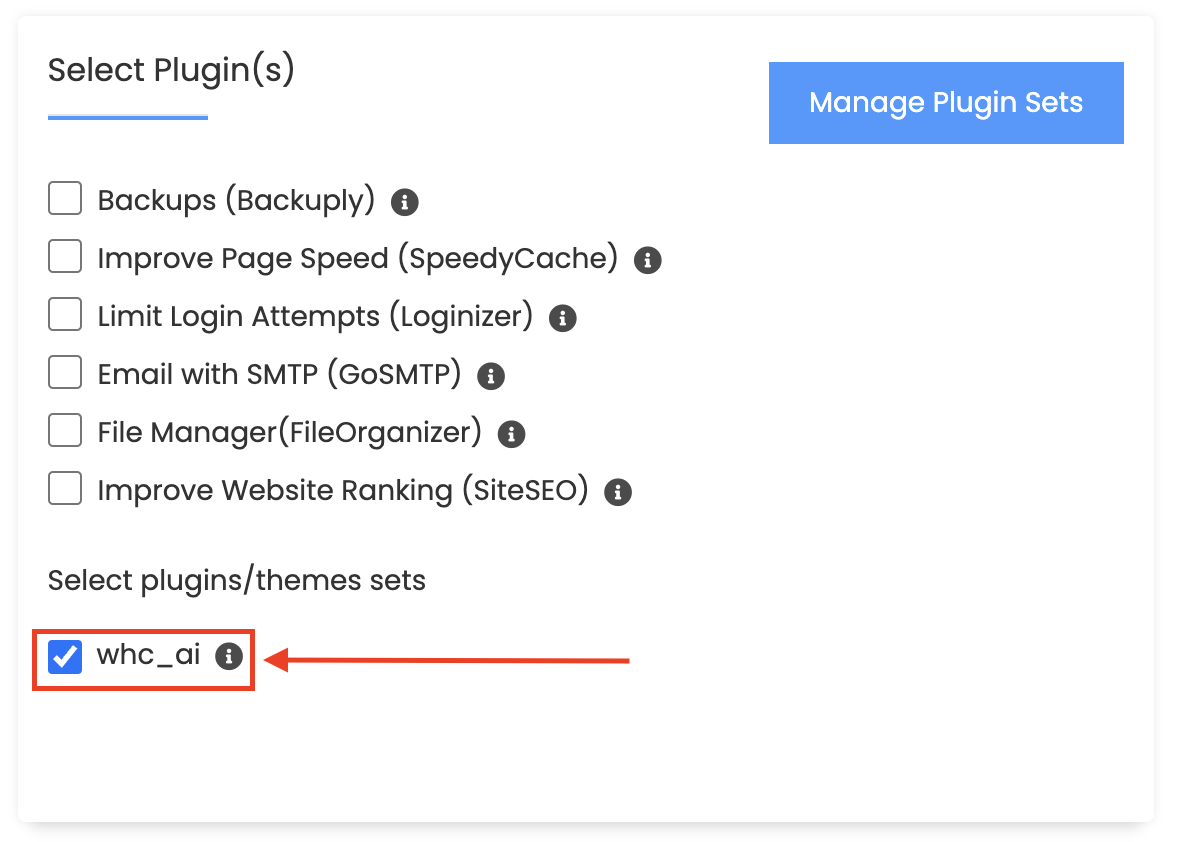
- Select the “whc_ai” option from the Select Plugin(s) section.
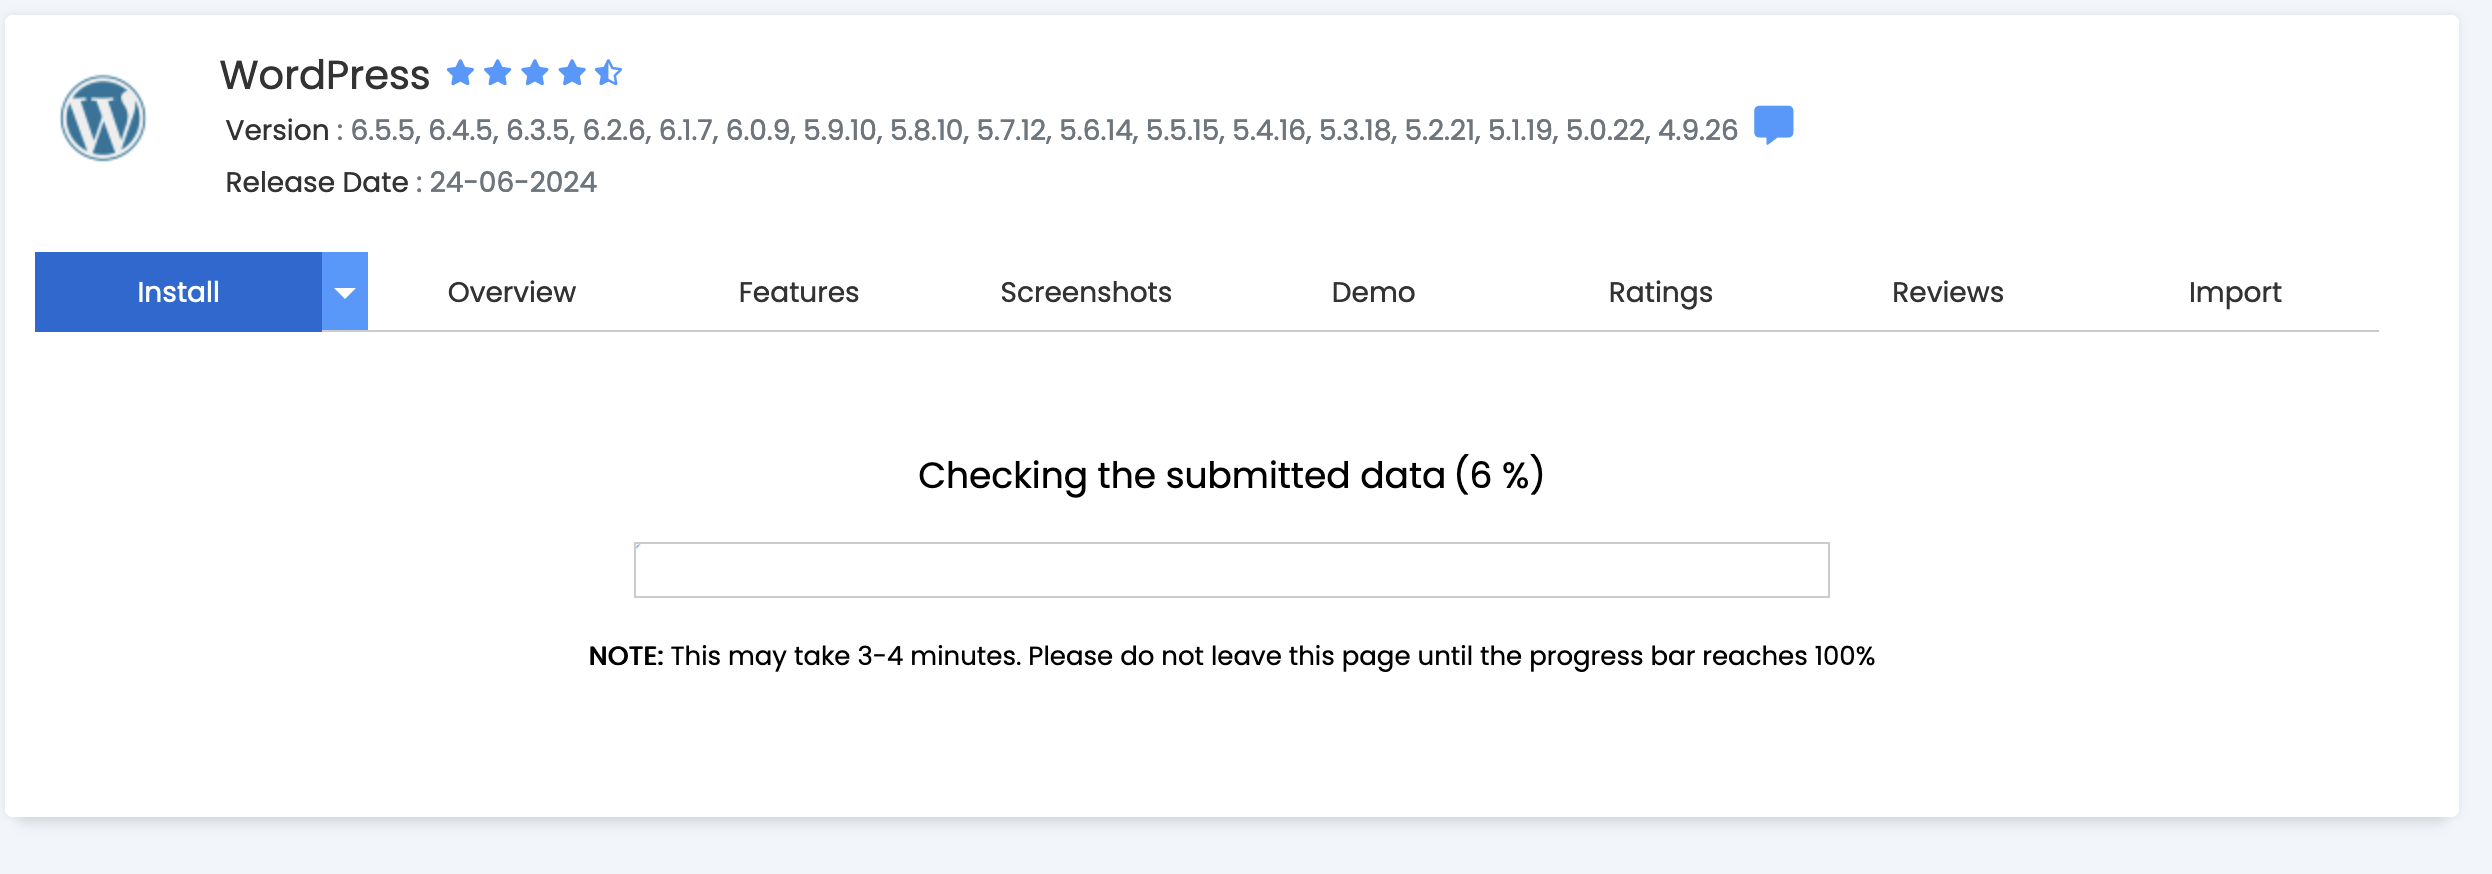
- Click on Install down at the bottom of the page.
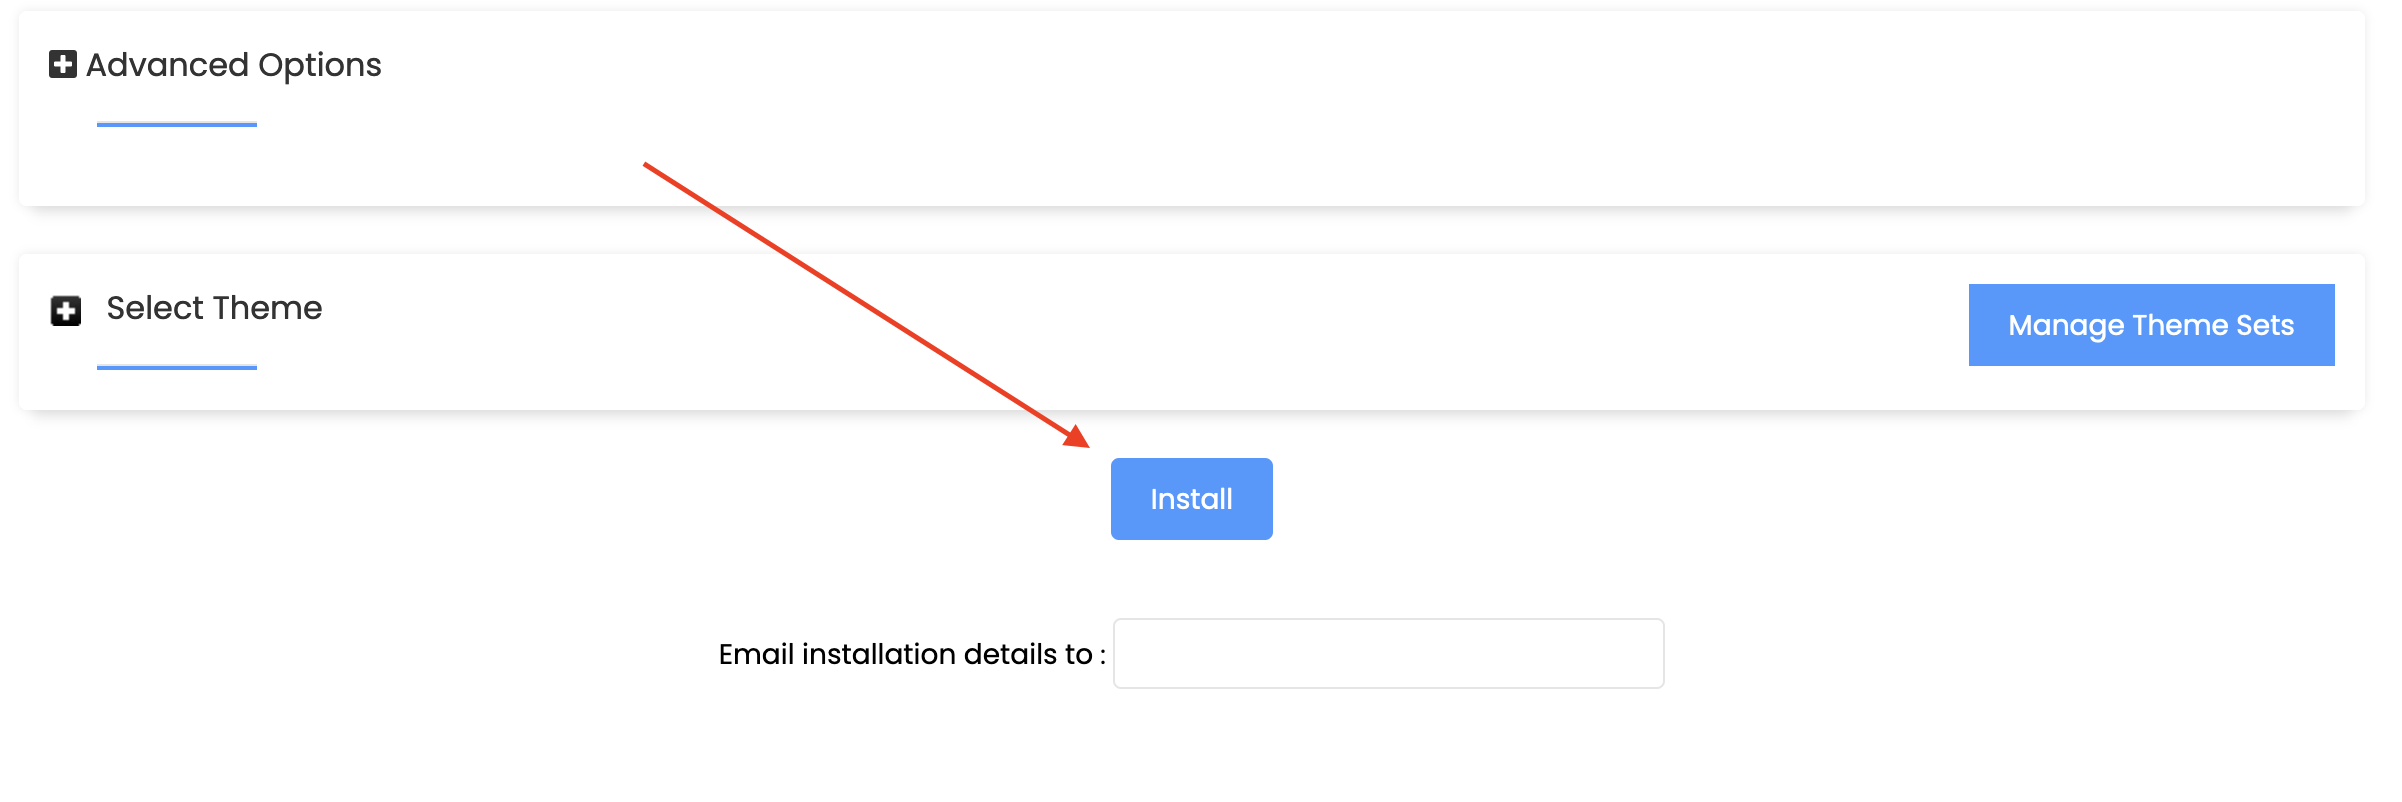
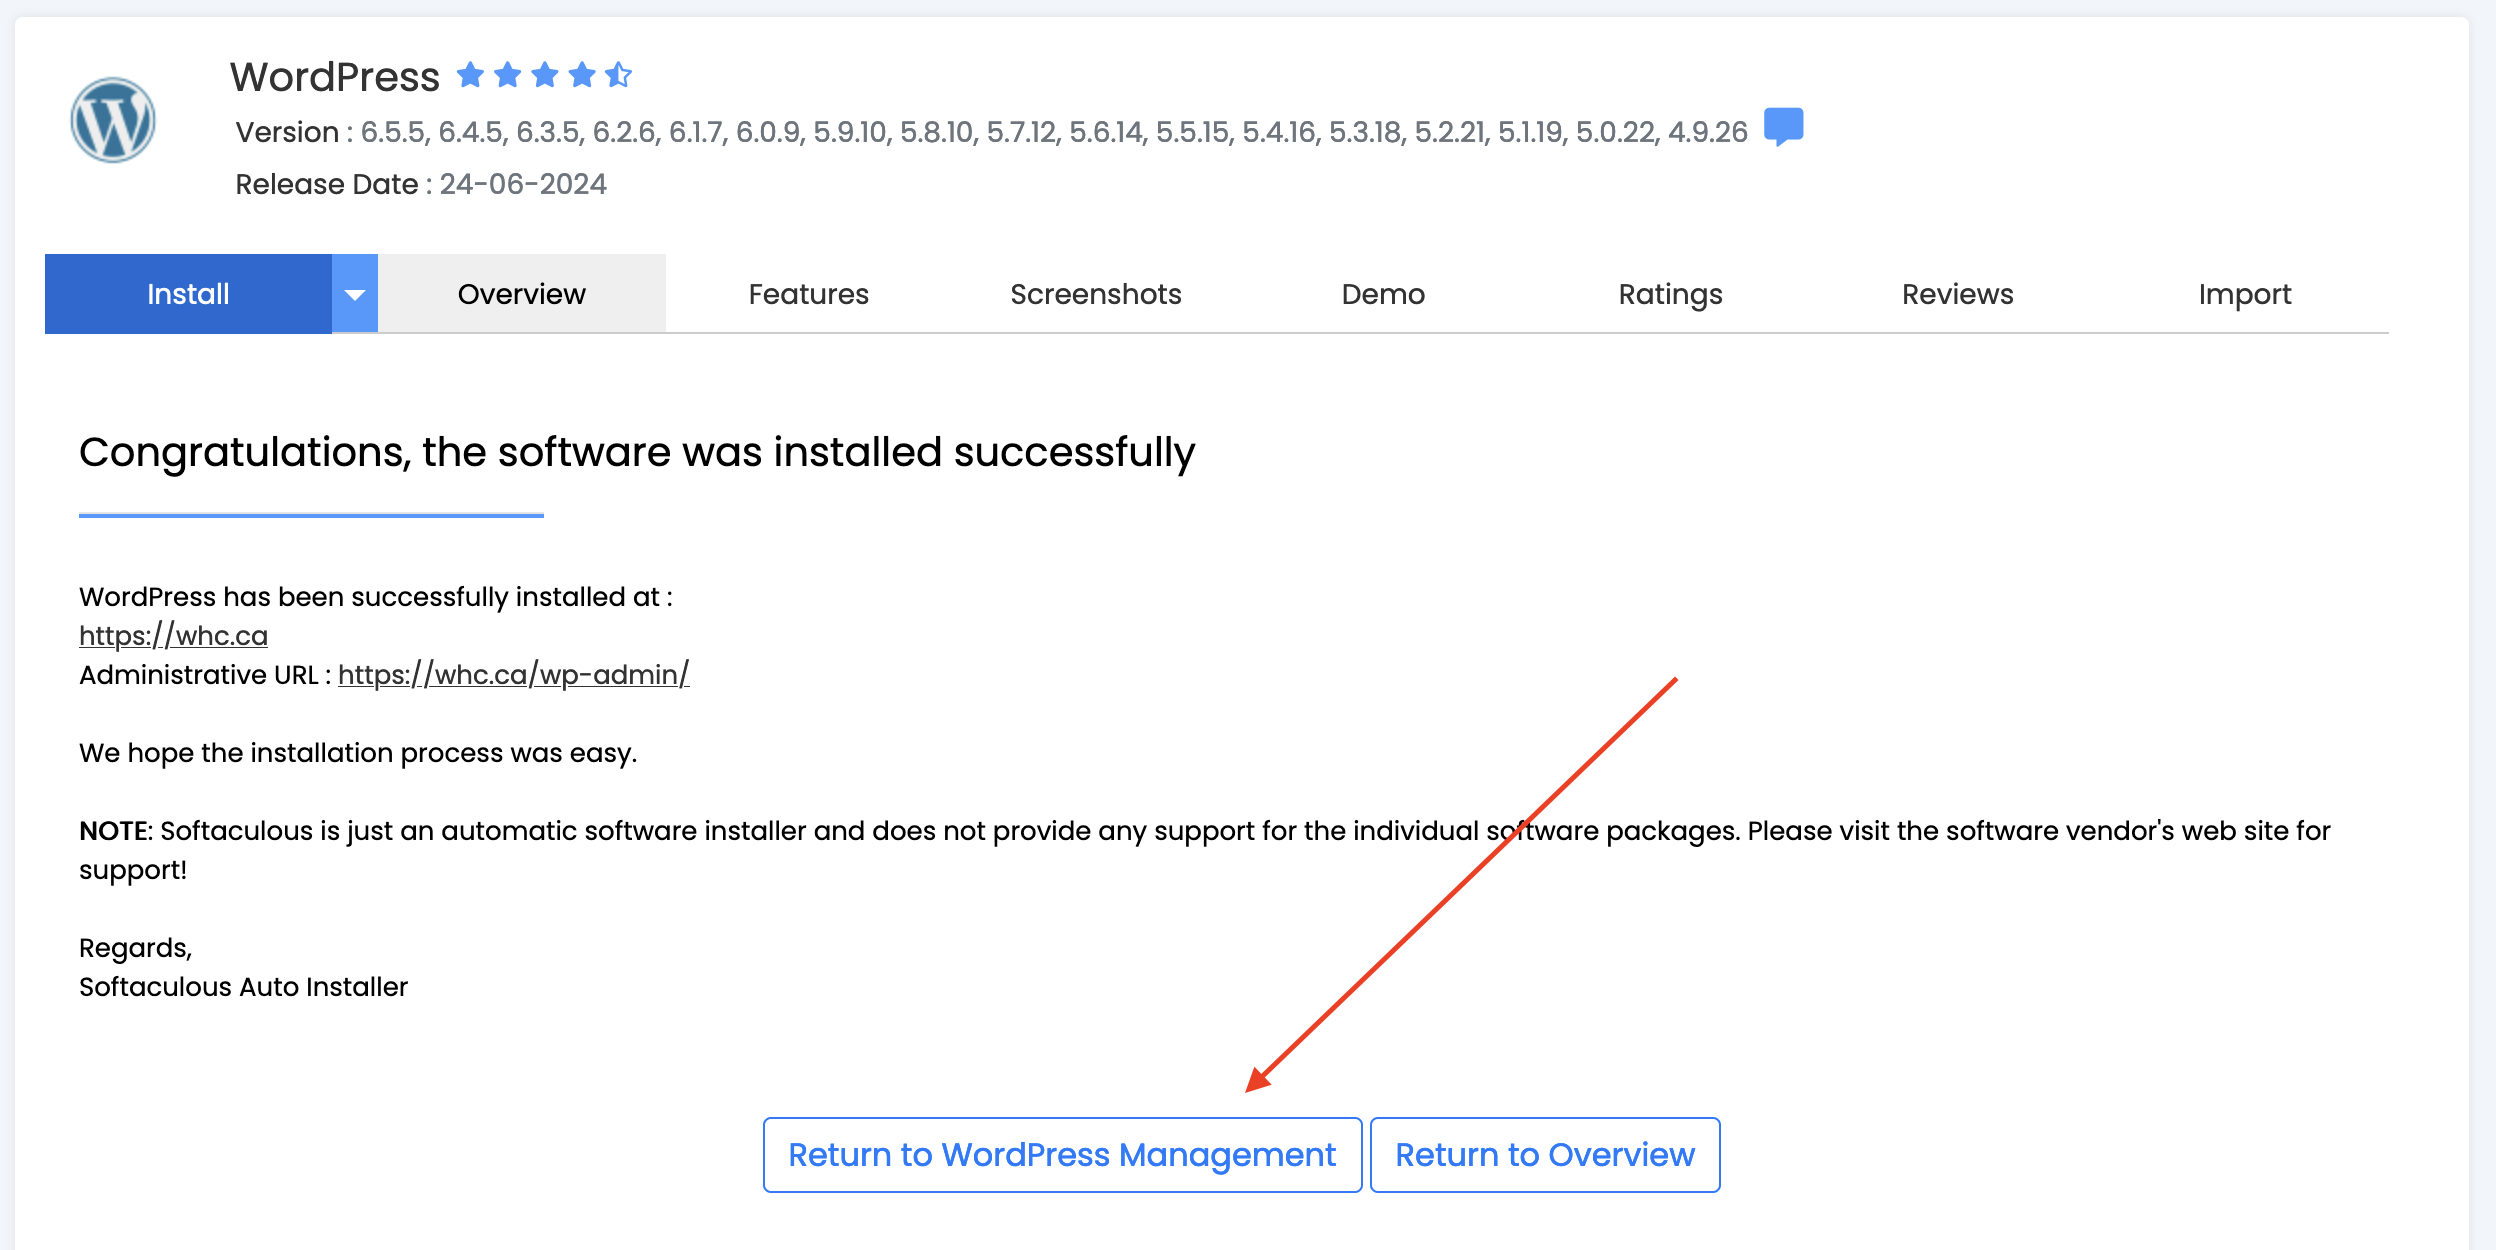
- Wait for the installation to complete.
- Click on Return to WordPress Management once the installation is complete.
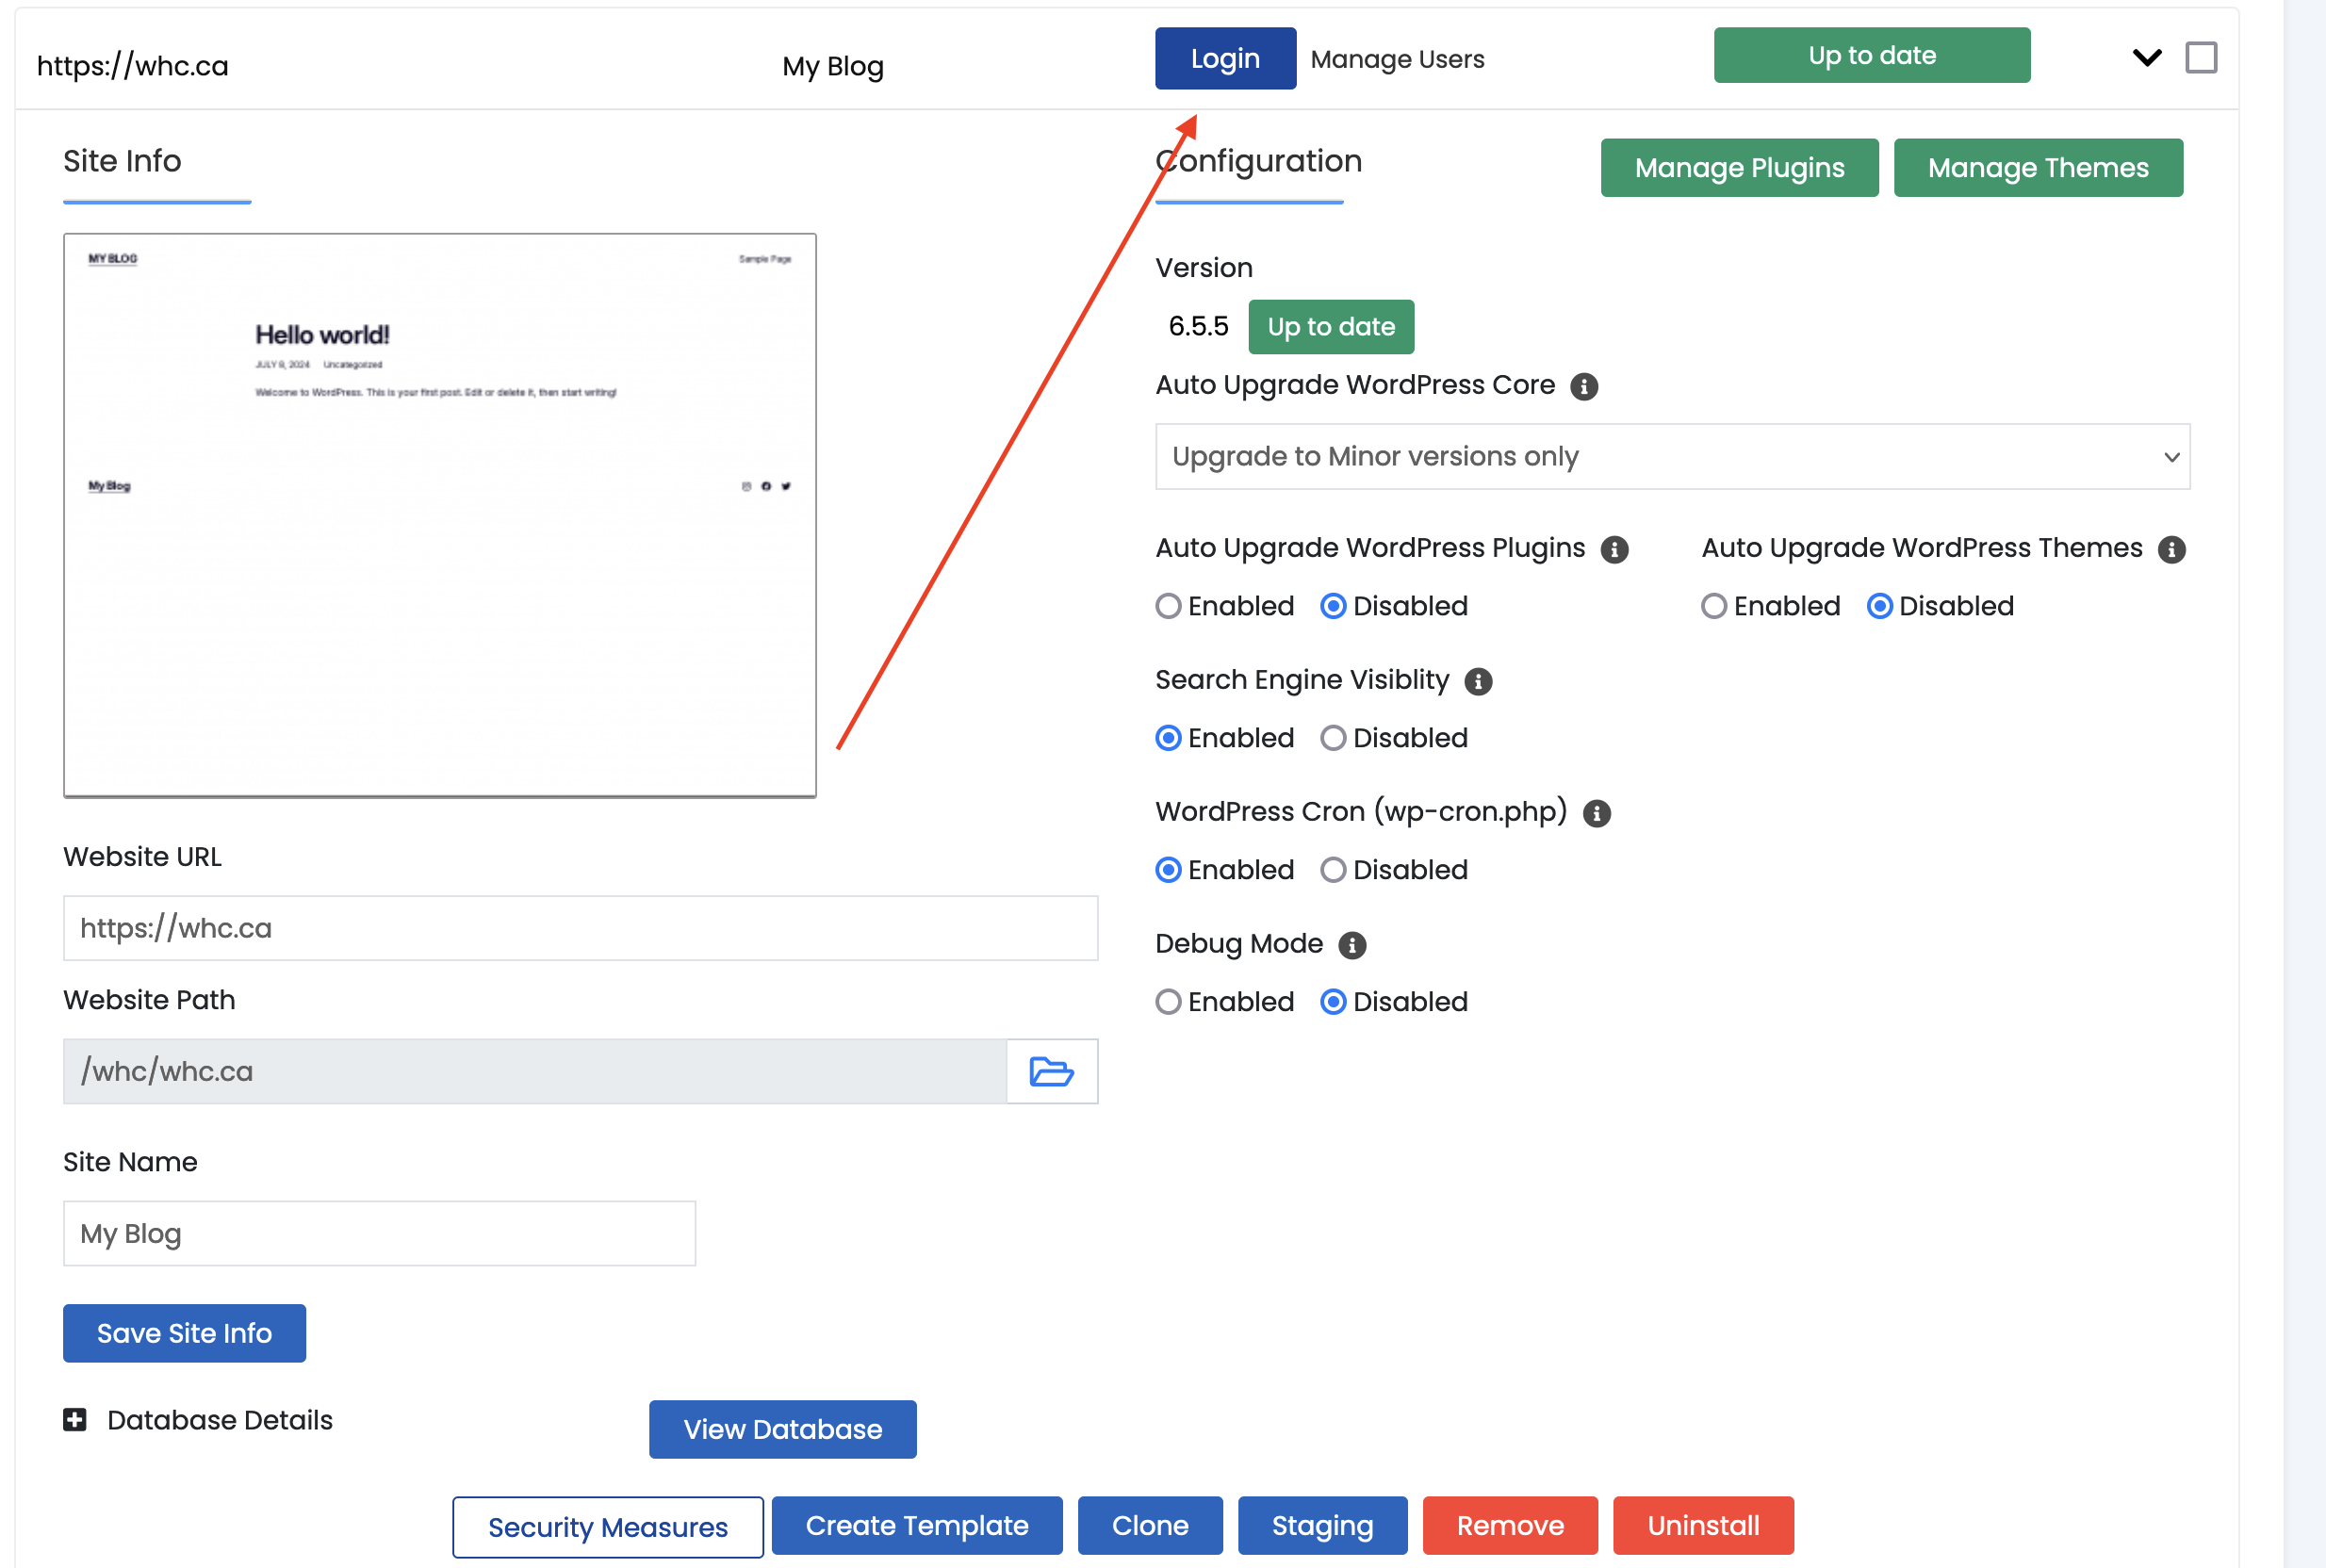
- Click on Login to start using AI-powered WordPress.
- Read this article to help you get started with AI-powered WordPress.
For existing WordPress installations
Warning
The AI-Powered WordPress feature only works with the Gutenberg editor. To fully utilize this feature, you must switch to Gutenberg. Please note, this change can potentially break your website. We highly recommend backing up your site before installing the AI feature.- Log in to cPanel.
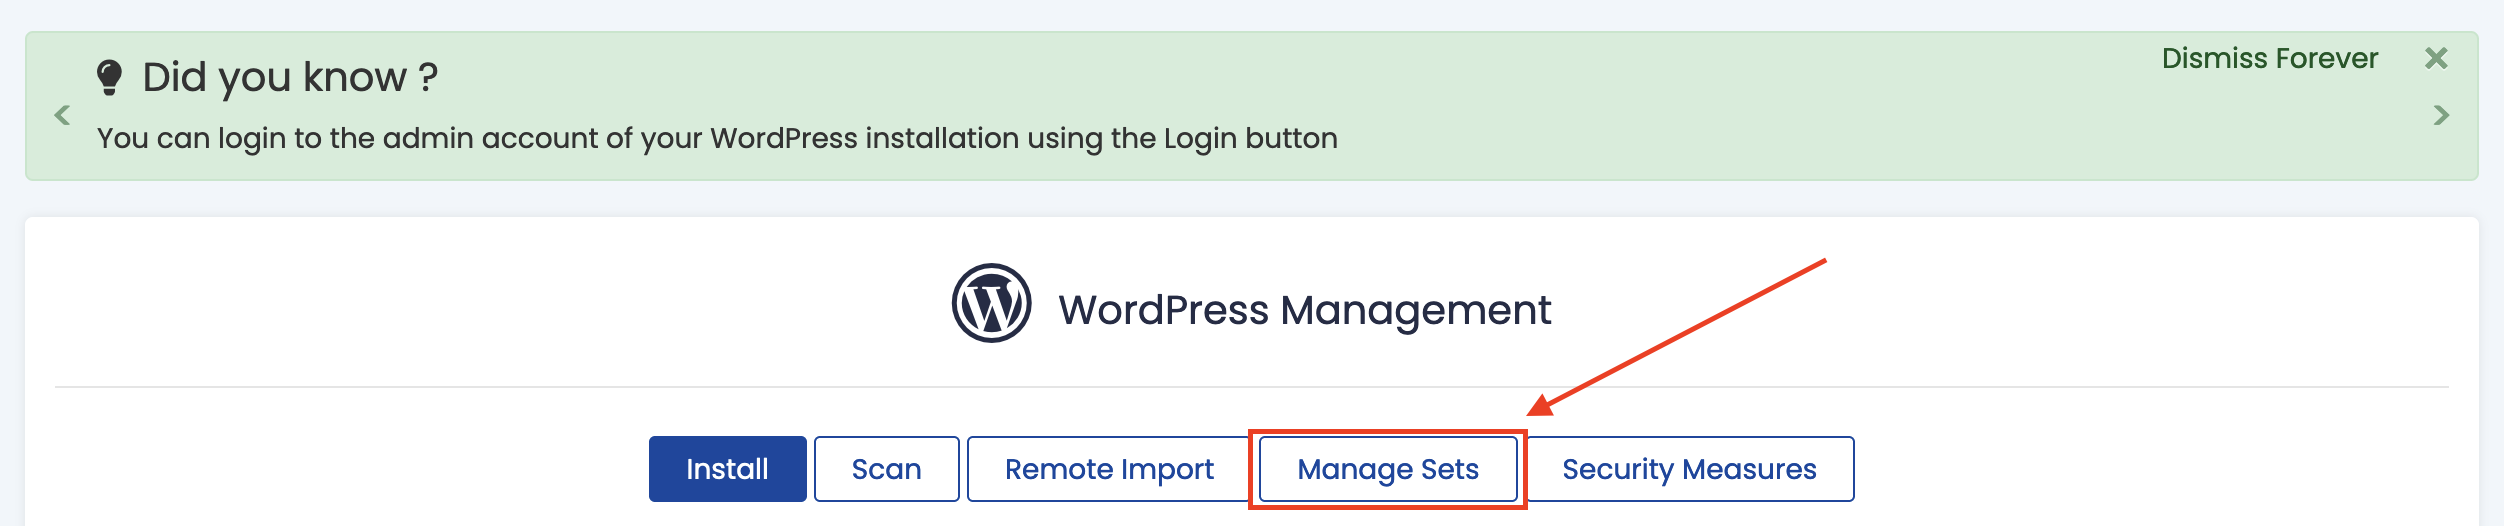
- Click WordPress Manager by Softaculous from the Software section.
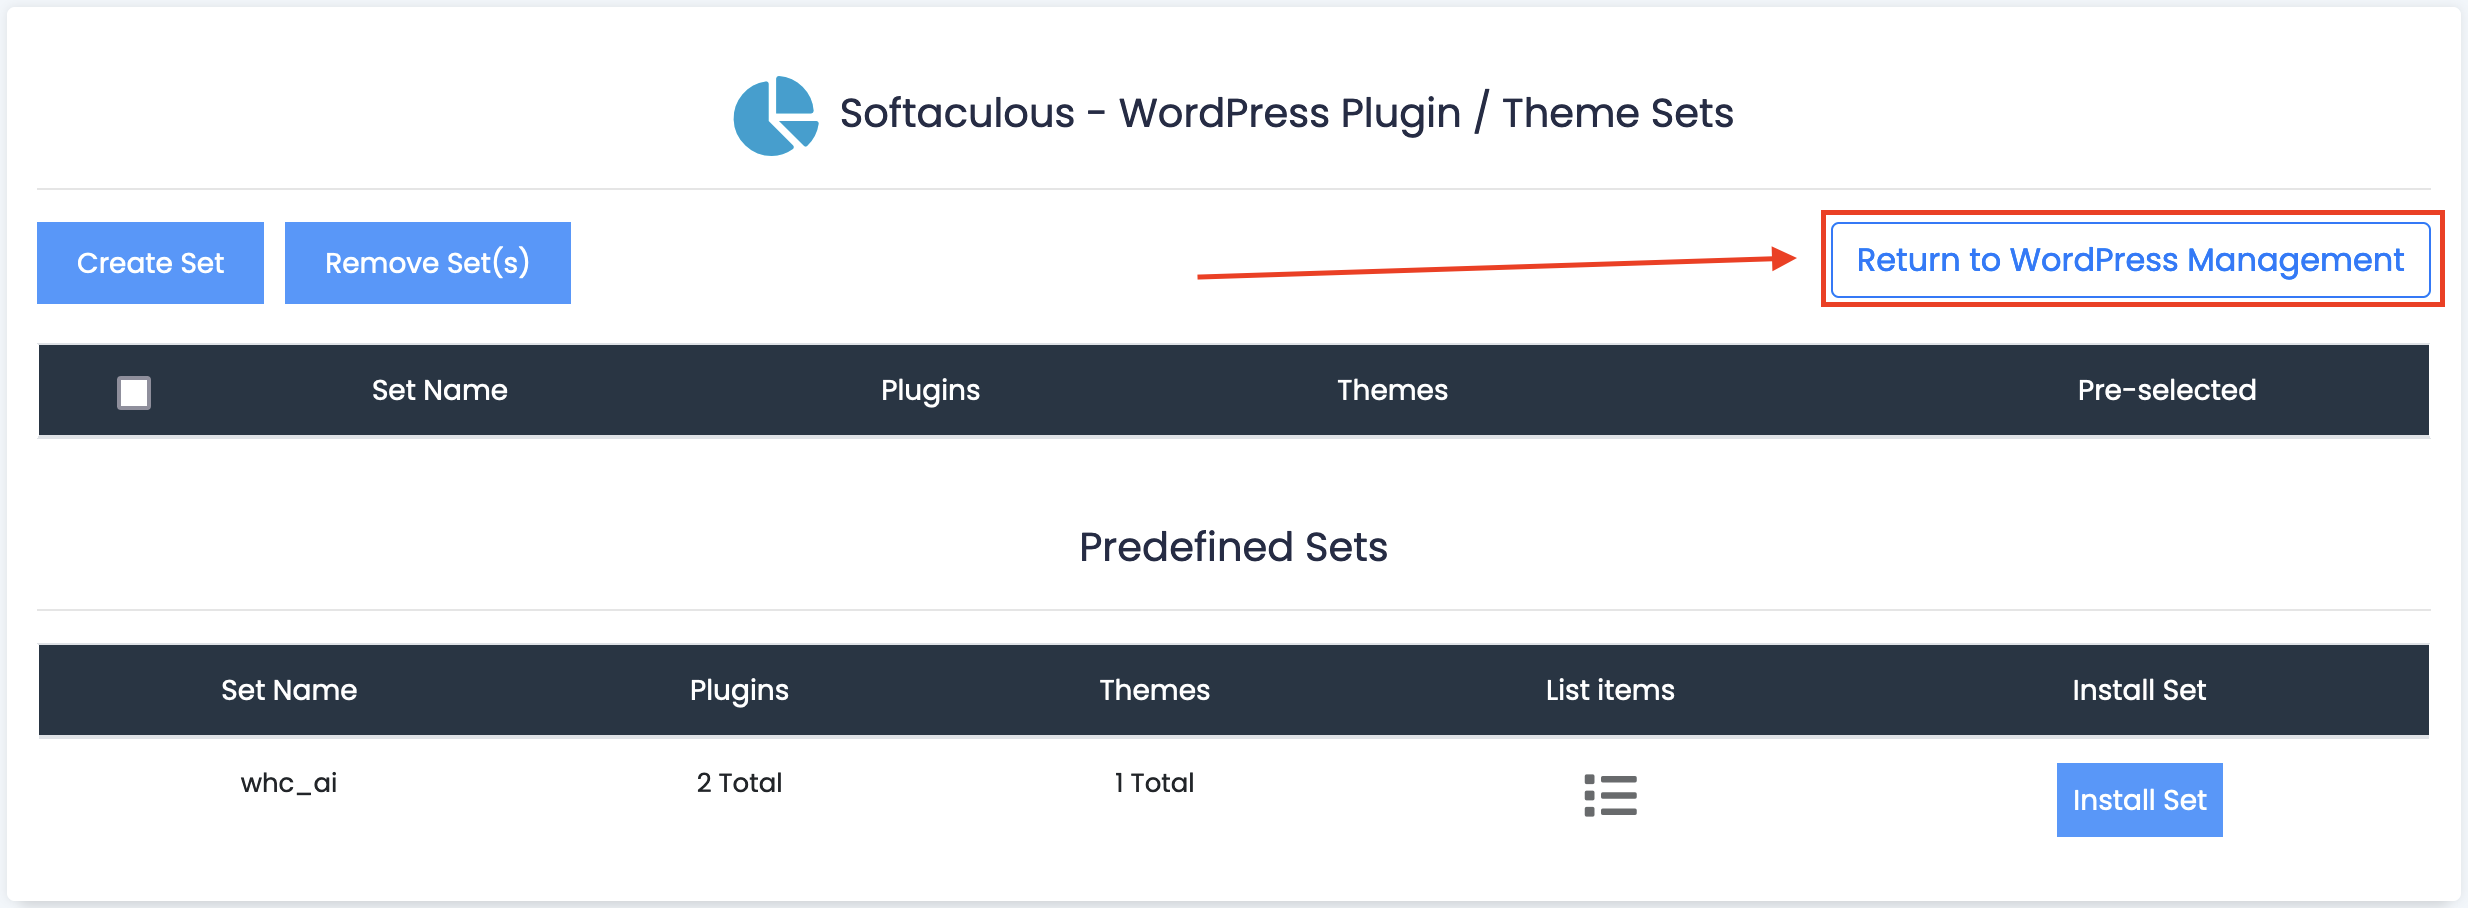
- Click Manage Sets.
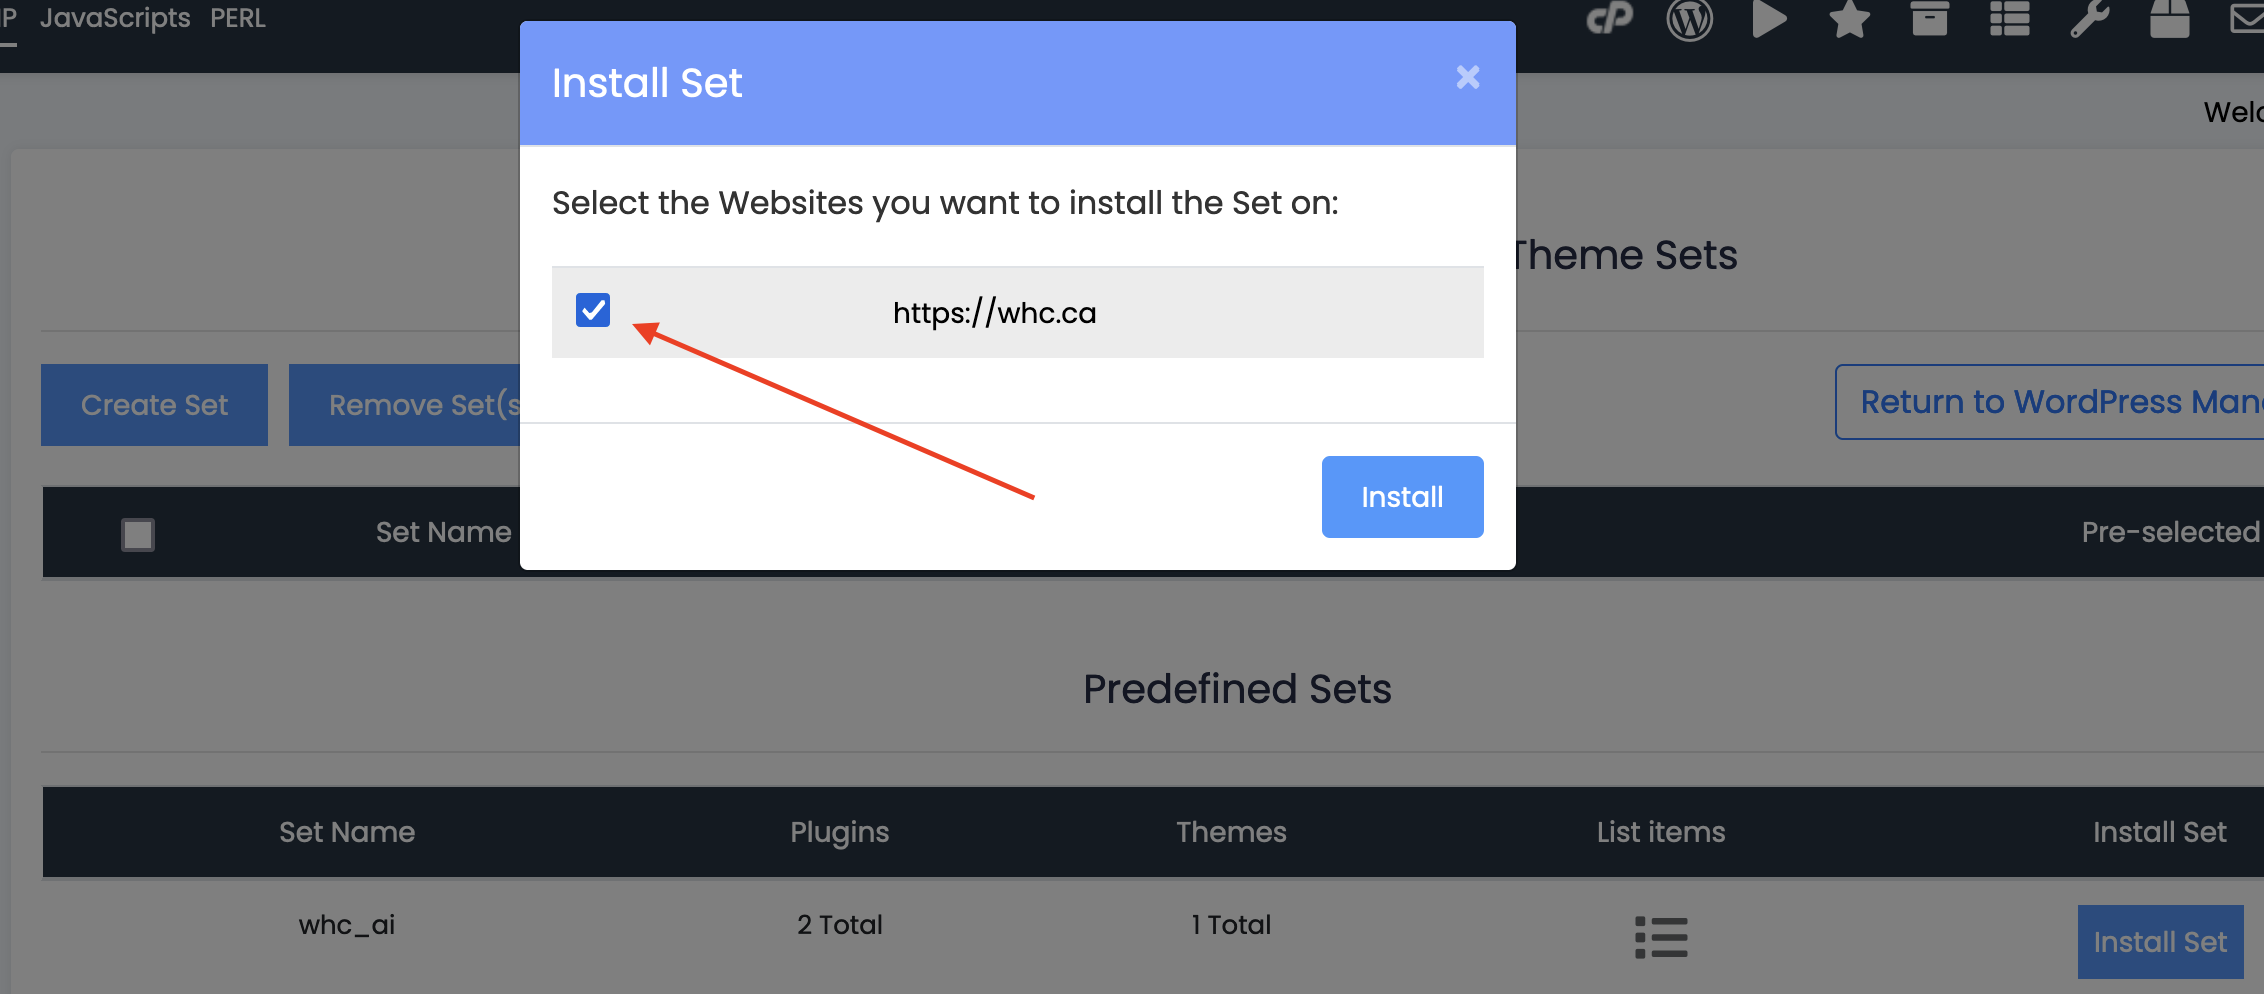
- Click Install Set for Set Name “whc ai”.

- Tick the box next to the domain you want to install the AI feature.
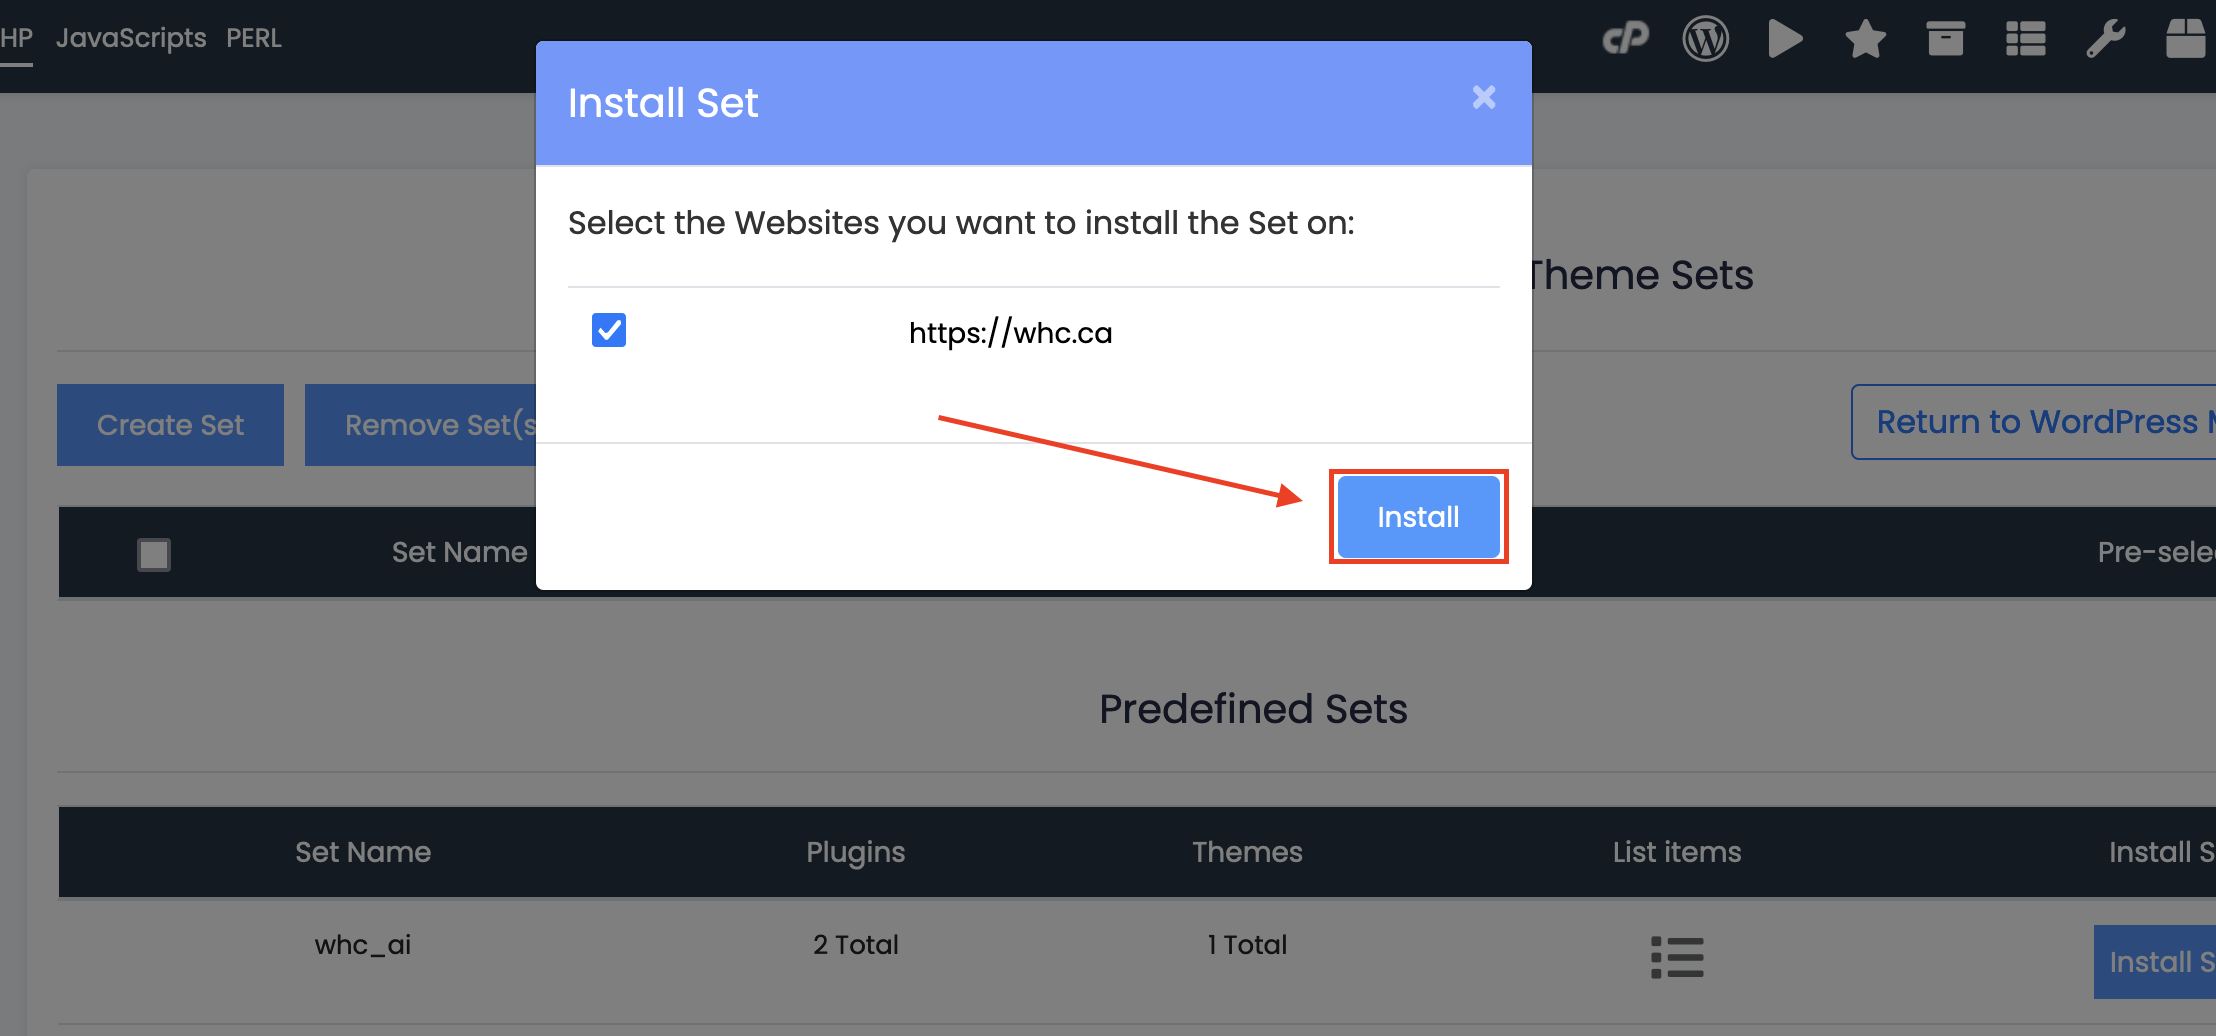
- Click Install.
- Close the pop-up window once you see the message “Set installed successfully”.
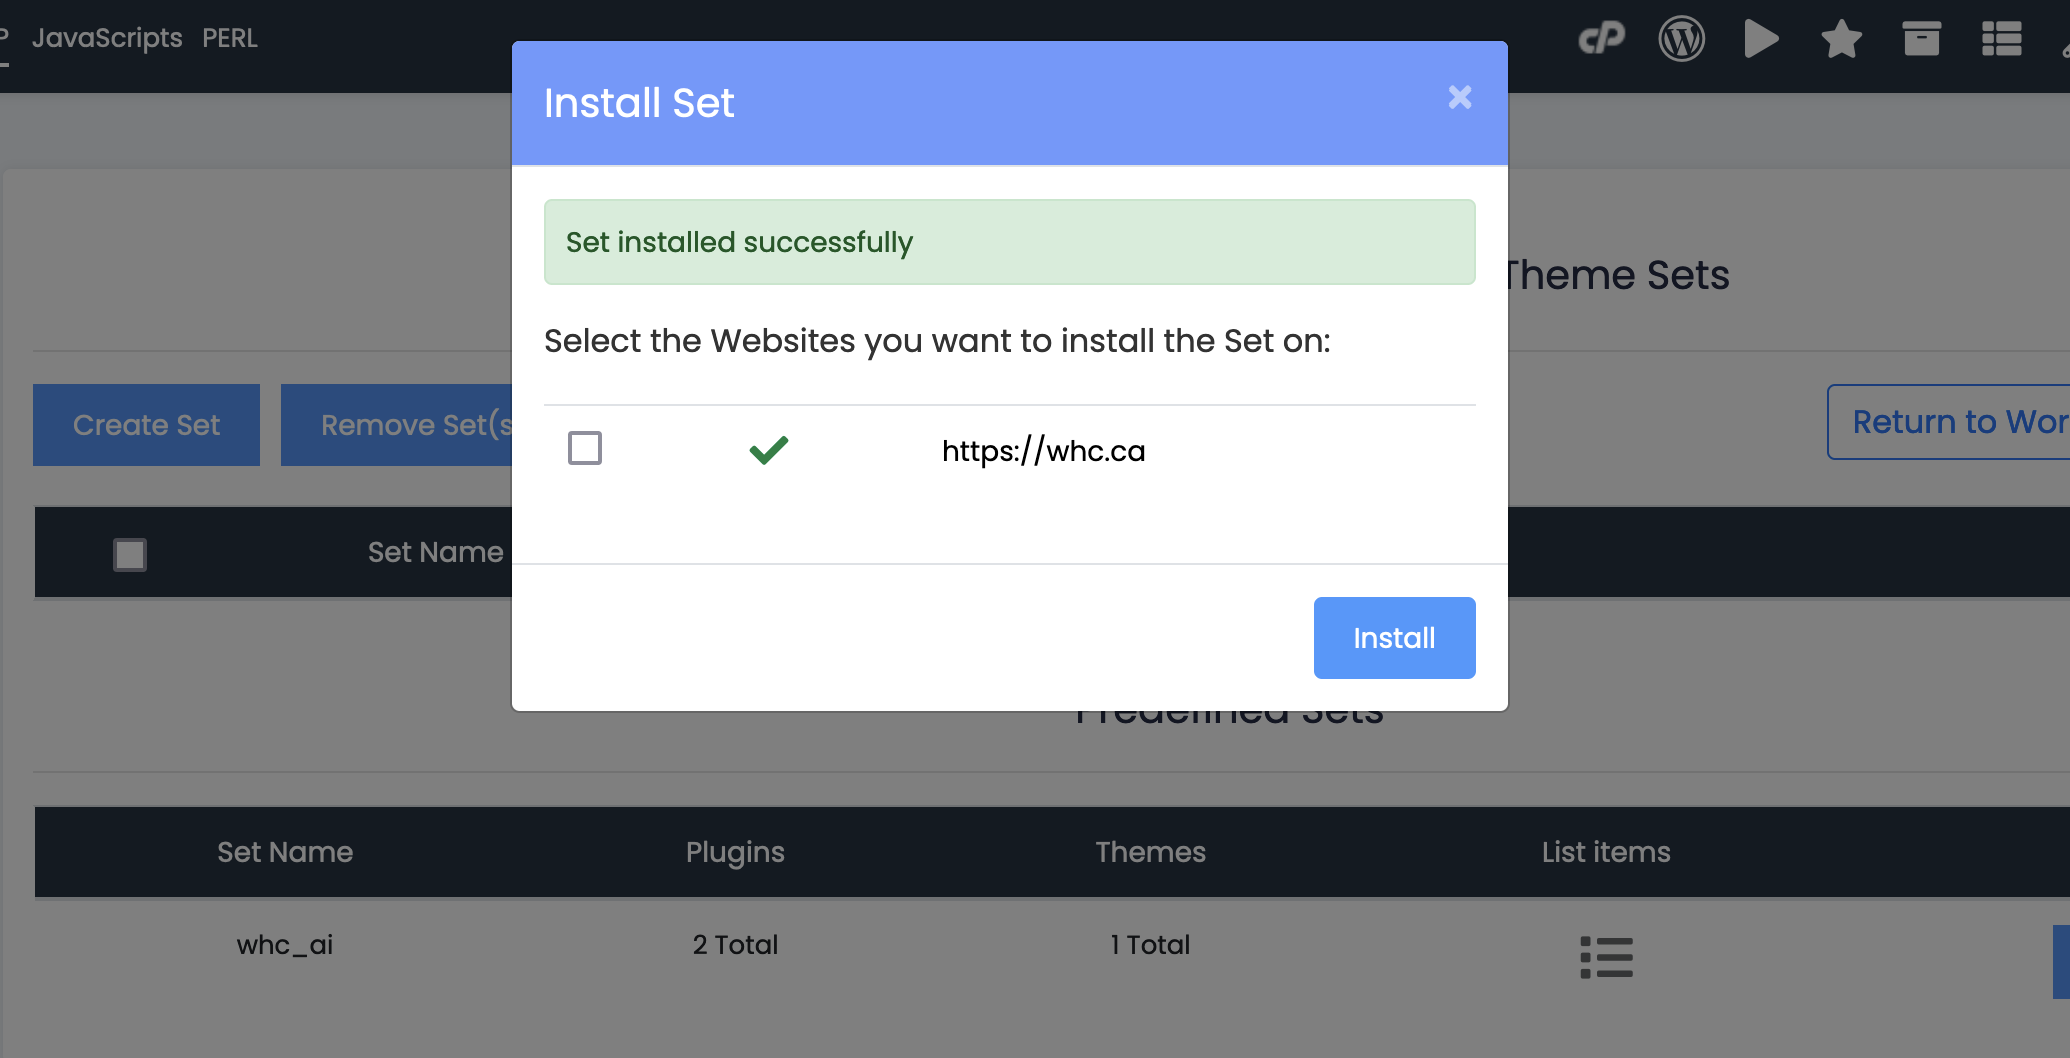
- Click Return to WordPress Management.
- Click on Login to start using AI-powered WordPress.

- Read this article to help you get started with AI-powered WordPress content creation.
