How to Use the AI-Powered WordPress Content Creation Functionality
Introduction
The AI-powered WordPress content creation feature helps you create and edit content easily using artificial intelligence. It makes managing your website simple and efficient by generating high-quality text and images.
Features of the Content Creation Functionality
- Text Generation: Create text by typing a prompt.
- Text Editing: Improve existing text with AI suggestions.
- Image Generation: Generate images based on your descriptions.
- Section Addition: Add new sections to your website quickly.
- Ease of Use: Access AI tools directly from your WordPress dashboard.
- Content Customization: Tailor content to match your brand's style.
These features save time and effort, making it easy to enhance your website's content.
How to Use the Content Creation Tools
For Adding and Replacing Text
- Log in to your WordPress dashboard.
- Go to Pages from the left navigation menu.
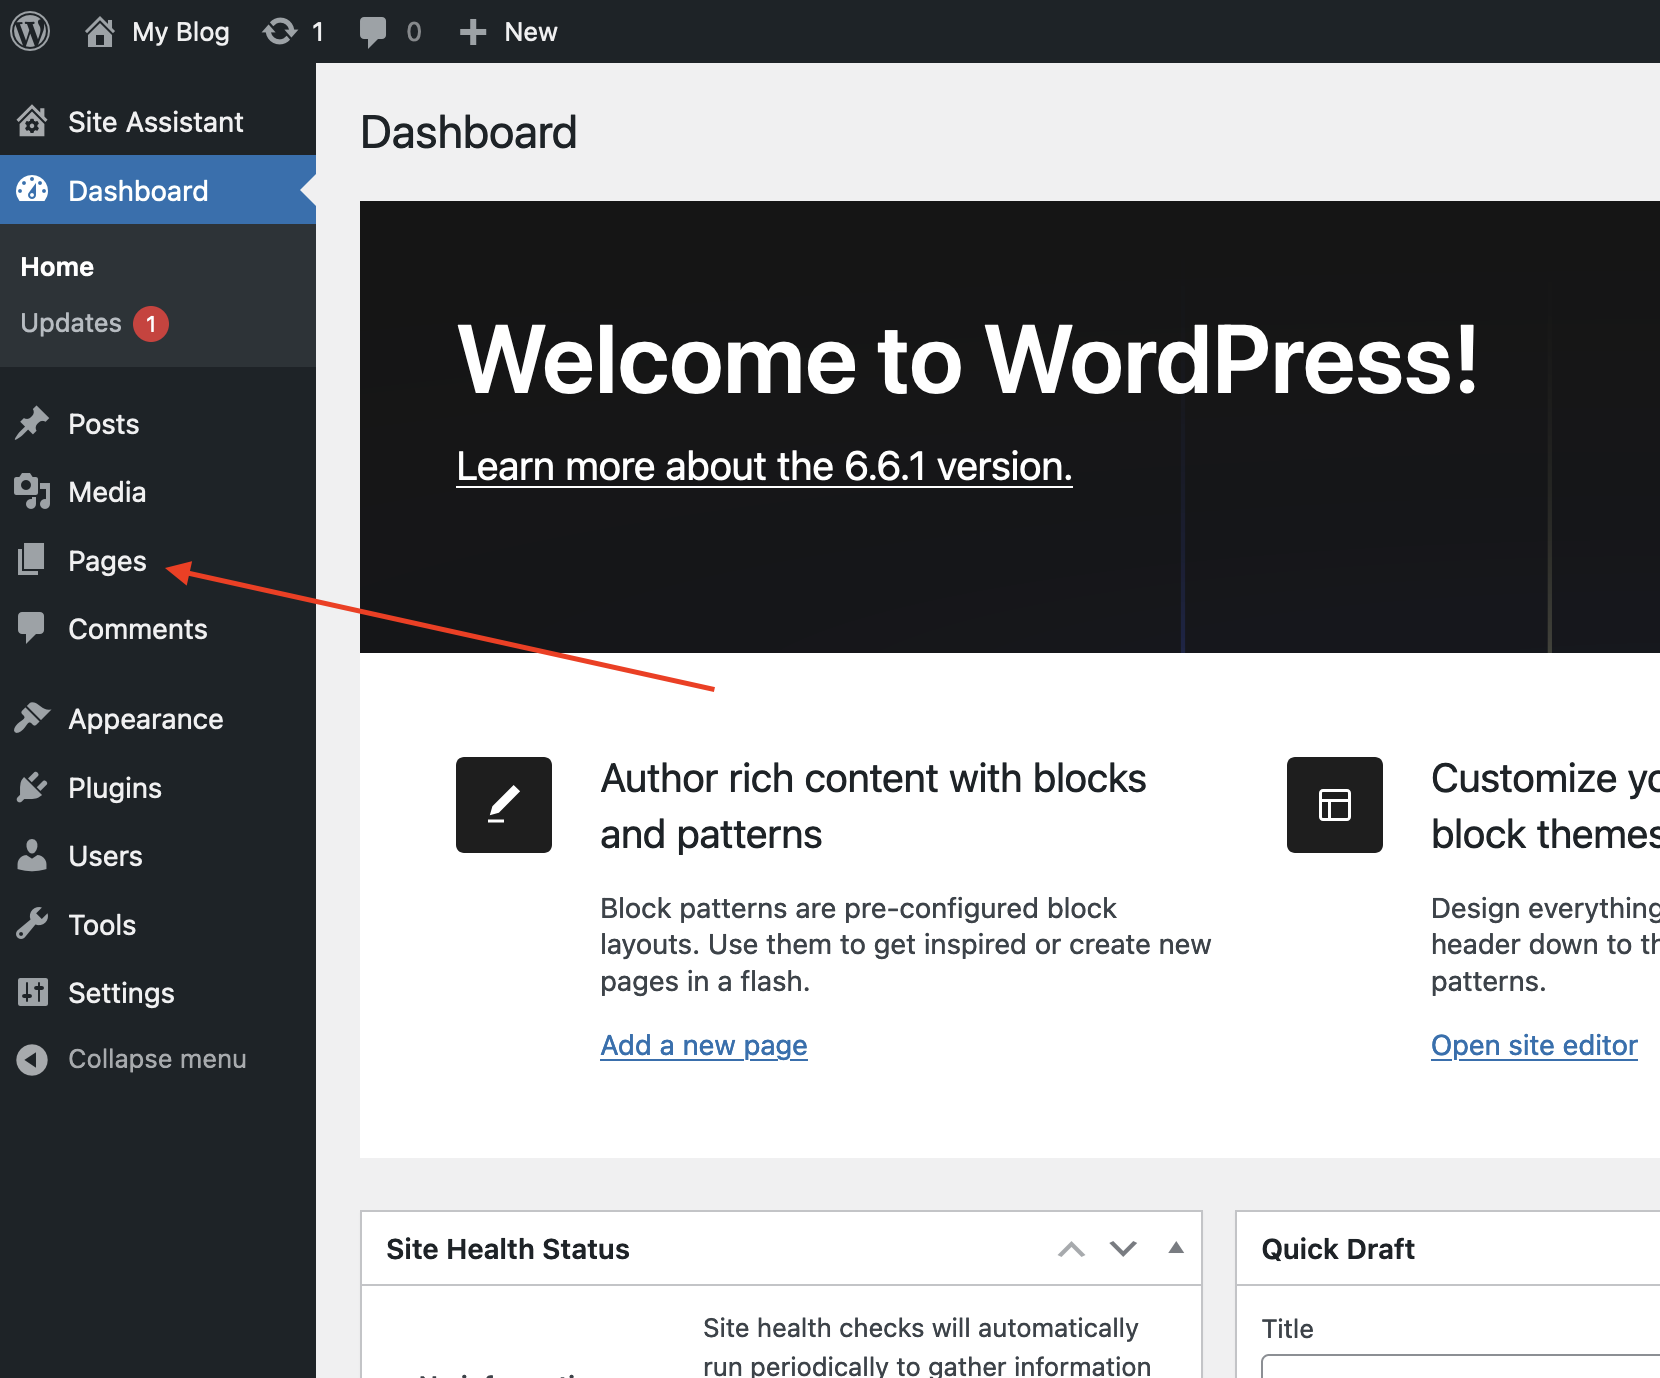
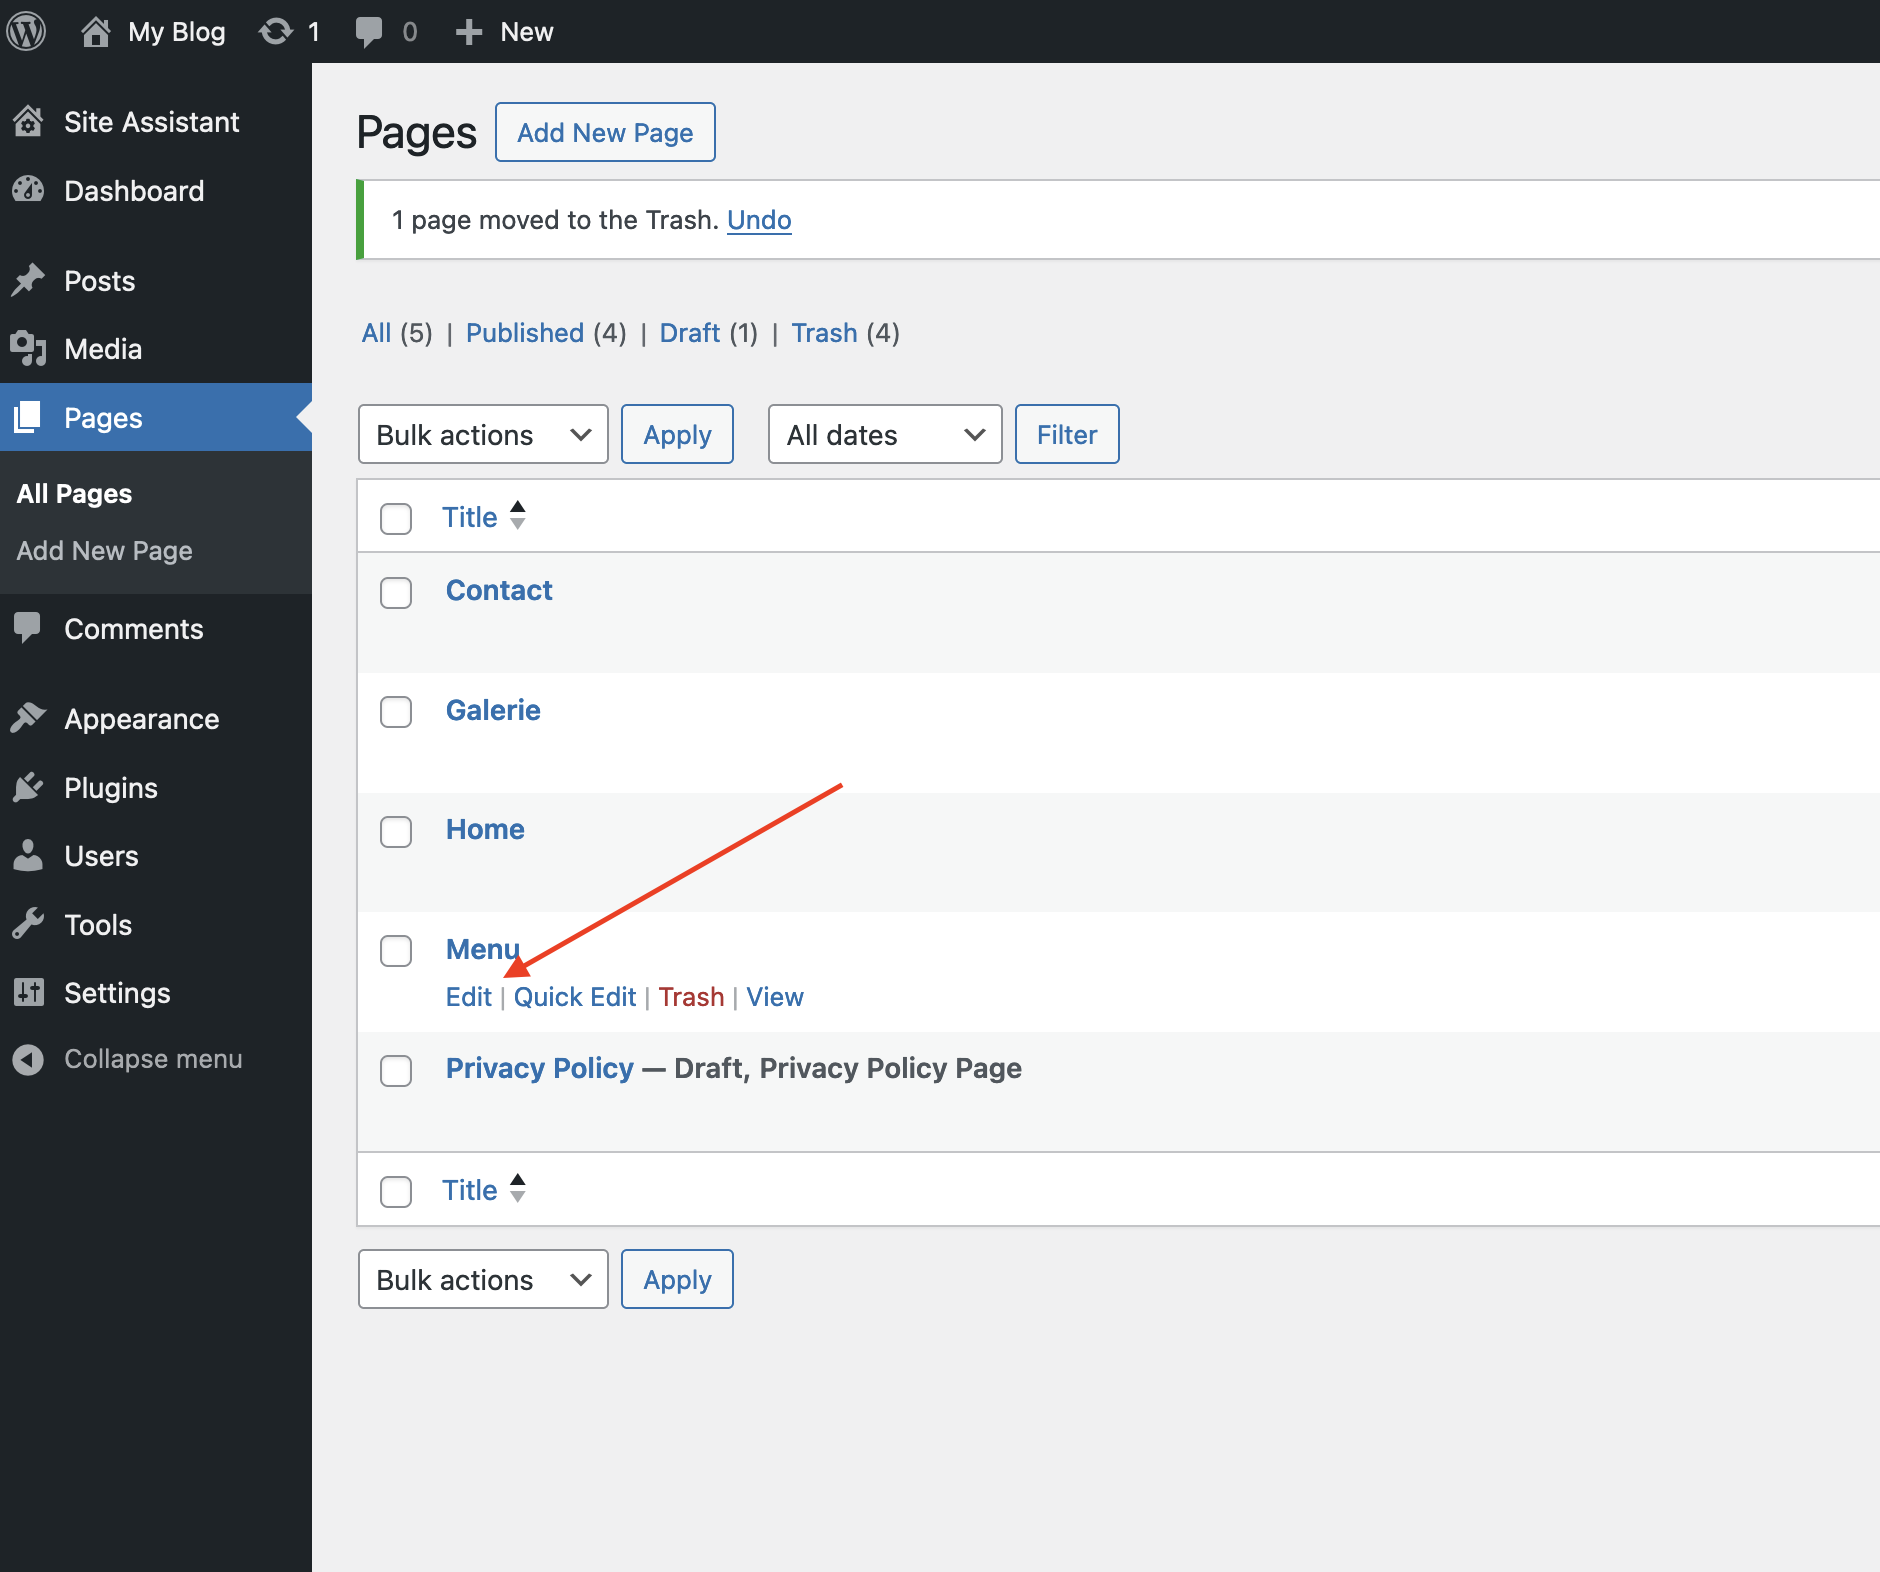
- Hover over the page you want to edit and click Edit.
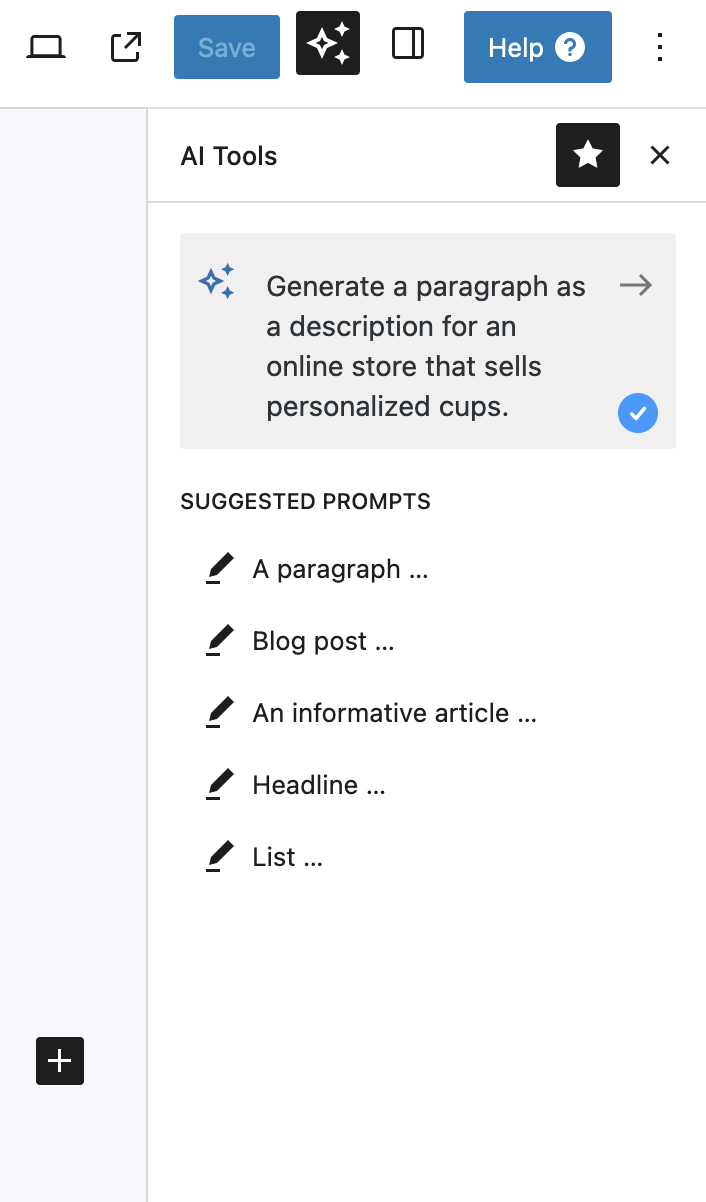
- Click on AI Tools from the top right panel.
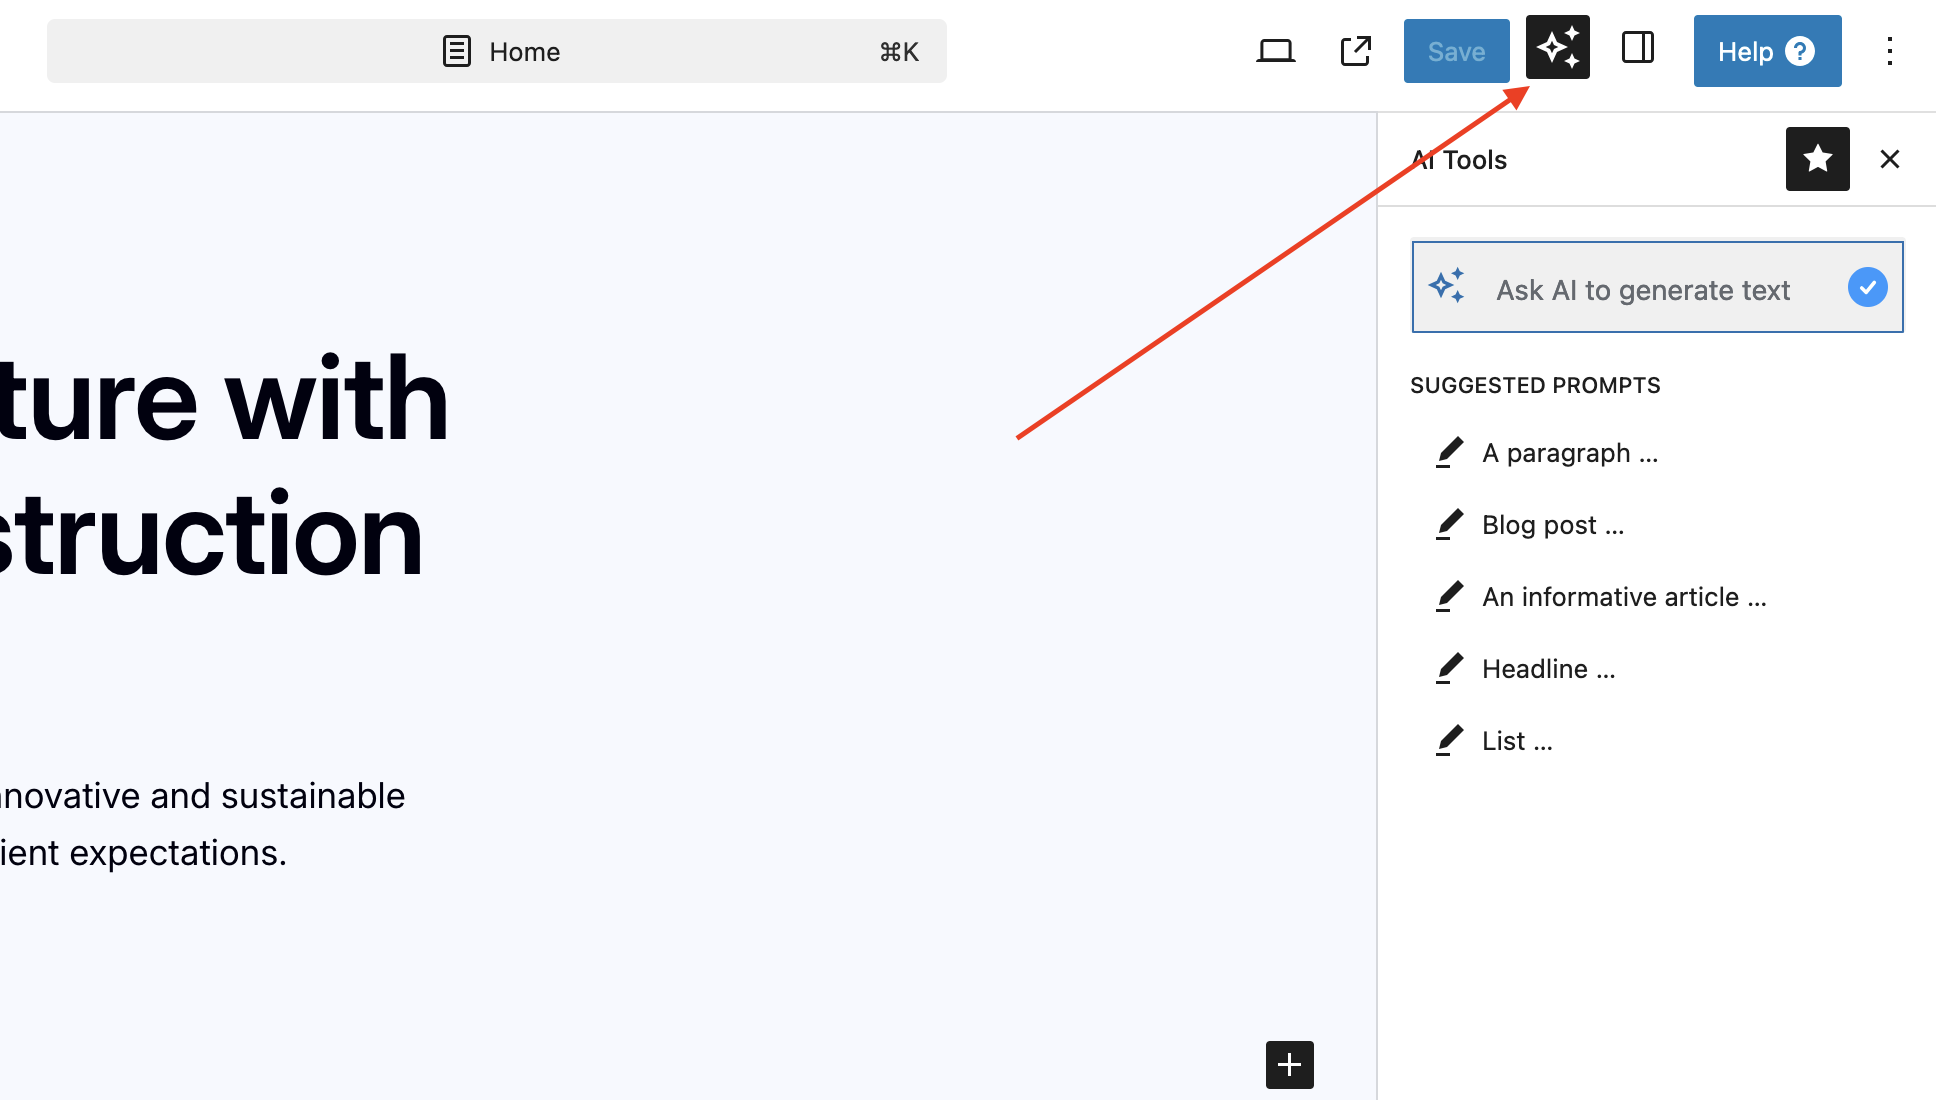
- Type in your prompt to ask AI to generate text for you and hit Enter (you can also utilize the suggested prompts).
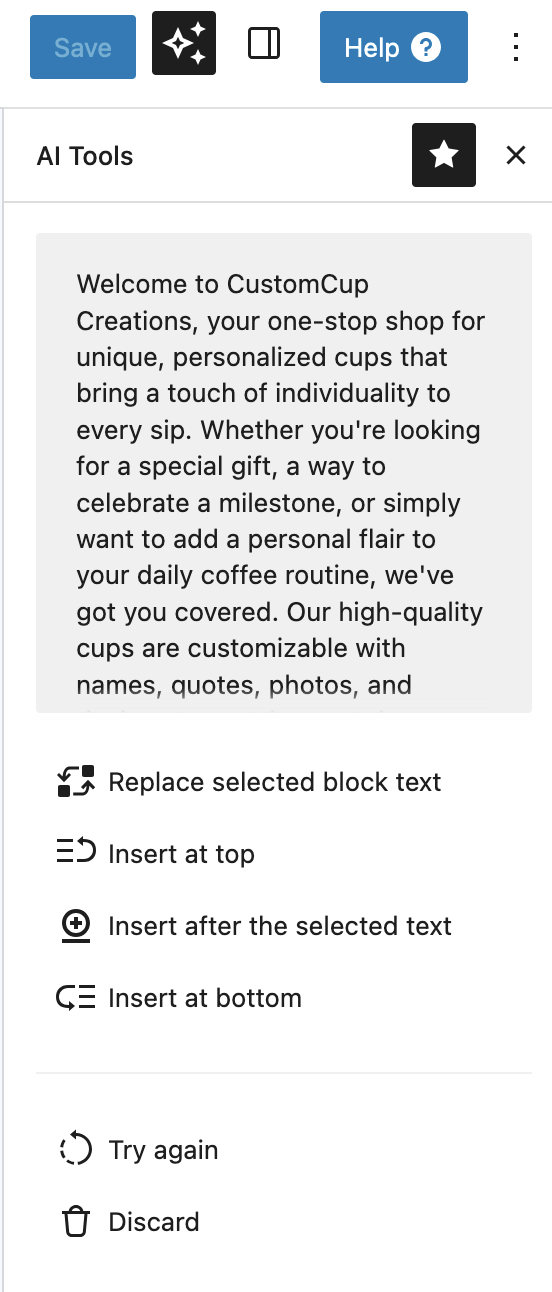
- Copy the text generated by the AI and paste it in the desired section of your website (you also have the option to utilize the features under the text section to quickly or add the generated text).
Note
You also have the possibility to change existing text directly with the editor. To do so, highlight the text you want to edit and click Ask AI. From there, you can choose from several editing options (improve writing, fix spelling & grammar, simplify language etc.), as demonstrated in the screenshot below: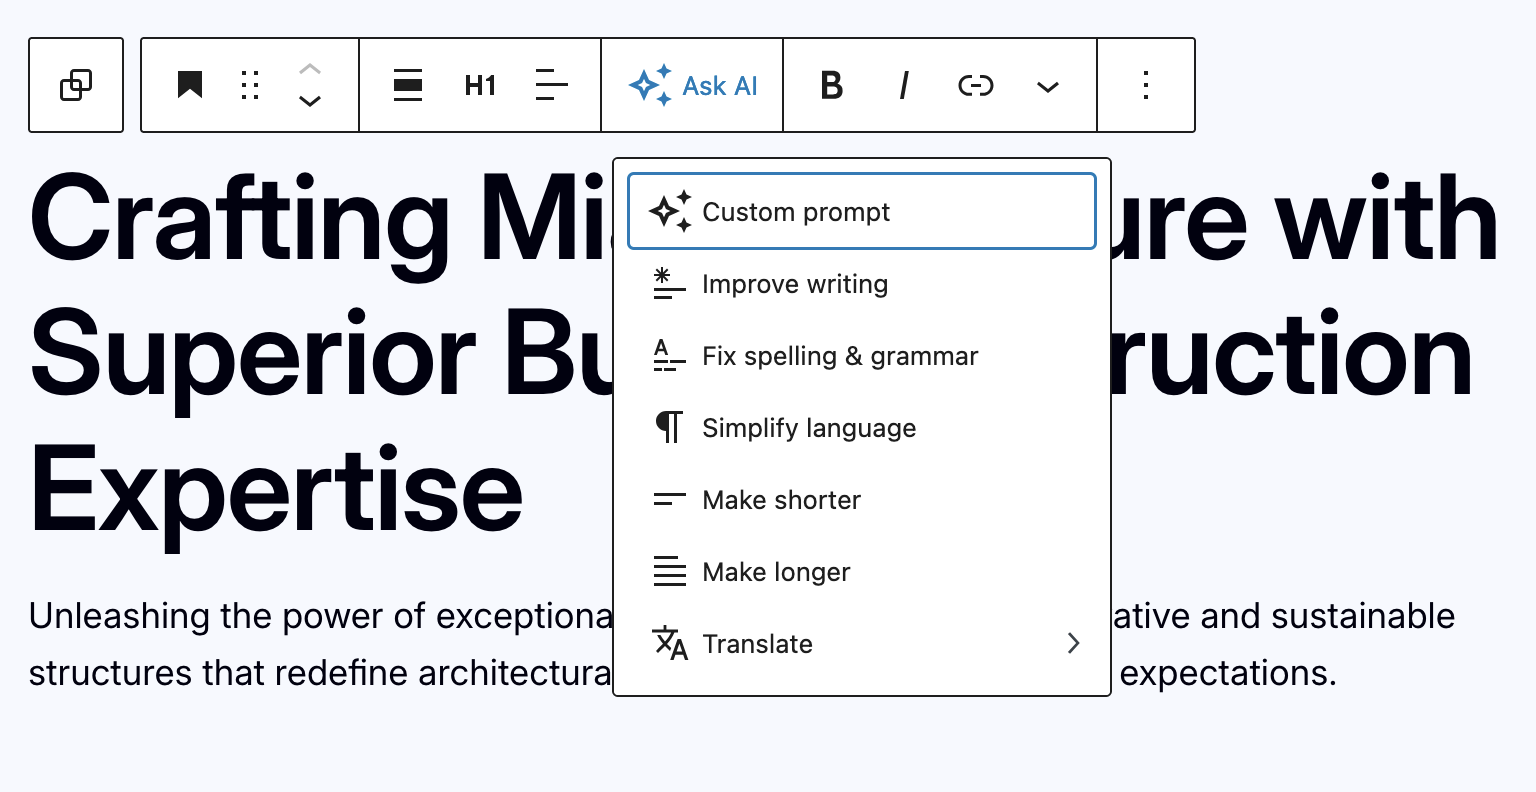
For Adding Images
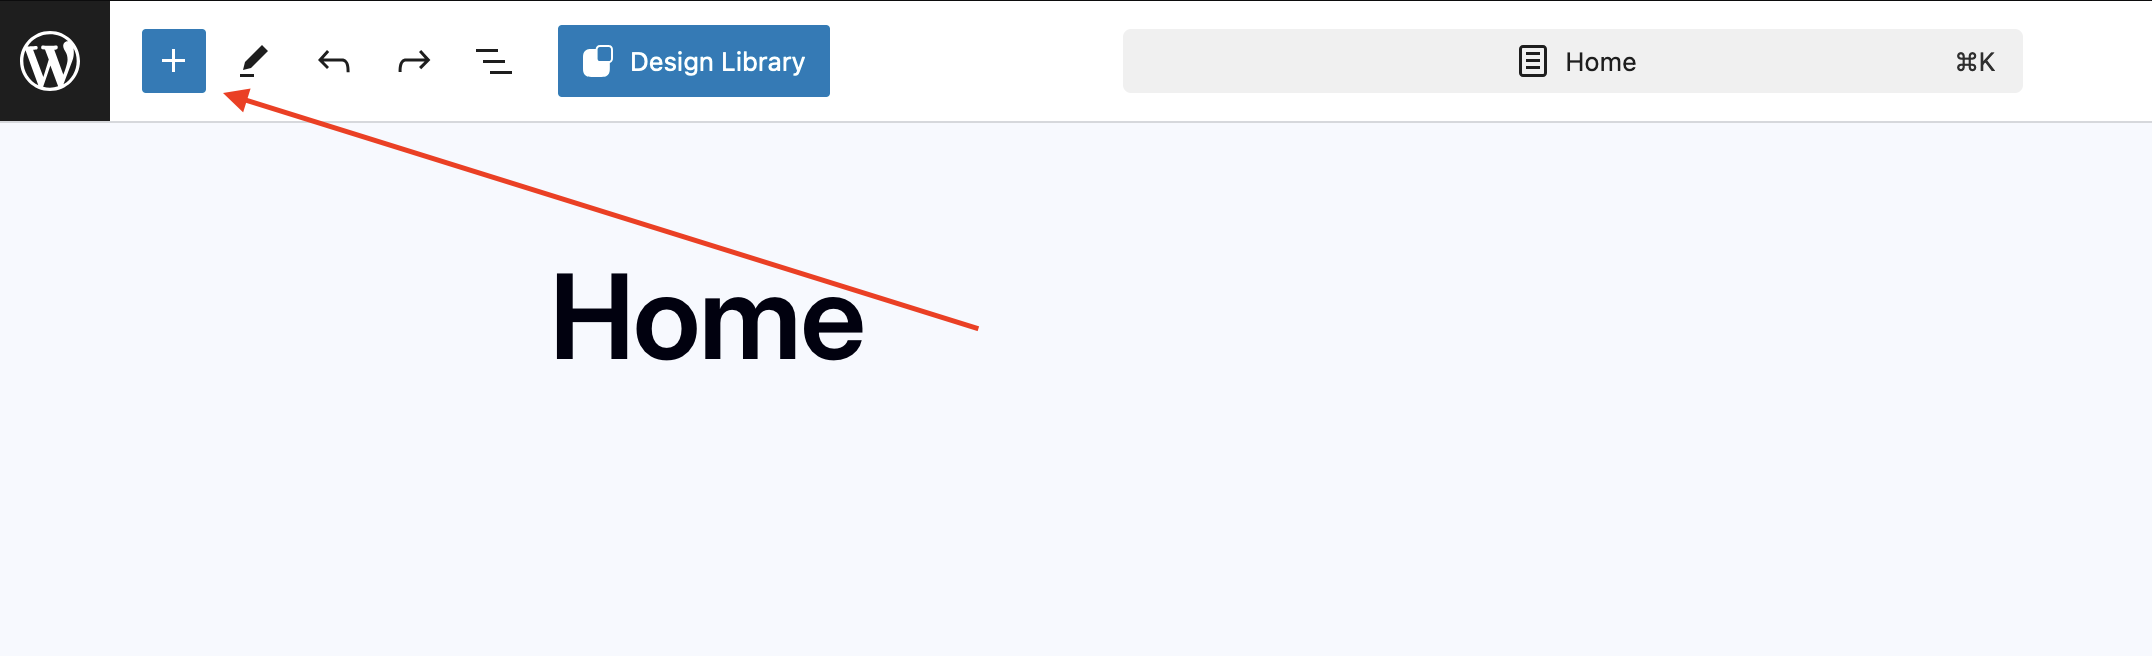
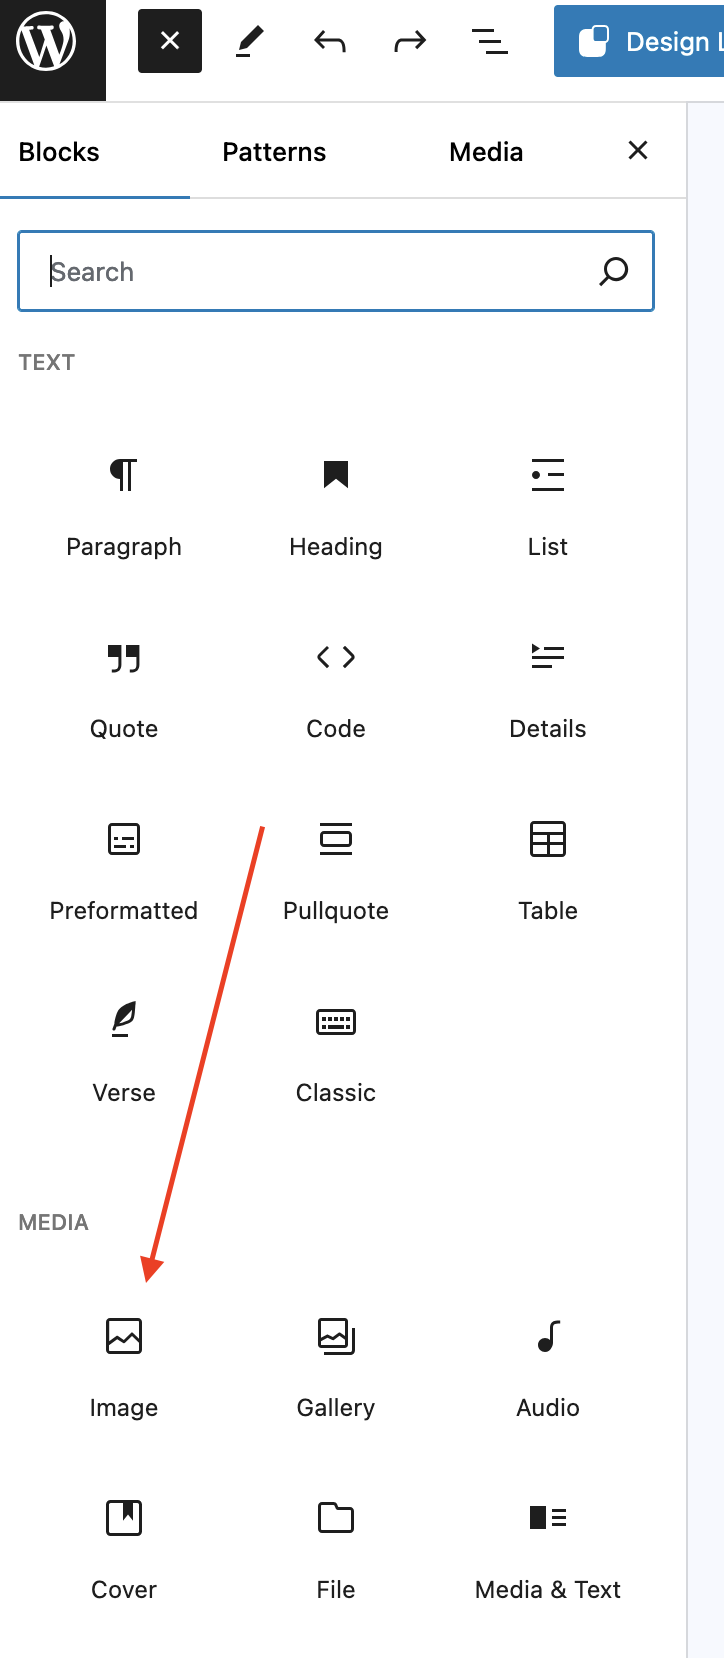
- Click the + button in the editor to add a new block.
- Select Image from the Media section within Blocks.
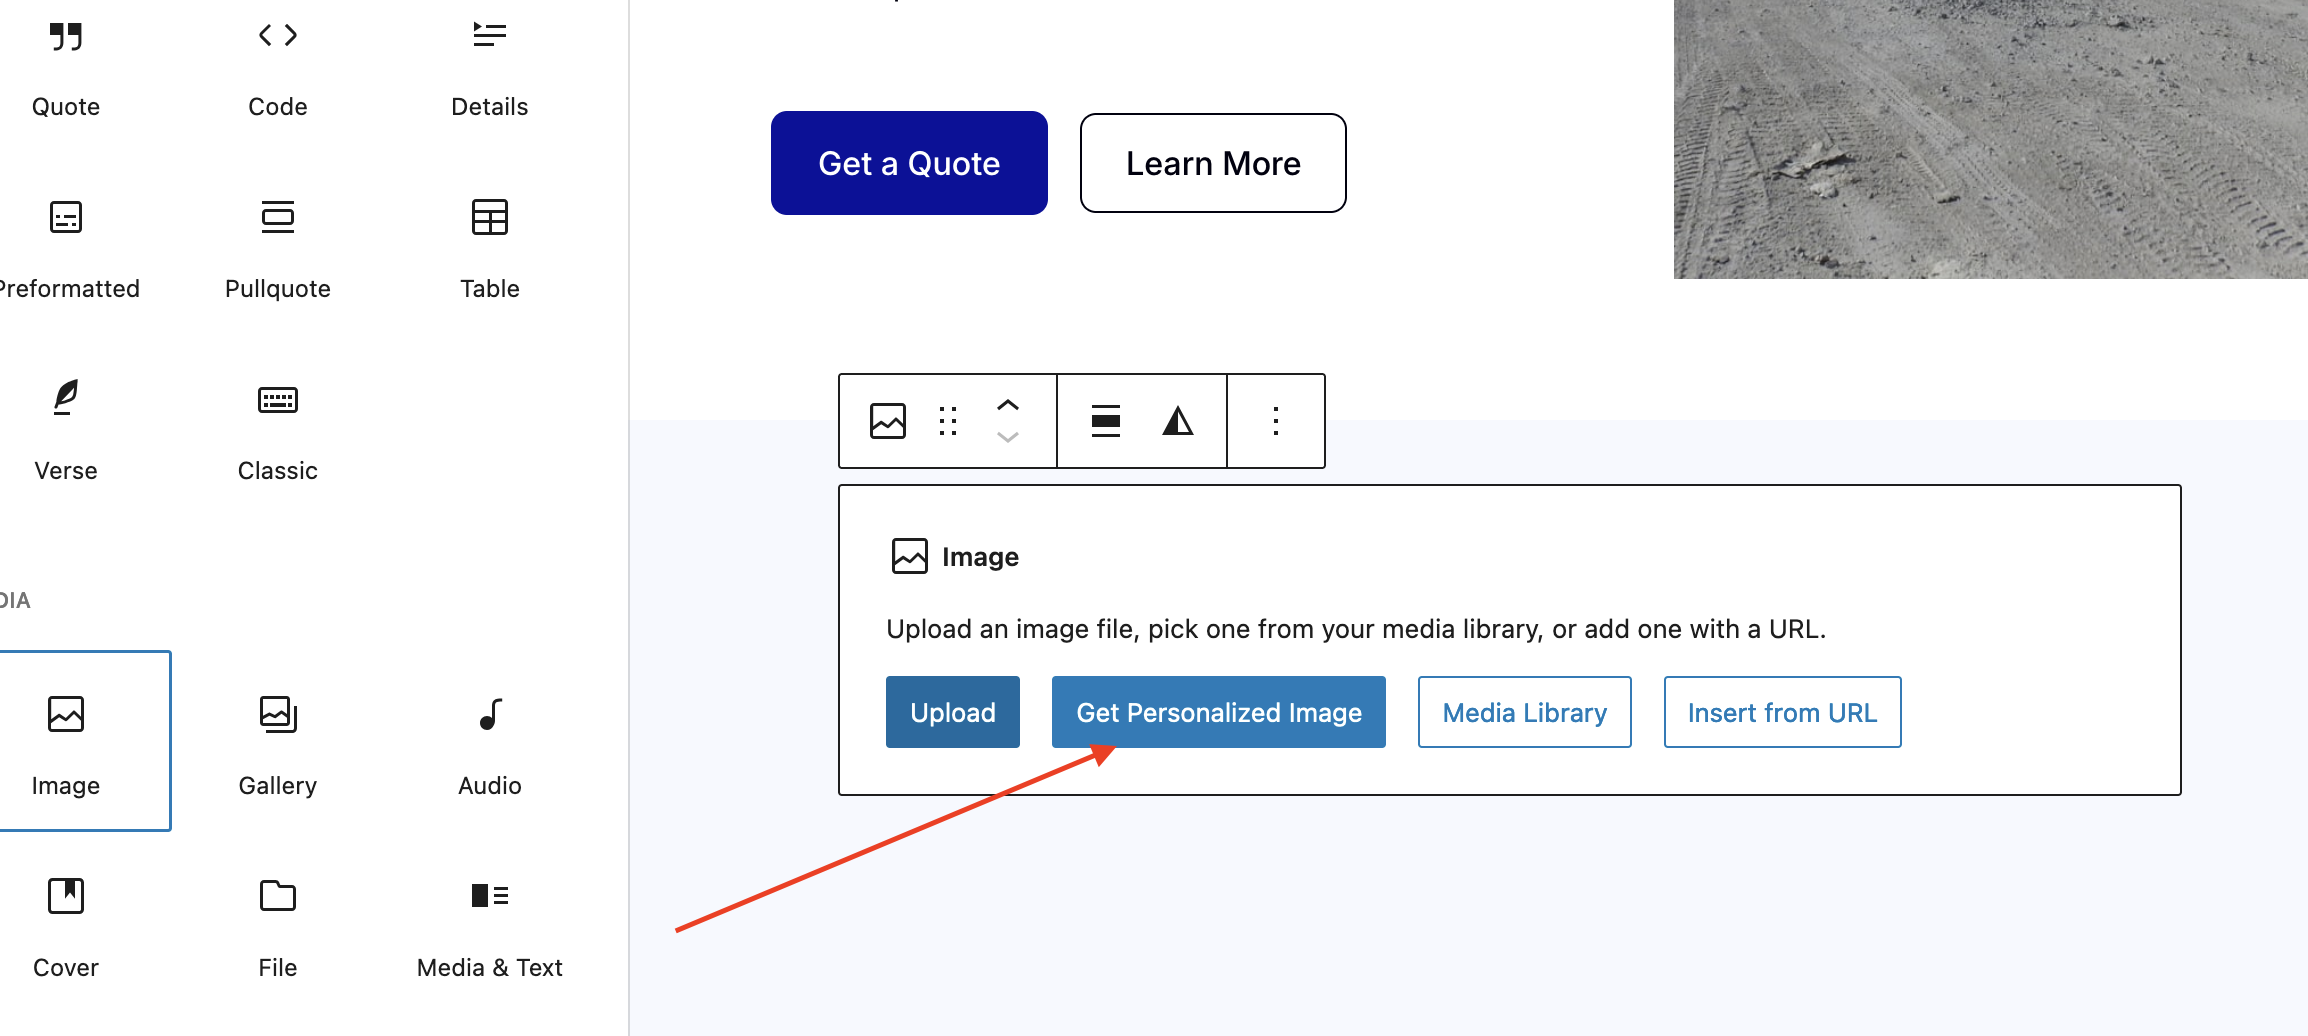
- Chose the option Get Personalized Image.
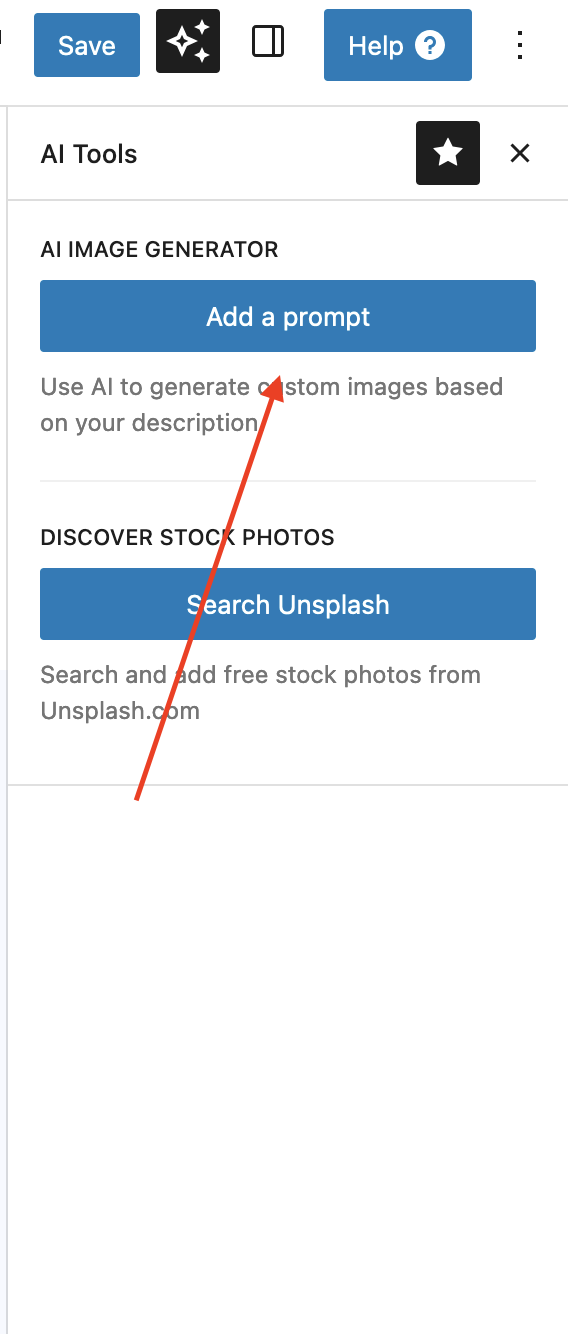
- Click on Add Prompt from the right panel.
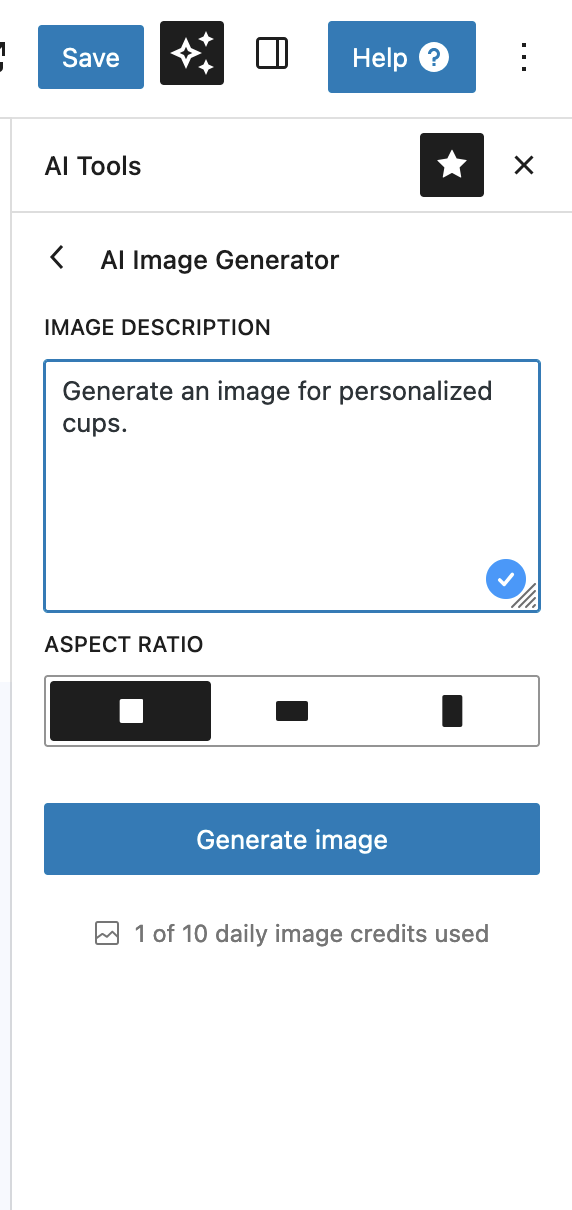
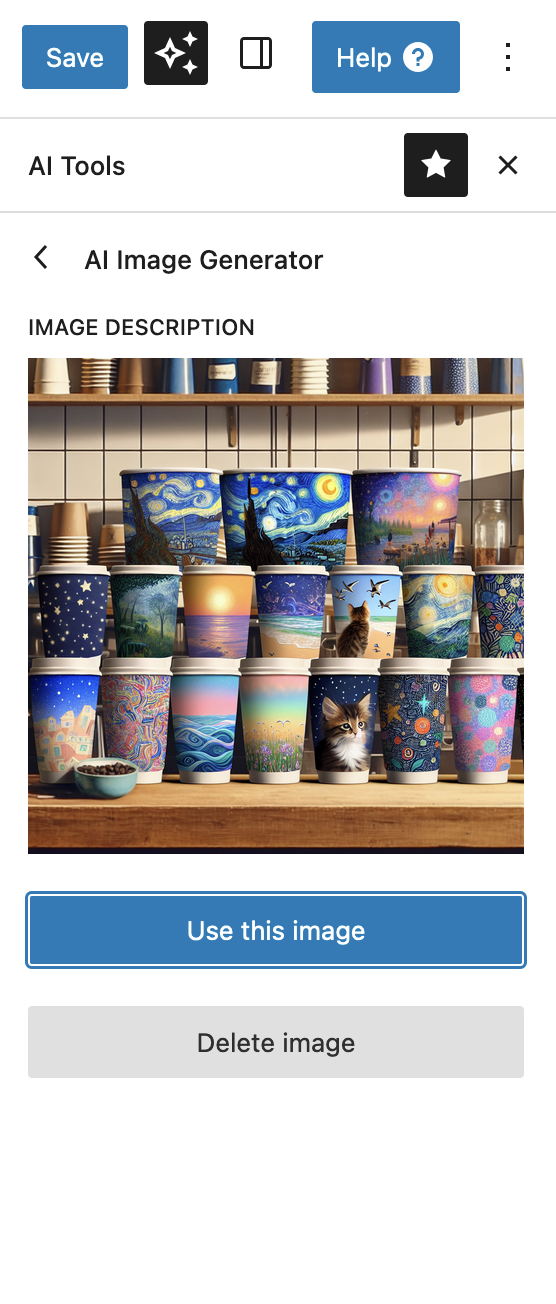
- Type your customer prompt for an image description and click Generate image.
- Click Use this image .
Note
You also have the possibility to change existing images directly with the editor. To do so, click the image you want to change and then Get Personalized Image as shown in the screenshot below: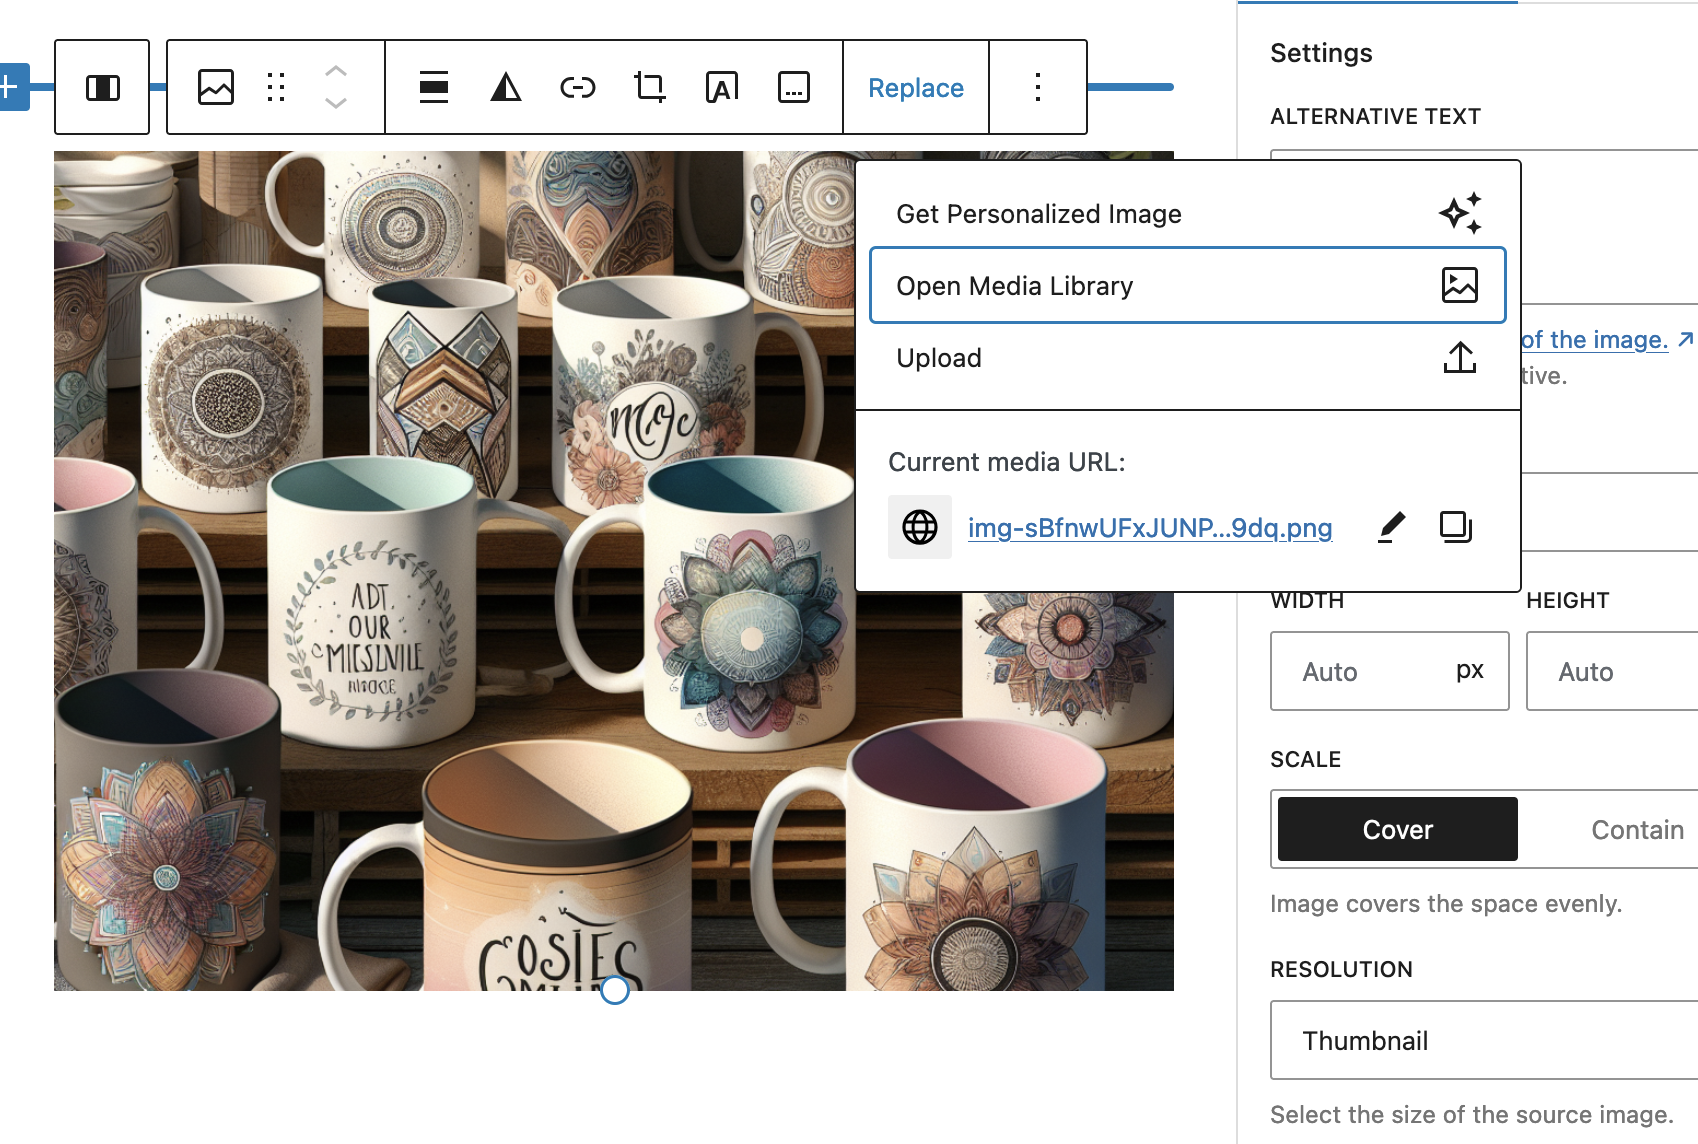
For Adding Sections
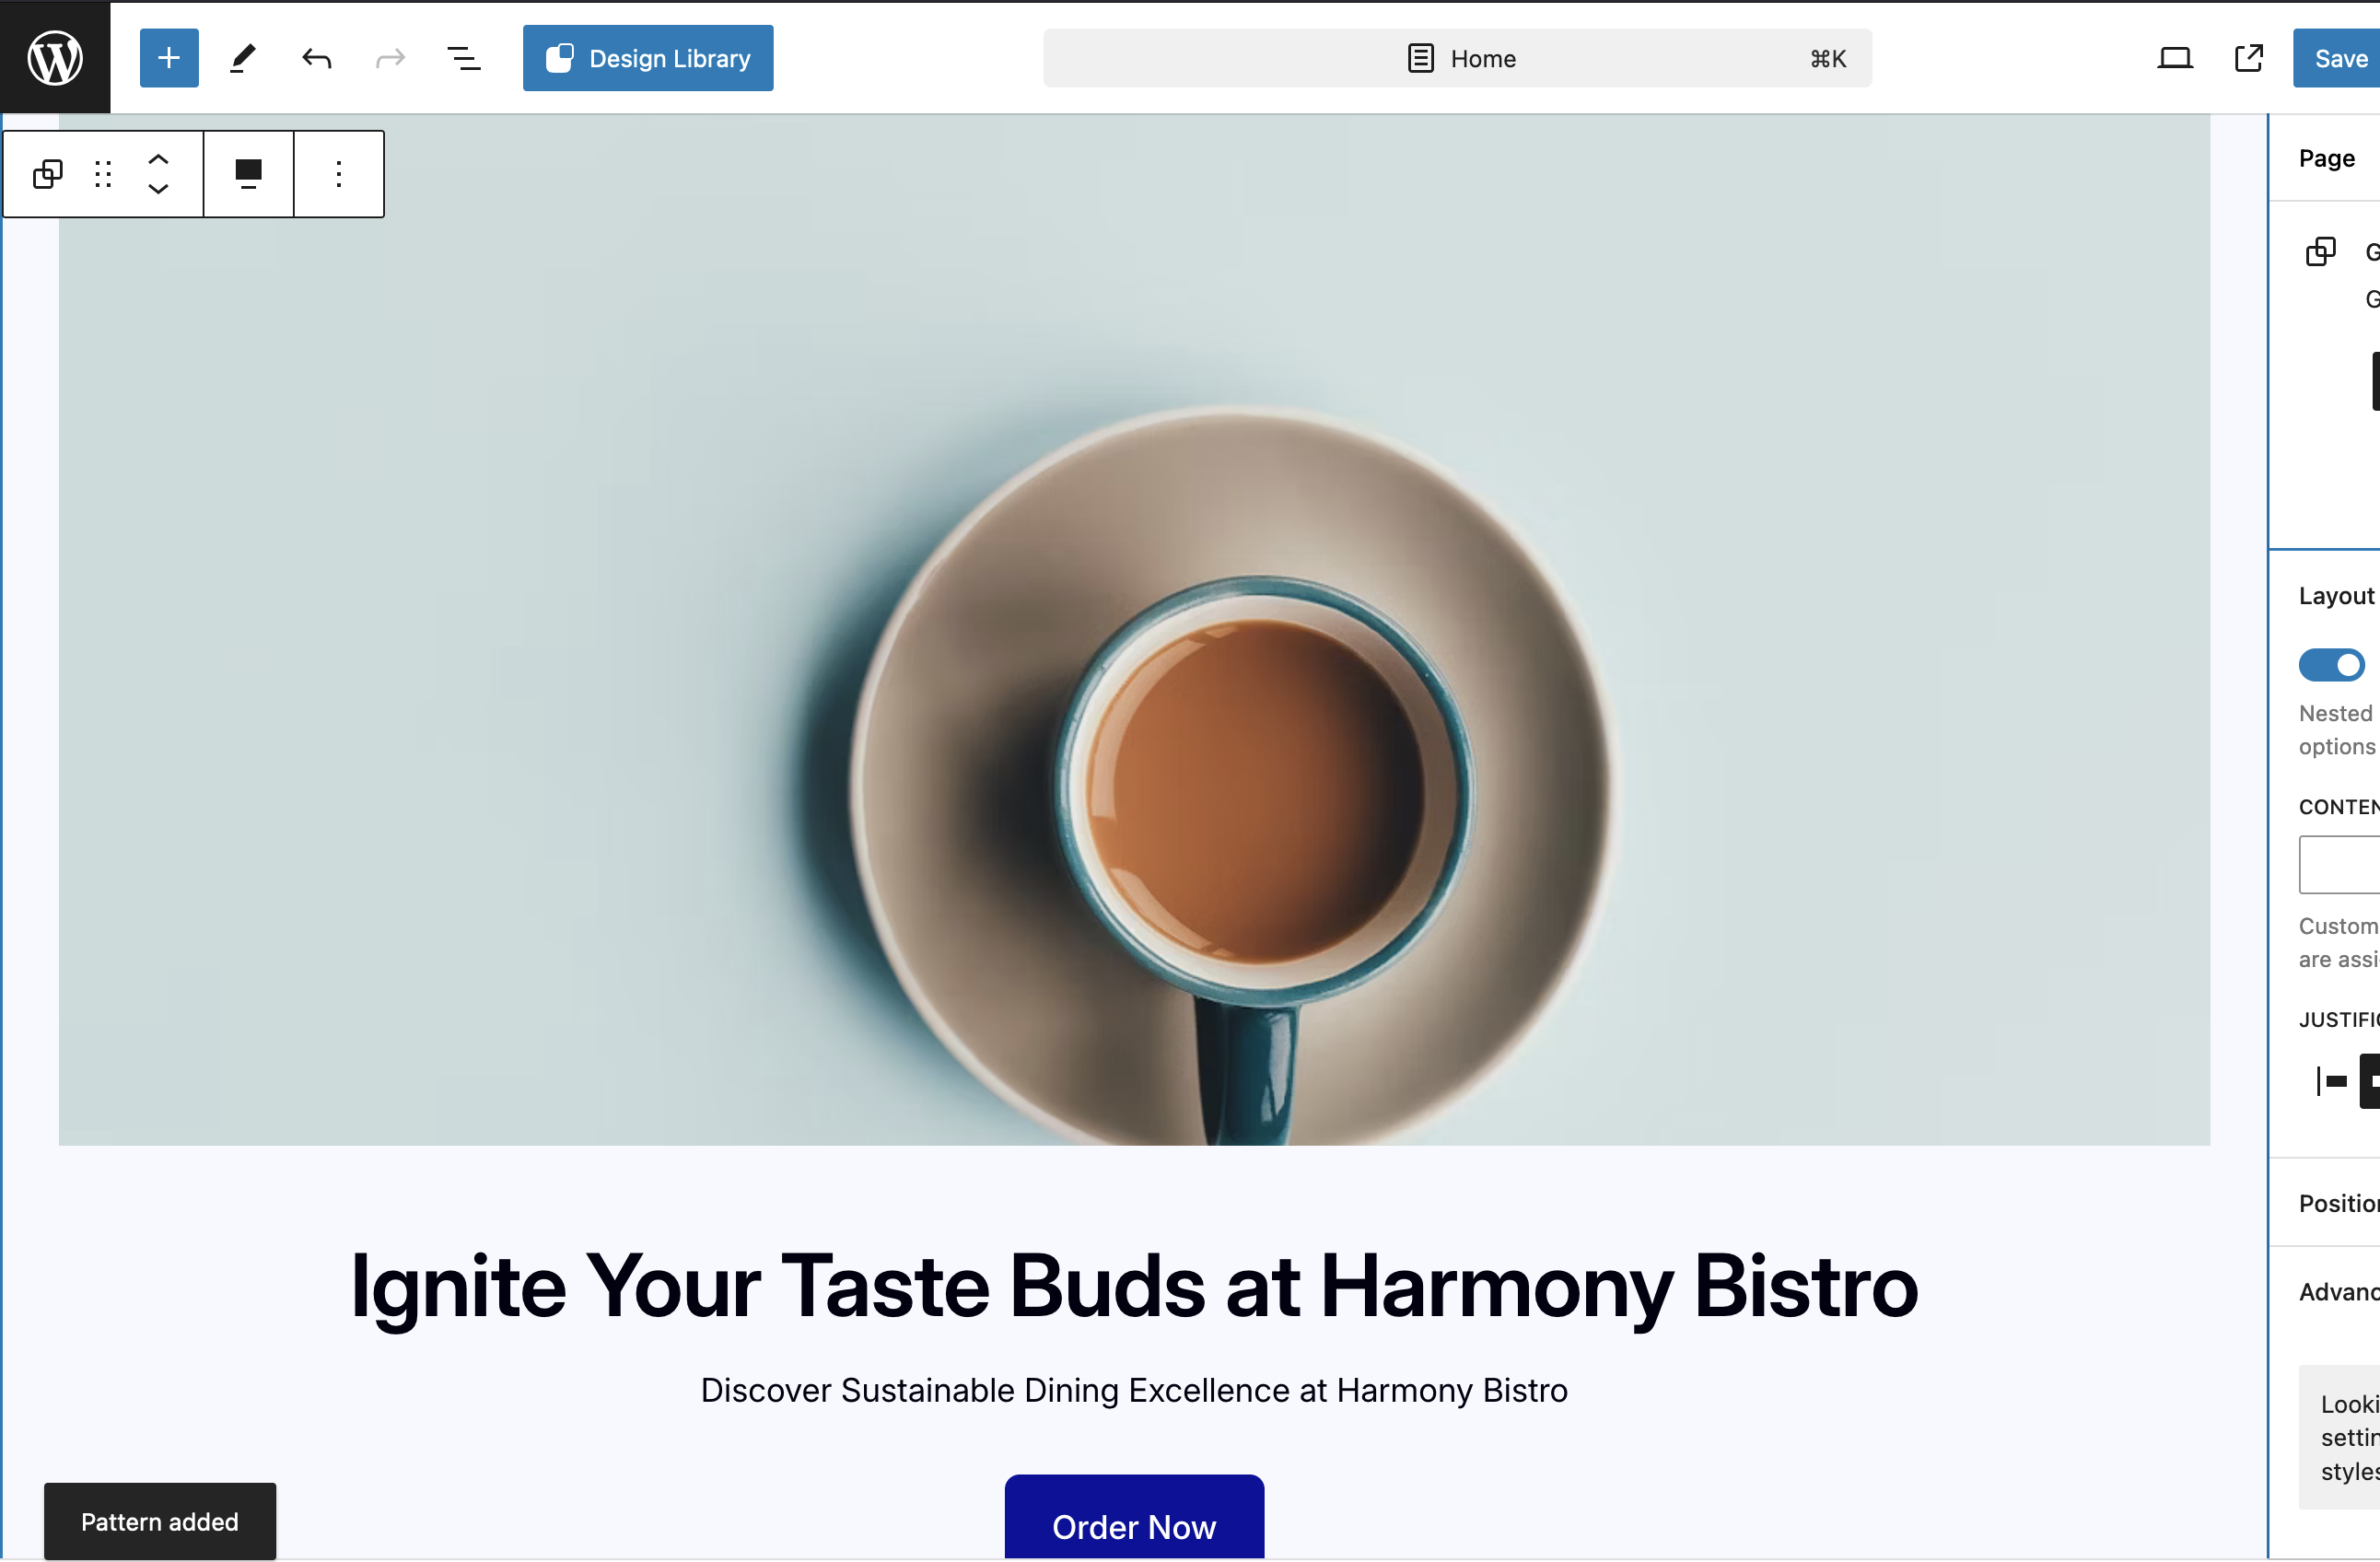
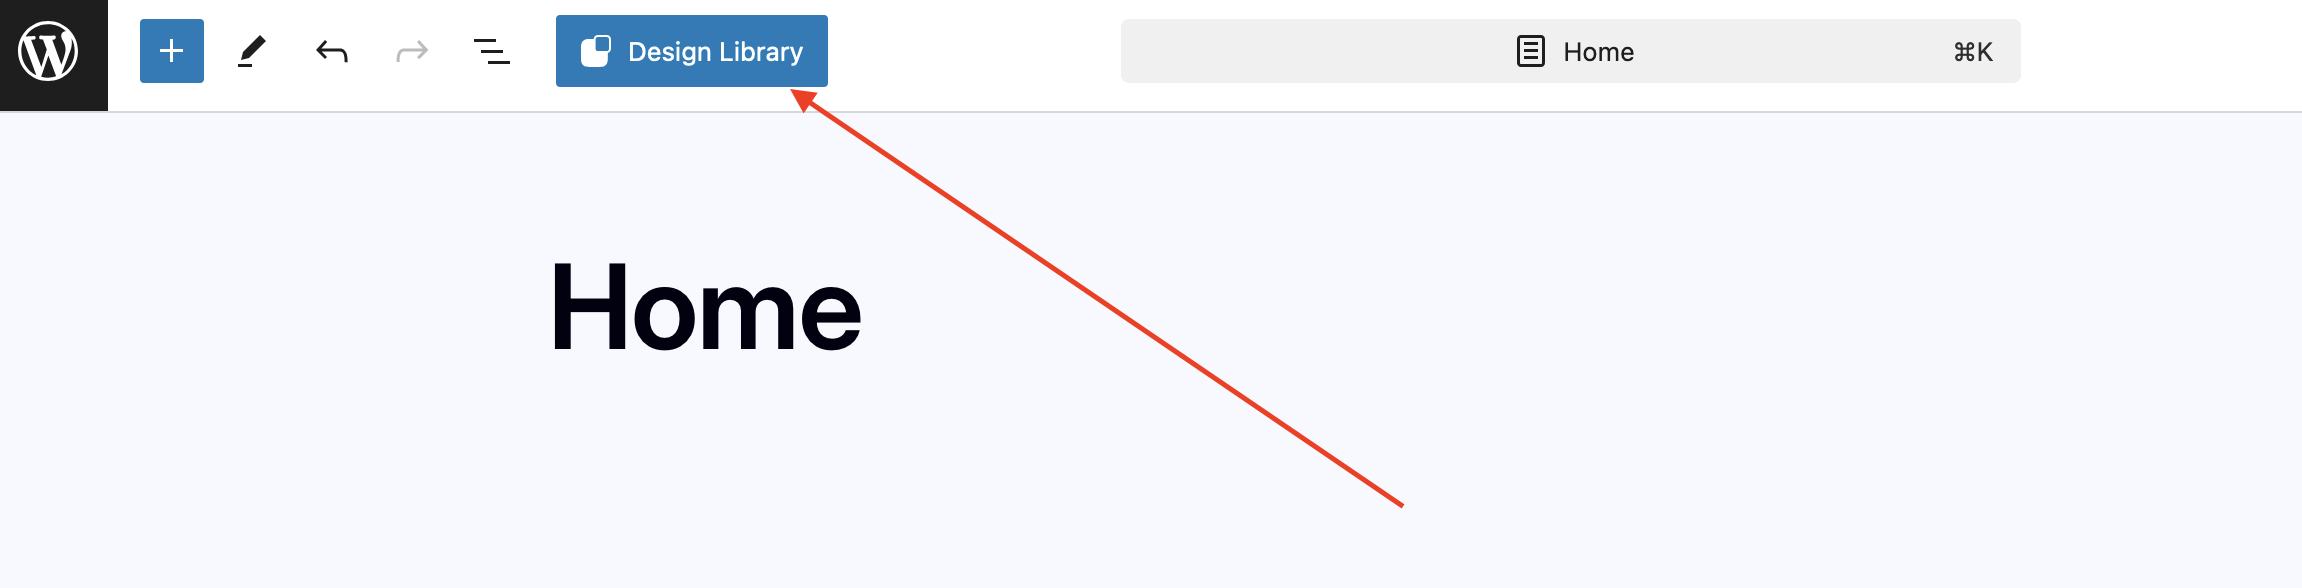
- Click on Design Library
- Choose the Site Type and Design Type from the left panel then select the design you want to add.
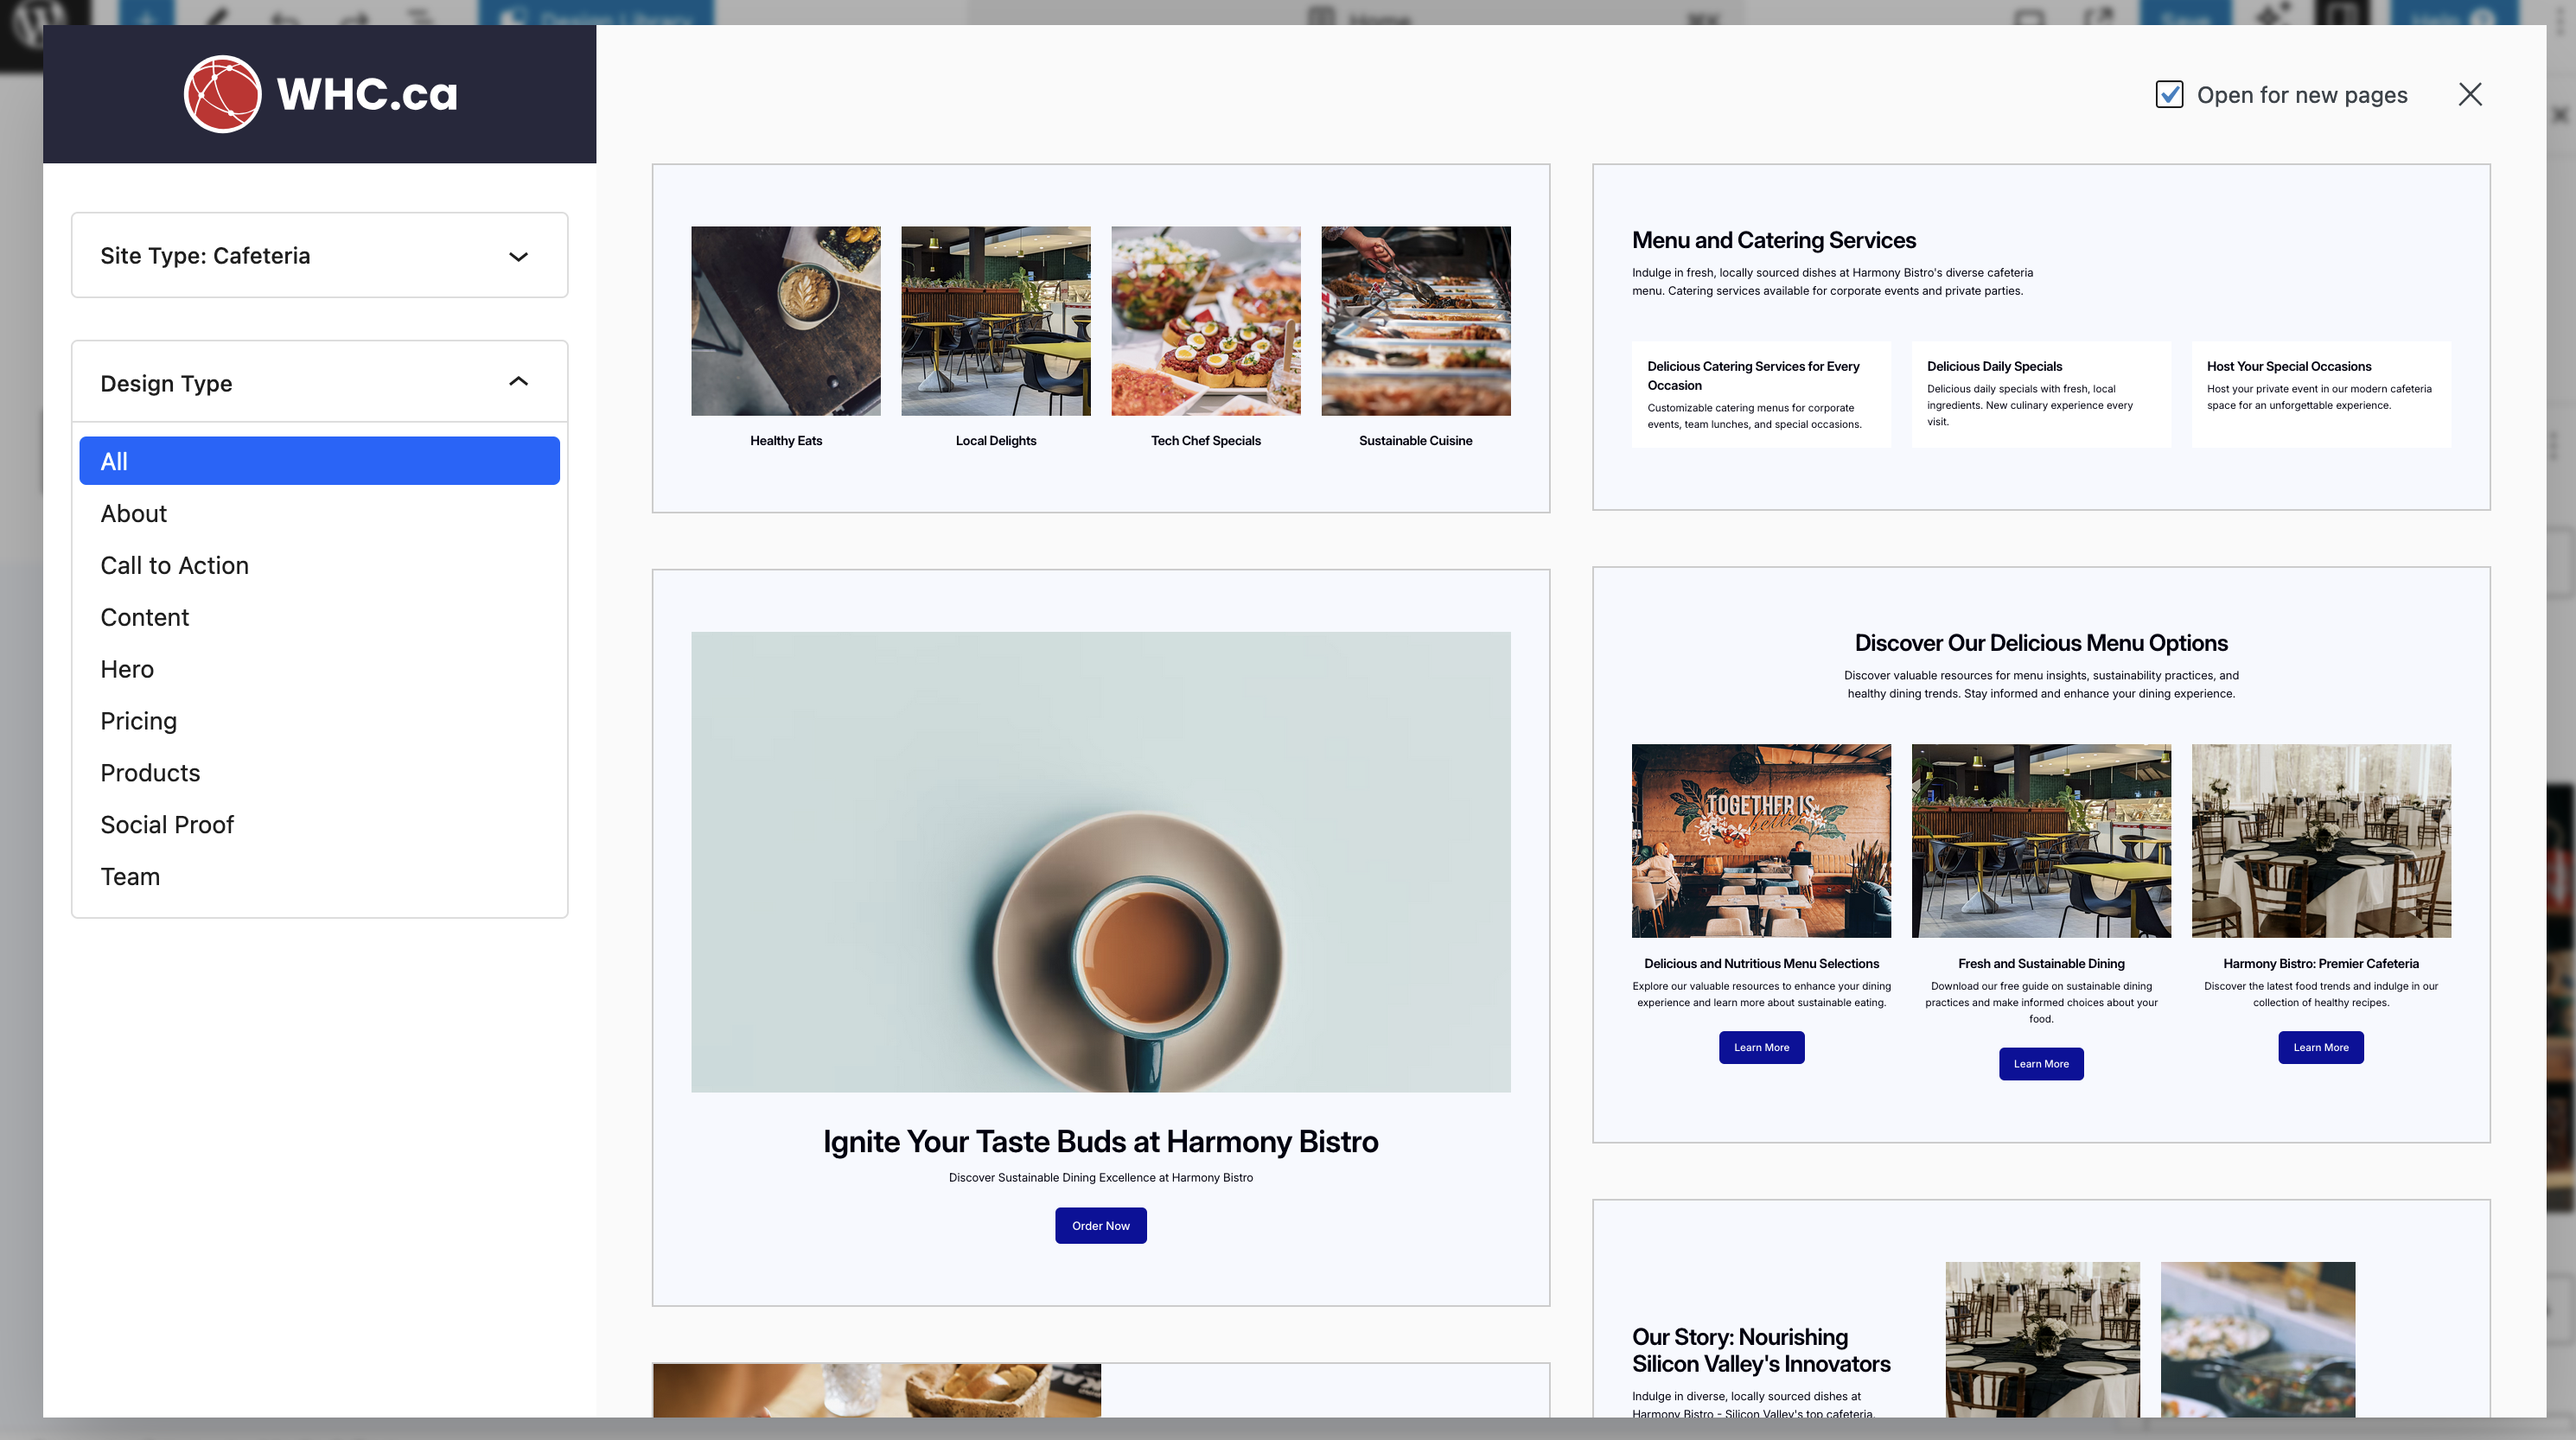
- The section will then be added to the website.