Manually Update WordPress and WordPress Plugins
WordPress creates regular updates which often come with important security updates and many other improvements. To keep your site as safe a possible it is a good idea to make sure that your version of WordPress is current.
But before updating to the newest version, plugins and themes should be updated to minimize compatibility issues. Make sure you have a working backup of your website so you can quickly revert back in case of problems.
Update WordPress Themes
Note: Before making any changes, always ensure you have a complete backup of your website.
Prepare for the update:
- Check Compatibility: Verify that the new theme version is compatible with your current WordPress version and plugins.
- Child Theme: If you've made customizations directly to your theme, ensure you're using a child theme to retain these changes.
Update your theme:
- Log in to your WordPress dashboard
- Click on Dashboard, then Updates
- On the page that appears, under Themes, select the theme(s) you wish to update and click Update Themes. If you reach this area and see the message “Your themes are all up to date,” there’s no further action to take.
- A screen will inform you that all updates have been performed successfully
After updating, visit your website to ensure everything is working correctly. Pay special attention to layouts, widgets, and any customizations. If there are any issues, you can revert to the previous version using your backup, or troubleshoot the problems (often, checking with the theme developer or support forums helps).
Update WordPress Plugins
- Sign into your WordPress admin account
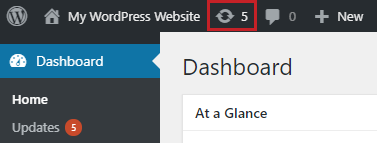
- In the Dashboard click the update icon in the top left
- On the page that appears, under Plugins, select the plugins you wish to update (we recommend updating all plugins) and click Update Plugins
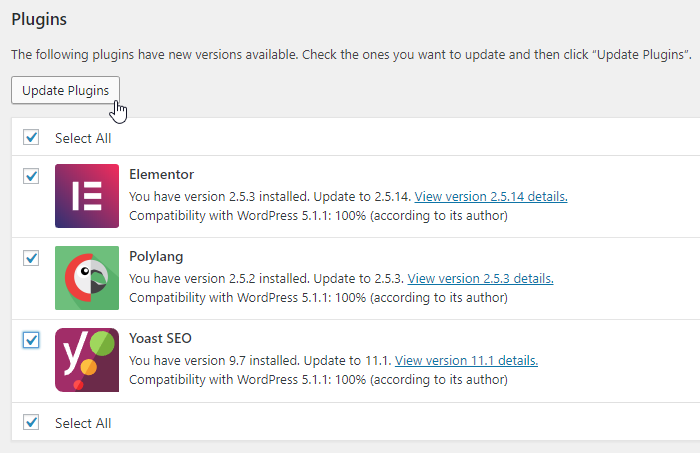
- A screen will inform you that all updates have been performed successfully
Update Wordpress From the Admin Dashboard
- Sign into your WordPress admin account
- In the Dashboard click the update symbol in the top left
- On the page that appears, under An updated version of WordPress is available, select Update Now
- A screen will inform you that the WordPress Update has been performed successfully
Update WordPress From cPanel
For web hosting or reseller hosting plans, you can also update to the newest version of Wordpress from your cPanel if you’ve installed WordPress initially through Softaculous or if you’ve imported your installation.
We recommend updating your WordPress plugins prior to updating to a new version of WordPress and ensuring you have a working backup before proceeding.
- Log into cPanel
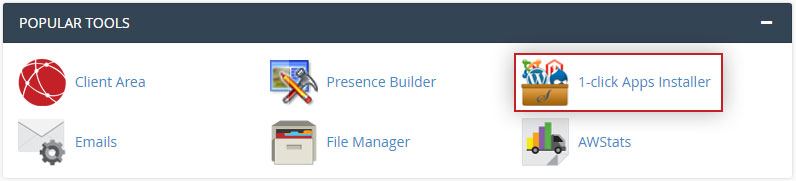
- Select 1-click Apps Installer
- Click the WordPress App
- On the access screen scroll over Version and you will be informed if an update is possible.
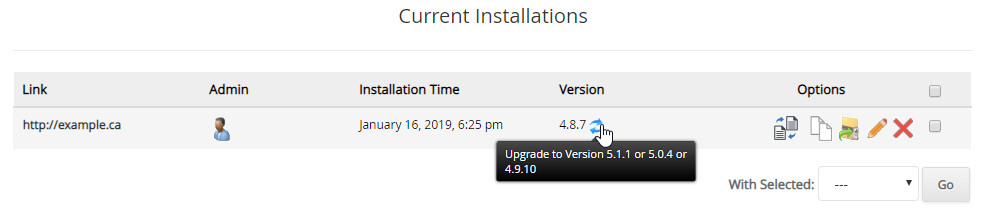
- Click the link (as shown above under version) to be brought to the upgrading WordPress screen.
- Optional: If you have a backup service with Web Hosting Canada, we recommend checking the Create Backup box to make a backup copy of your site before upgrading.
- Click the Upgrade button at the bottom of the screen.
- A progress bar will inform you when the upgrade has been performed successfully.
