How to create your first cPanel hosting account in WHM
Create Your First cPanel Hosting Account in WHM
Creating your first cPanel hosting account in WHM (Web Host Manager) involves a series of steps. Follow these instructions to set up a new hosting account:
- Log in to WHM
- Create a New Package (Optional)
- Create a New Account
- Review and Create
- Verify the Account
Log in to WHM
To access WHM:
- Navigate to https://<your-server-ip>:2087 in your browser. (Refer to your welcome email for details.)
- Use your root or reseller credentials to log in.
Create a New Package (Optional)
Packages are predefined hosting plans with limits on disk space, bandwidth, email accounts, etc.
- Navigate to: Packages > Add a Package
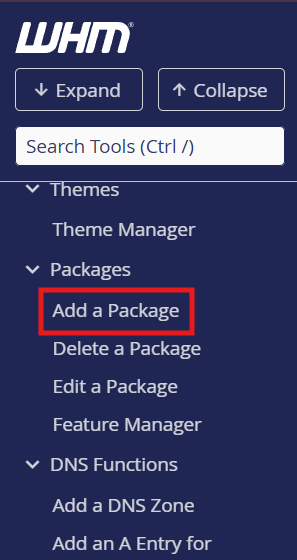
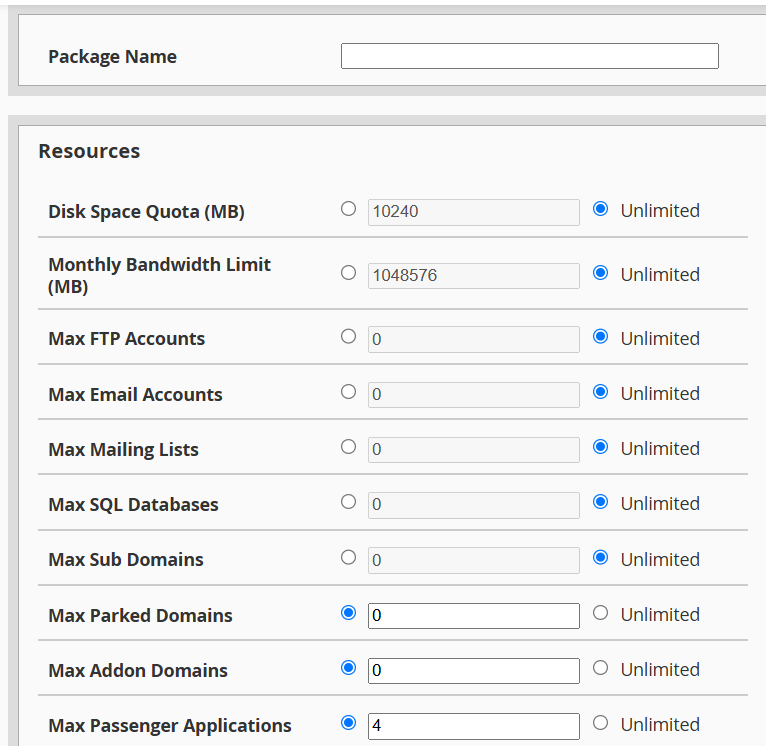
- Fill in the package details:
- Package Name: Choose a unique name (e.g., "Basic_Plan").
- Resources: Set limits for:
- Disk Quota (MB)
- Monthly Bandwidth
- Max FTP Accounts
- Max Email Accounts
- Max Databases
- Settings: Enable or disable features like CGI, Shell Access, etc.
- Click Add to save the package.
Create a New Account
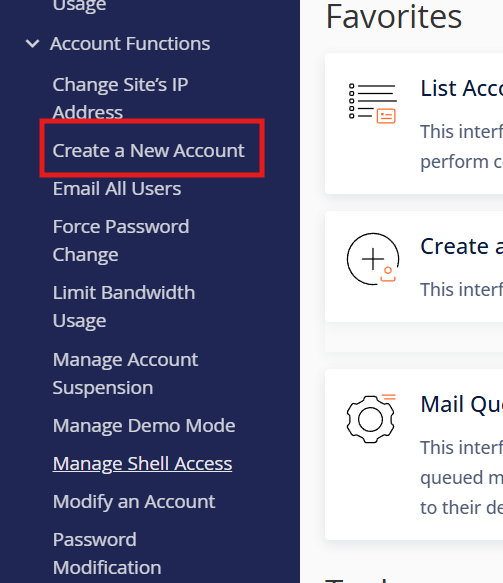
- Navigate to: Account Functions > Create a New Account
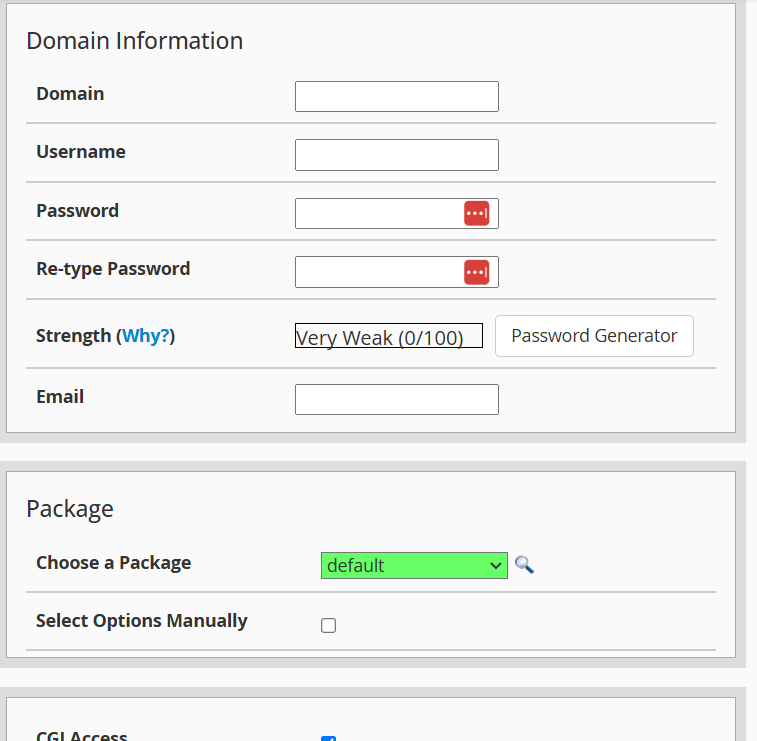
- Fill in the account details:
- Domain: Enter the customer's domain name (e.g., example.com).
- Username: Automatically generated or manually entered (e.g., example).
- Password: Create a strong password or use the password generator.
- Email: Enter the customer's contact email address.
- Choose a Package: Select the package you created earlier or configure custom settings directly.
- DNS Settings (Optional): Configure DNS records if you're managing DNS for the domain.
- Mail Routing Settings: Choose the appropriate option for the domain's mail routing (e.g., Local, Remote, or Automatic).
Review and Create
- Double-check the entered details.
- Click Create to finalize the hosting account.
Verify the Account
To ensure the account was created successfully:
- Navigate to List Accounts under Account Information to see if the account is listed.
- Test accessing the cPanel interface using the link https://<your-server-ip>:2083 with the new username and password.
