Email Marketing Getting Started Guide
What is email marketing and why is it important?
Using email marketing as part of your business strategy is 30-40x more effective at generating sales than Facebook and Twitter combined. By building your own list, you don’t have to rely on social media platforms or other forms of communication like advertising to sell to your existing customers or prospects.
Why MailerMojo?
It’s a simple-to-use email marketing tool that allows you to create beautiful emails in minutes, so you can connect with customers, captivate your audience, and convert content into cash.
- Set up your MailerMojo account
- Create a Contacts list
- Create your first email campaign
- Set up a welcome email that gets sent automatically
- Need to build your list?
- Track account usage
- How to get help/support
- How do you buy MailerMojo?
- Start today!
Set up your MailerMojo account
So you’ve signed up for MailerMojo and you’re ready to start your email campaigns!
But hold your horses, you need to properly set up your account before you begin.
First thing’s first…
Click on your profile image at the top right, and select Account:
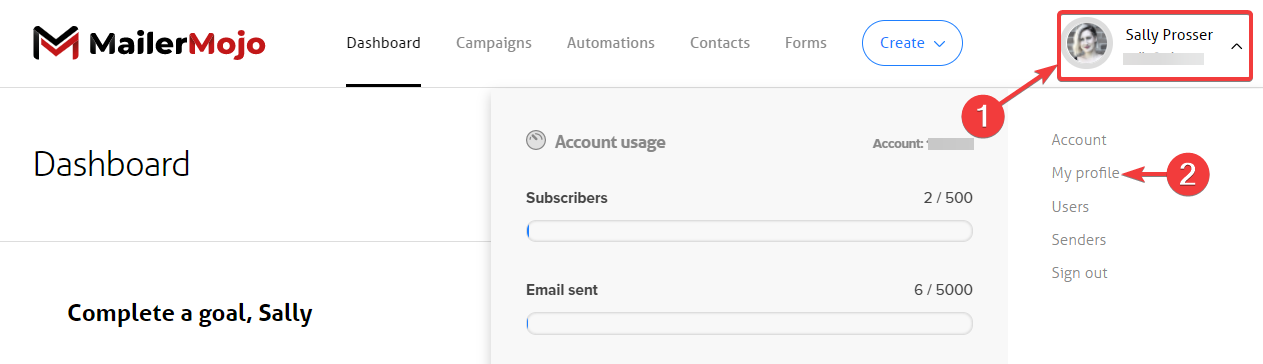
You will see the Account menu open up, showing your Profile section
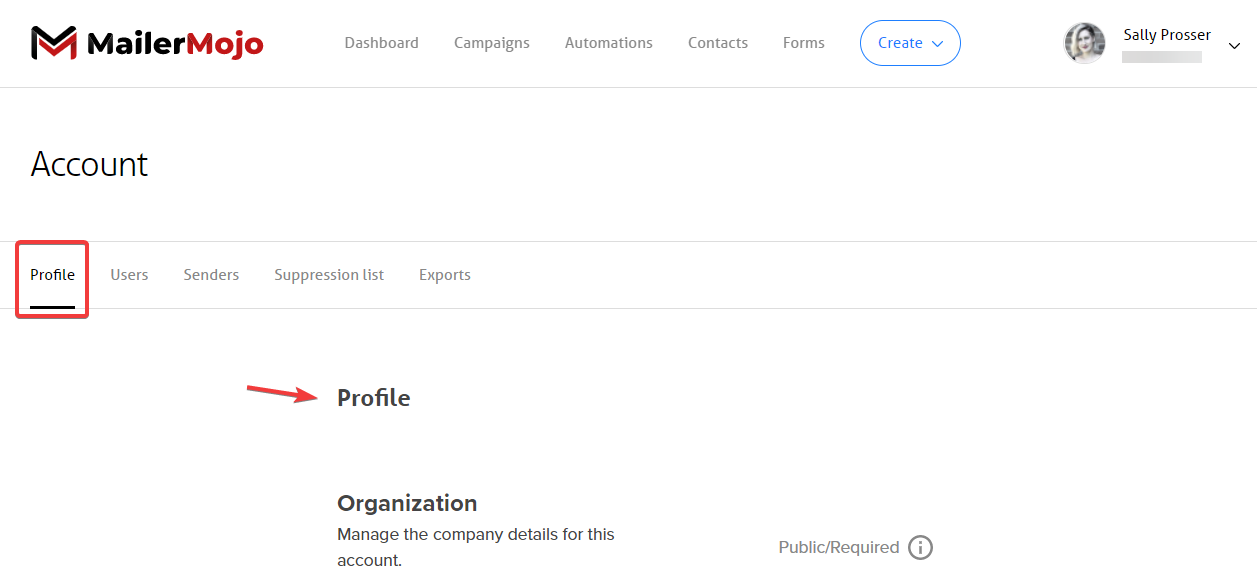
Here, you can fill out your profile information with the information for your organization.

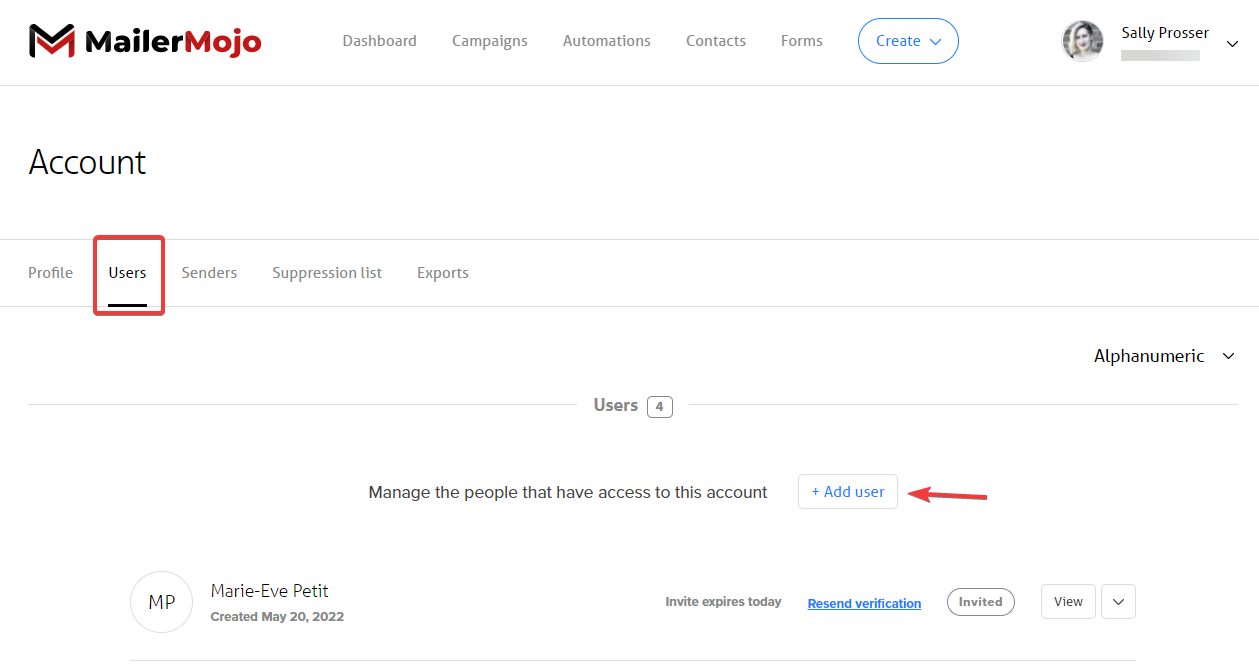
Next, select Users and add anyone on your team who will need access to MailerMojo. They’ll have to accept the invitation through email.
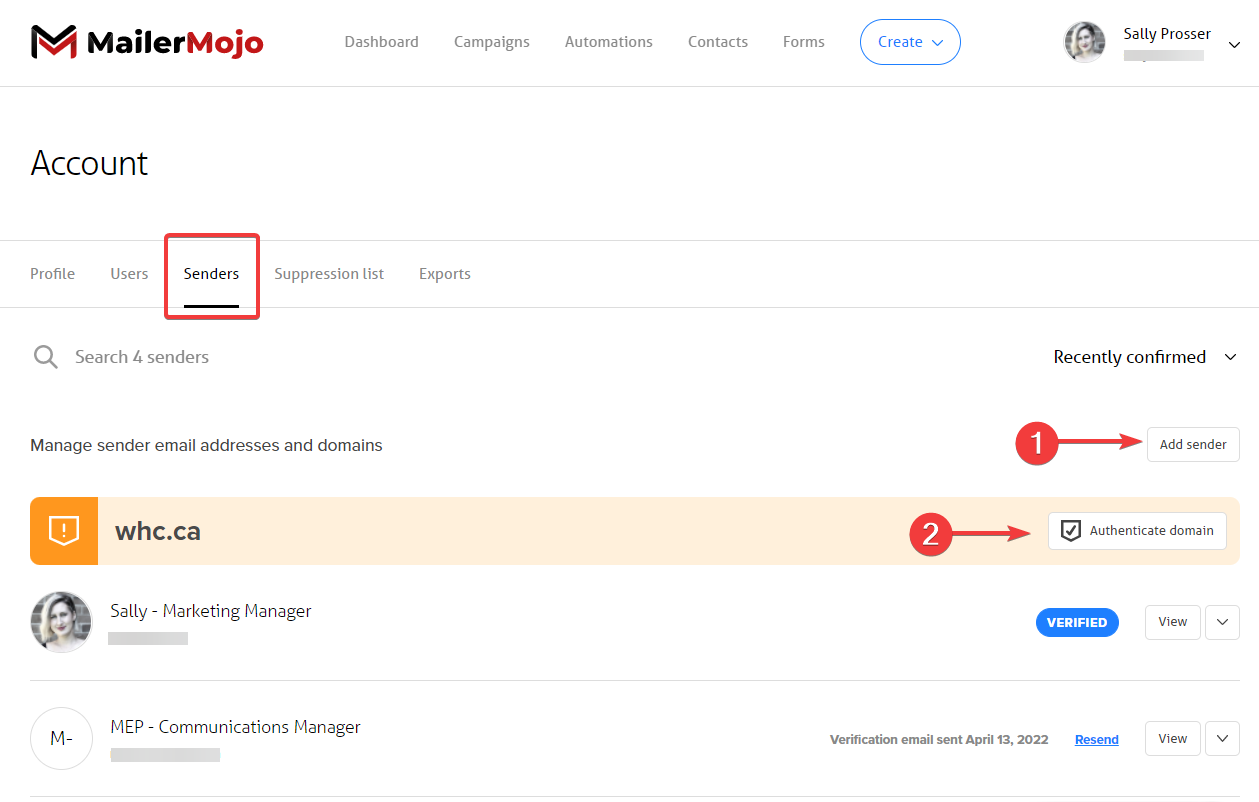
Finally, you’ll have to set up your Senders email addresses and domain. To strengthen and protect your company's email reputation, you’ll want to authenticate your domain as well.
Note: Your last two Account menu items are Suppression list and Exports. The Suppression list contains email addresses that will be permanently excluded from future emails through unsubscribes; which are either automatically or manually added. Your Exports tab simply allows you to track and download any of your exported files.
Now that you’re fully set up, let’s create your main subscriber or Contacts list.
Create a Contacts list
MailerMojo already creates a default Contacts list for you, so all you need to do is change the name of the list, if you’d like, and add yourself as a recipient (or import your list).
To begin this process:
- Select Contacts from the main menu
- Click the blue plus sign on the top right corner, to add an email:

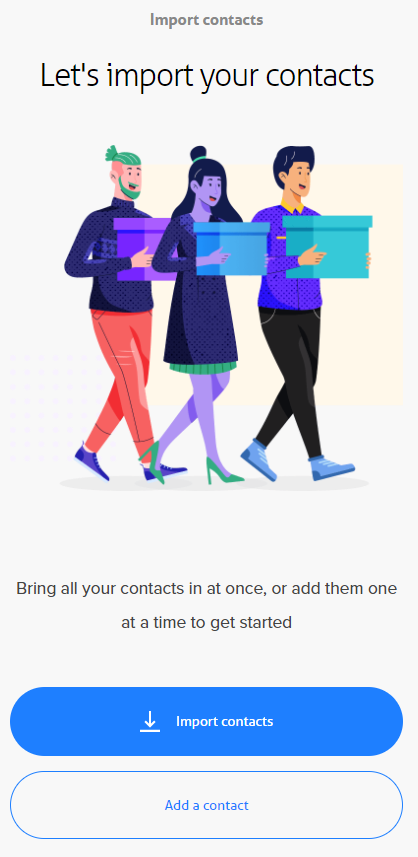
You can either start off by adding yourself as a contact first or if you already have a list, you can simply import it:
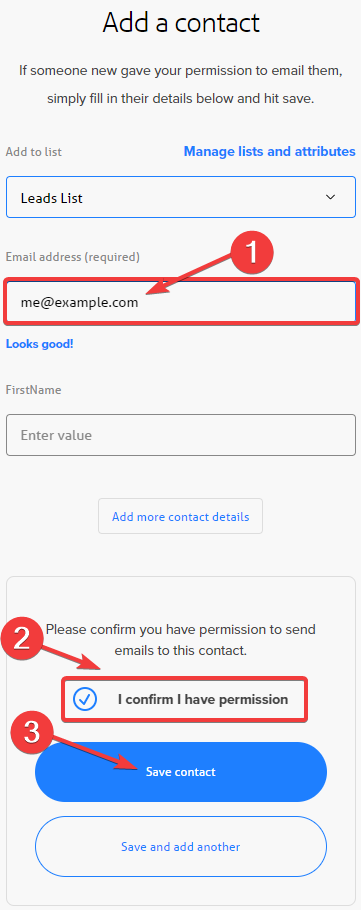
Add your email to the list and make sure to select, ‘I confirm I have permission’, then click Save contact when you're done.
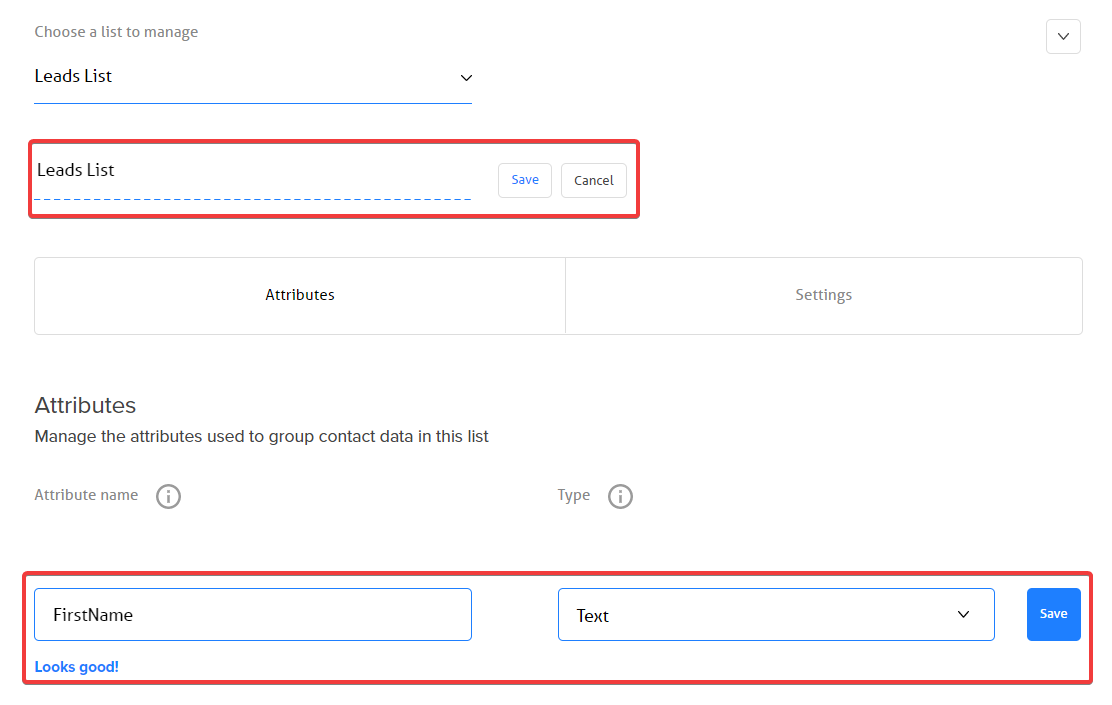
Next, to manage the list and attributes, select the settings gear icon:

You can change the list name, and under Attributes you can create ones that make sense for your list. For example, you may want their first name so you can personalize their emails:
Next, check the list Settings and make sure you have a default sender and language selected:
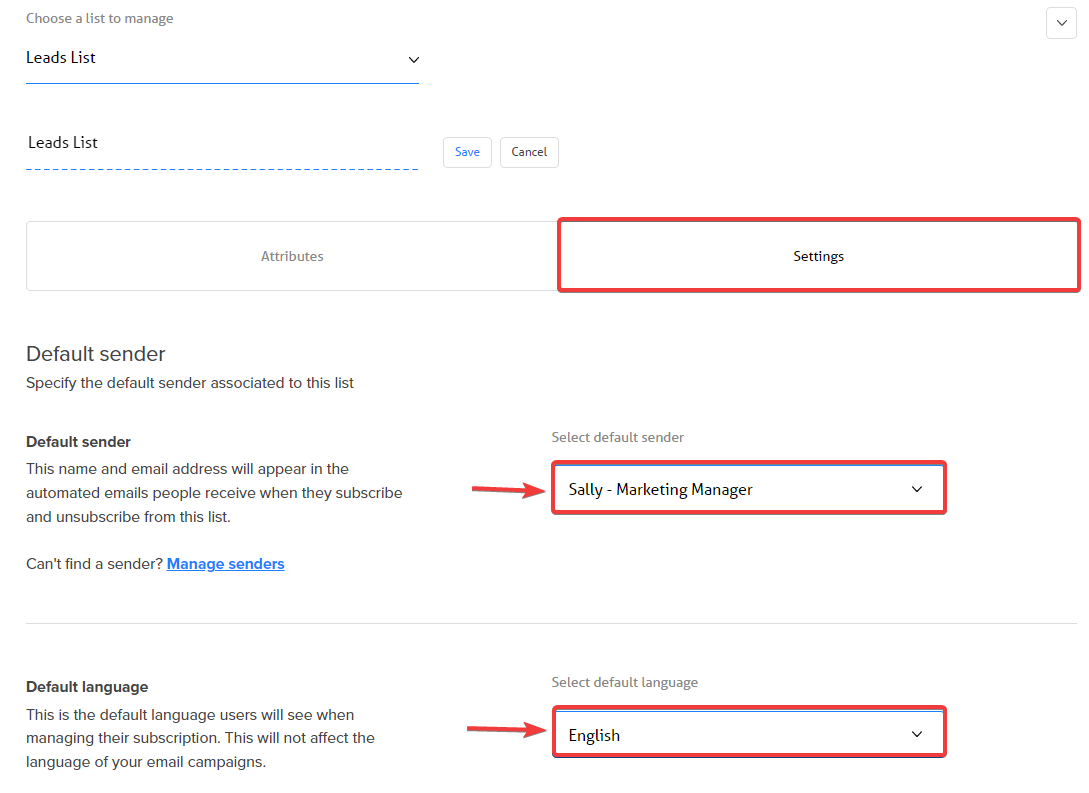
If you have specific ‘Redirection pages’ you’d like to use, you can add the URLs at the bottom too.
Now you’re ready to create your first email campaign!
Create your first email campaign in MailerMojo!
Let’s create your first email campaign: a welcome email.
- Click on Campaigns in the top menu
- Click the blue plus sign on the top right side:

- Then simply type ‘welcome’ in the search bar to choose from one of the welcome email templates already created for you.
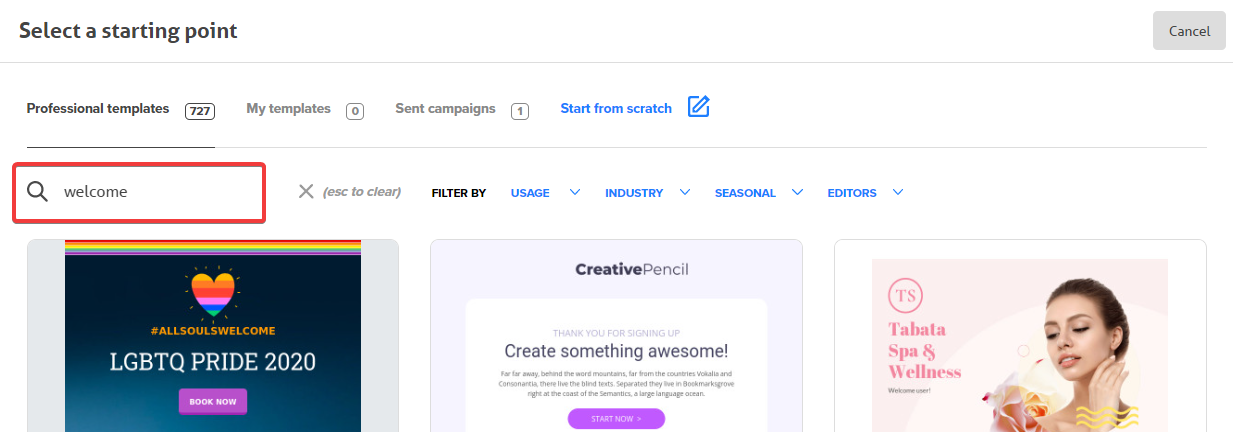
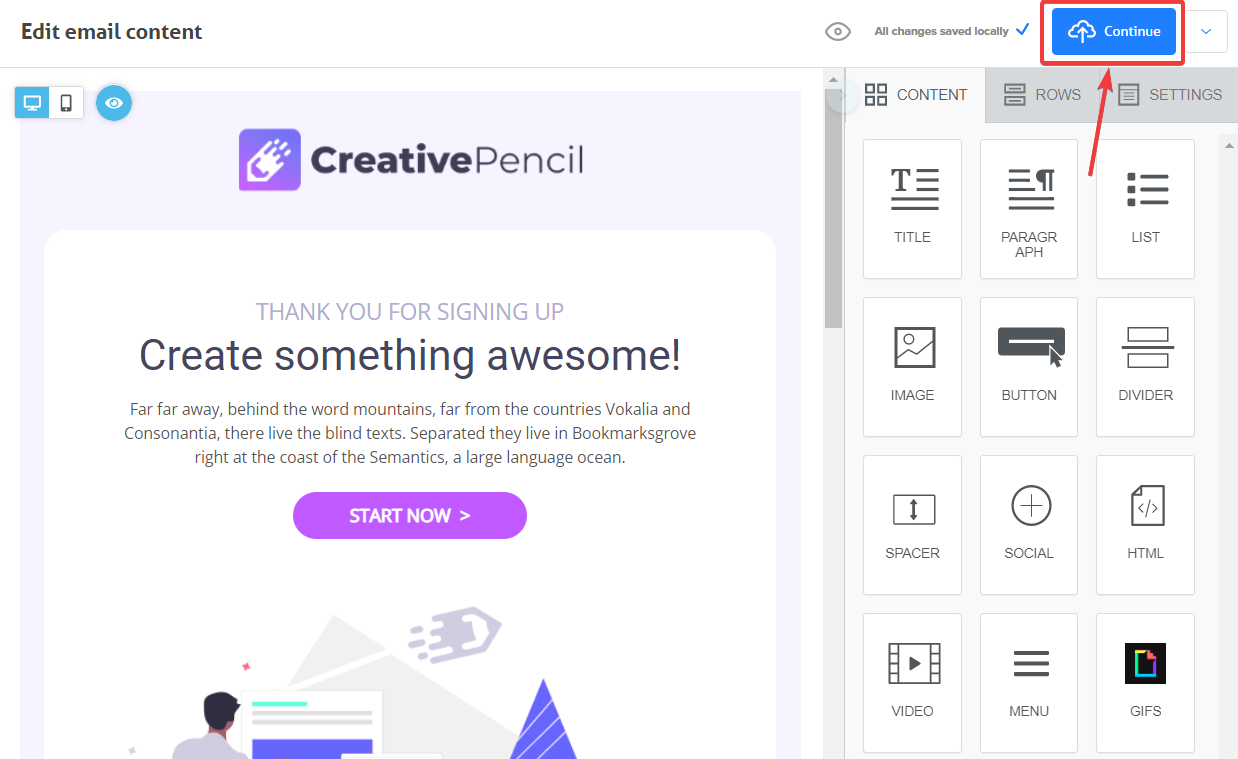
Now you can customize the email you choose according to your business, et voila… you now have an email ready to be sent to customers when they sign up for your email list!
Once you’re done with the edits, select Continue in the top right corner:
You’ll be prompted to select your list (including segments), the sender, your subject line, and the date/time:
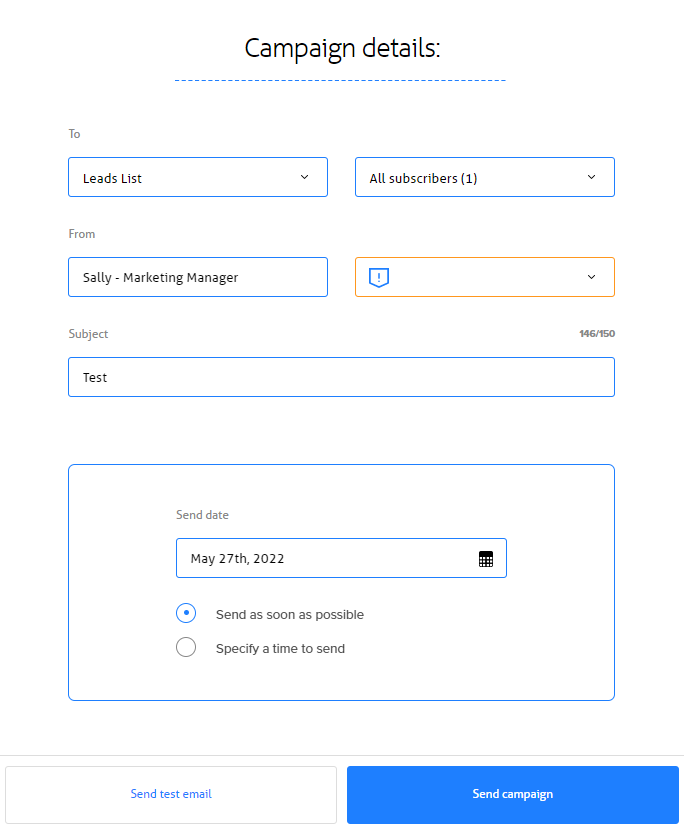
We recommend sending a test email first, and when you’re ready you can send your campaign through!
Set up a welcome email that gets sent automatically
We can even take this a step further and make this welcome email automated so that when someone signs up for your email list, they receive it automatically.
To do this:
- Go to Automations in the main menu
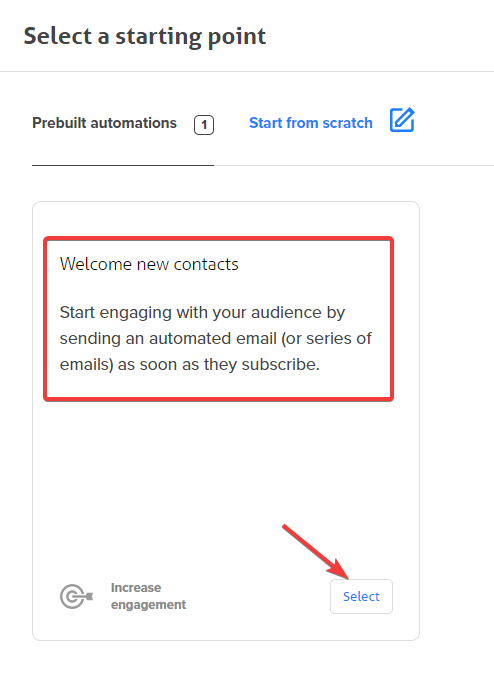
- Click the blue plus sign on the top right:

- The platform already designed this automation for you. Simply select the prebuilt Welcome new contacts automation form:
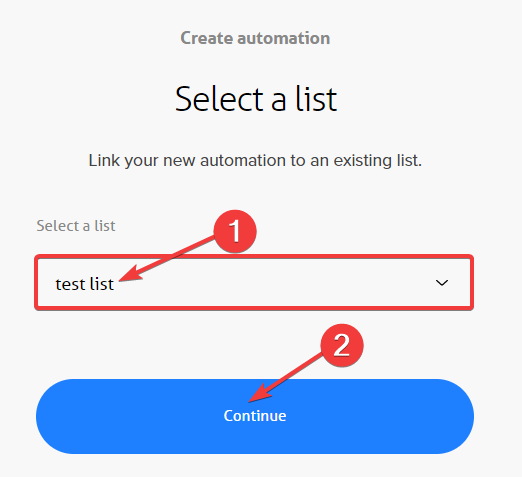
- Now you can select your Contacts list, then click Continue:
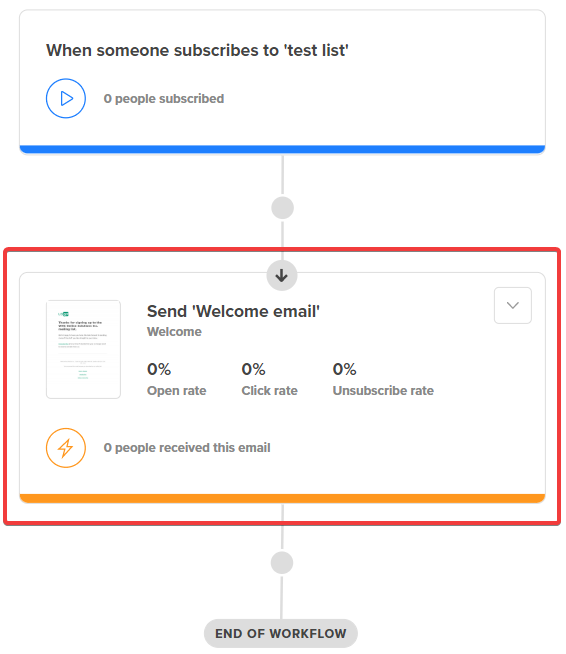
- Now click on the email section of the workflow:
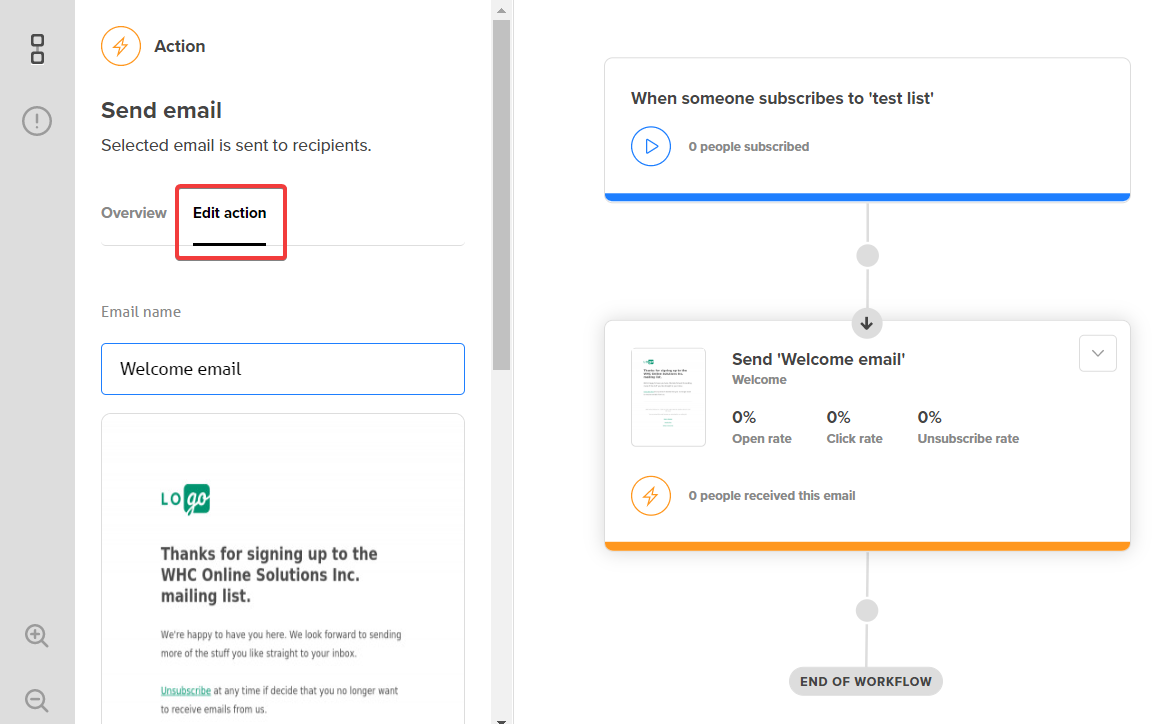
- Click Edit action to customize details like the sender and the subject line:
Now you can test your email, and start running your automation!
Need to build your list?
Here’s how to create and embed a sign-up form…
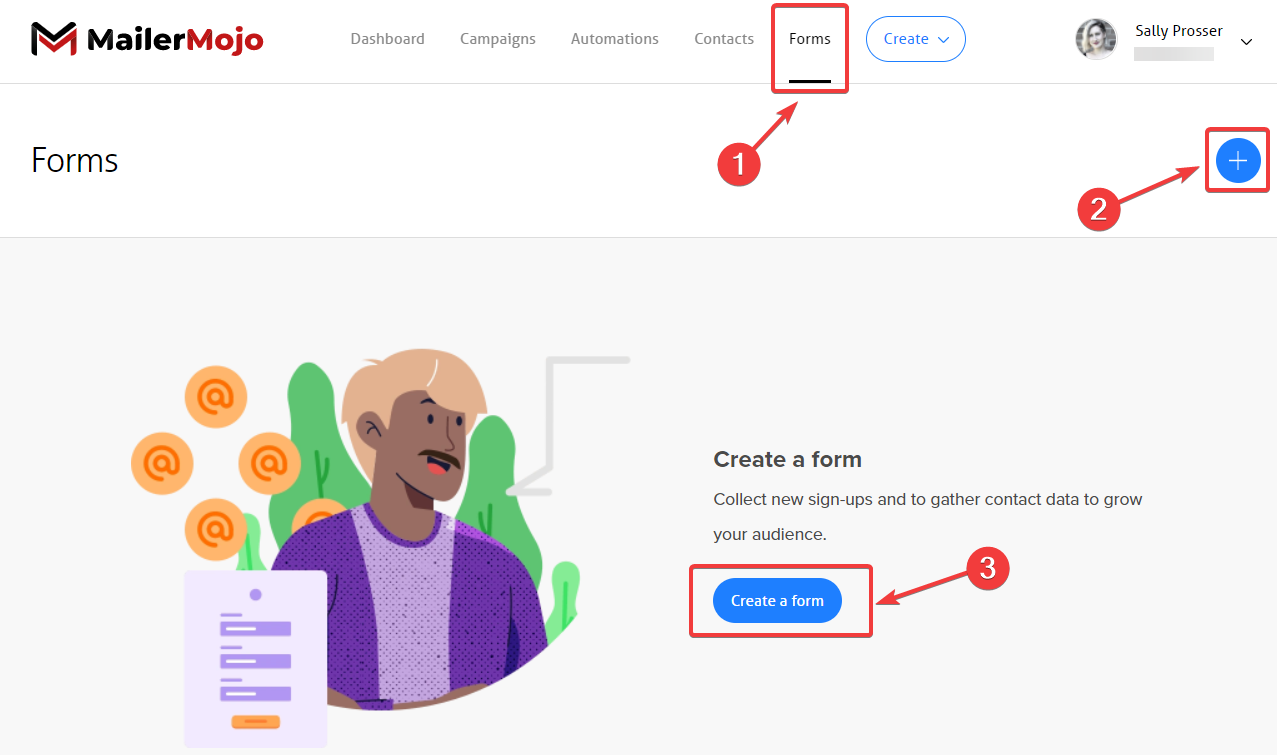
- Click on Forms in the top menu
- Select the blue plus sign in the upper right-hand corner OR click on the Create a form button:
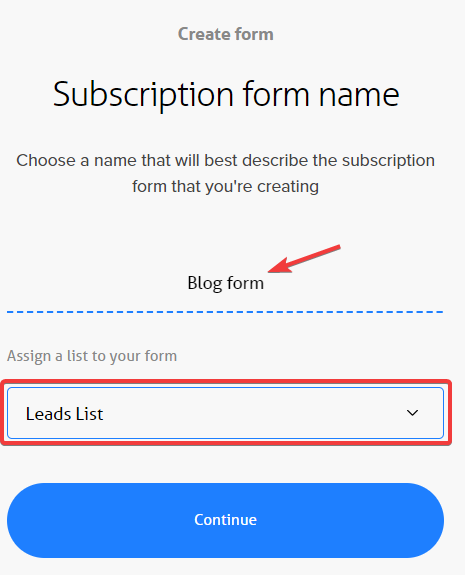
- Name your subscription form, select your list and click Continue:
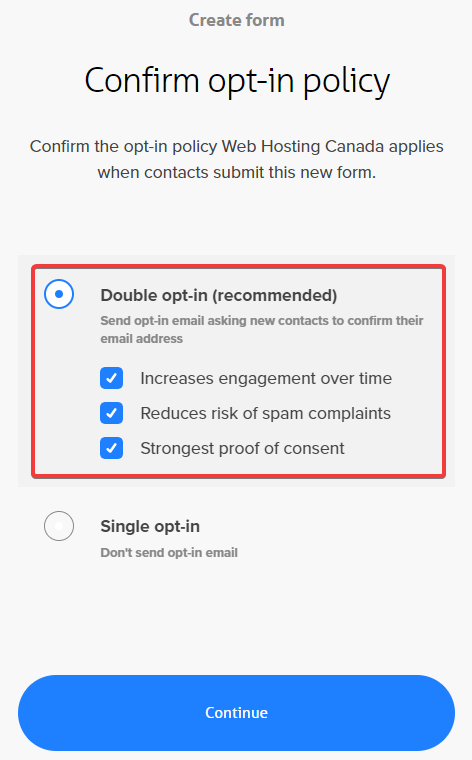
- Select Double opt-in as recommended and click Continue
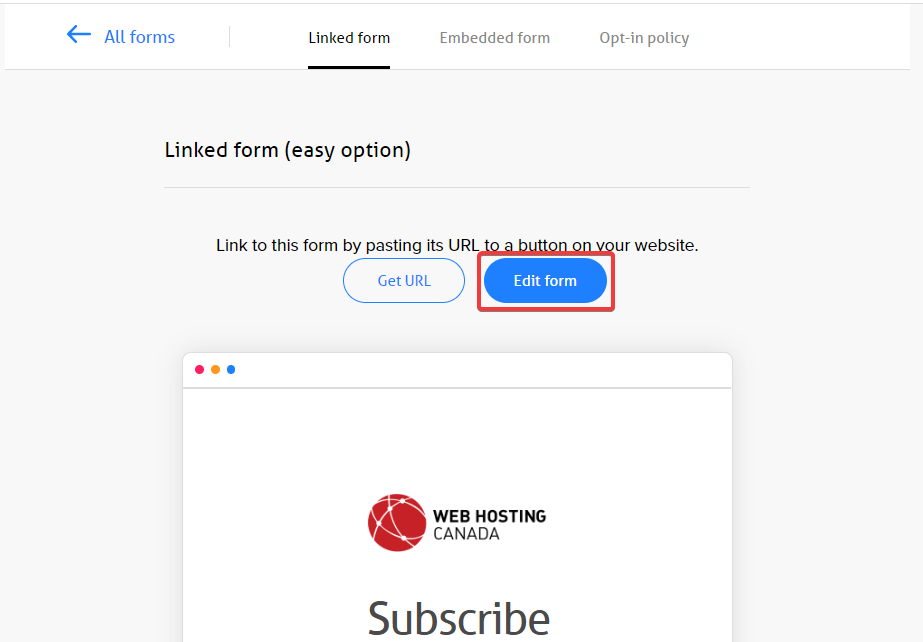
- Select Edit form:
- From here, you can edit the form as you see fit:
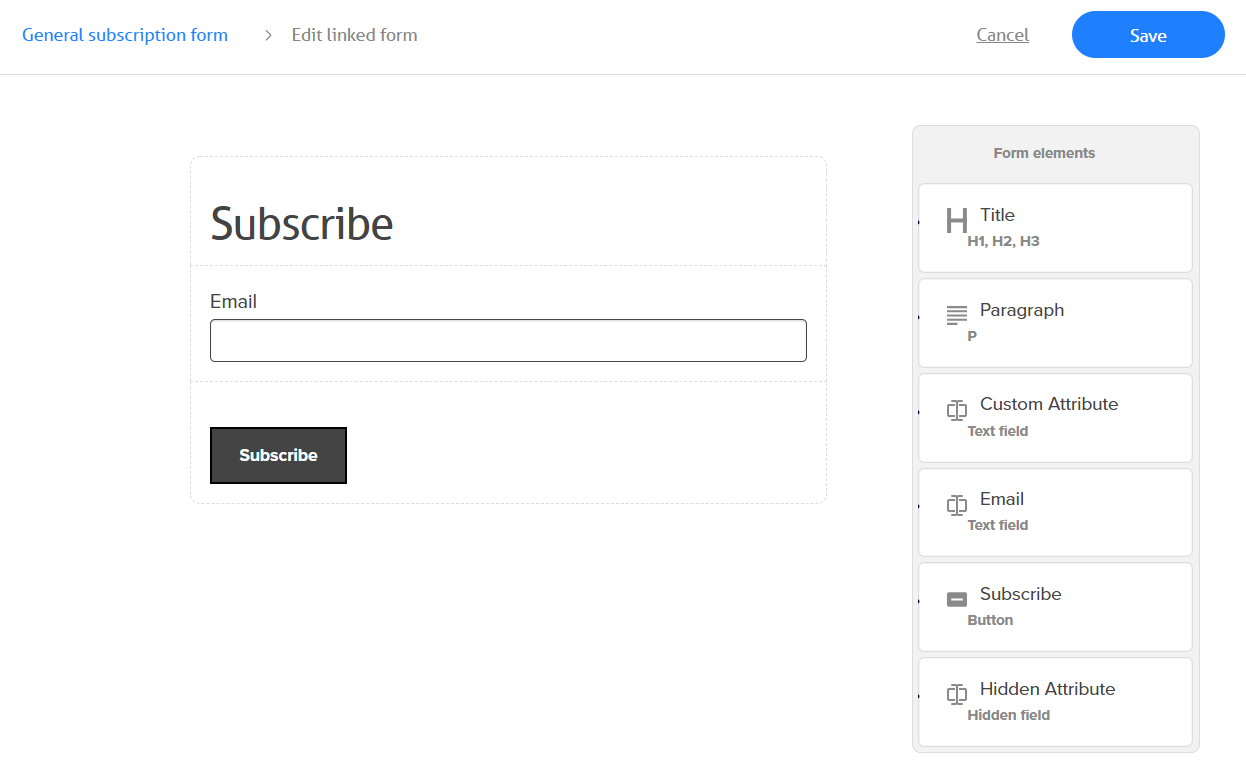
- Click Save when you’re done!
To generate HTML code that you can use to embed the form on your website:
Click Embedded form, then click the Get code button:
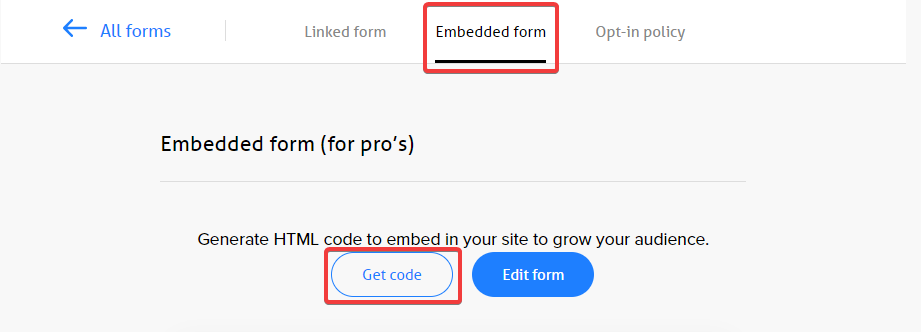
Simply copy and paste the code into an HTML block on your website like WordPress, or pass it along to your web developer to incorporate into your website or blog post, etc.
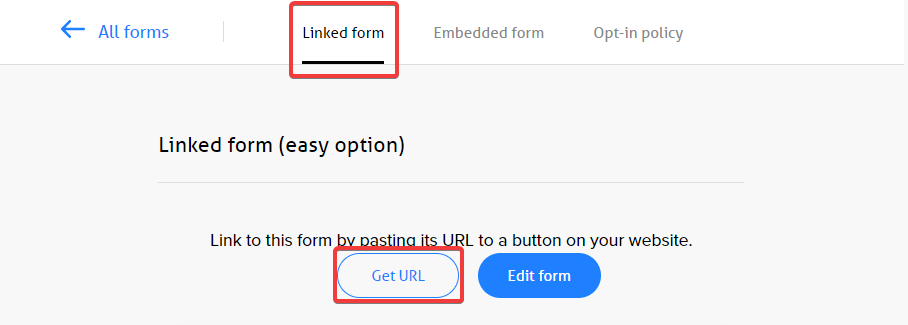
Alternatively, you can simply link to the form using a URL, click Linked form, then Get URL to receive the link:
Now all that’s left is to promote and build your list and send high-value emails to your subscribers over time!
Track account usage
You can track your Account usage by clicking on your profile in the top right:
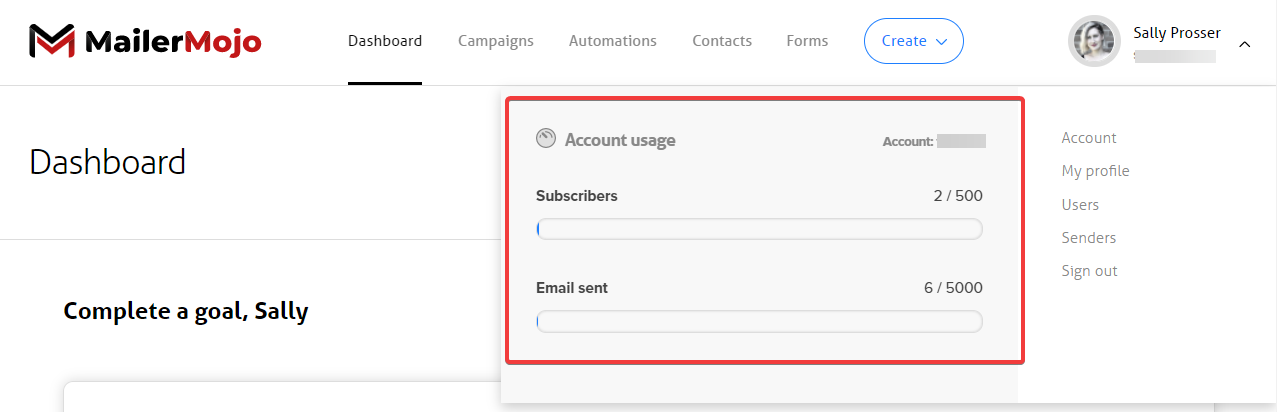
Your account number is displayed along with the number of subscribers you have in your account and the number of emails you’ve sent that month.
How to get help/support
If you have any questions about MailerMojo, we recommend you start by checking out our Help Center articles for the answer. If you can’t find what you’re looking for, you can reach out to our customer support team by chat, email or by opening a ticket in your Client Area.
How do you buy MailerMojo?
It’s free with many of our web hosting plans! Contact our customer support team to see if you are eligible. Don’t have web hosting with us? No problem, you can purchase MailerMojo as a standalone service and enjoy all that email marketing offers you and your business at a competitive price.
You can even try the platform FREE for 30 days to see firsthand, the impact it can make on your biz!
Start today!
We’re excited for you to try MailerMojo! Purchase the platform or TRY IT FREE today.
